Making a Packet out of Marquetry
Amber Bailey looks at making a marquetry packet for this delicate work
Several months into my course, I have already garnered a notebook full of useful tips and tricks used in the production of French marquetry. Like anyone desperate to learn the most efficient techniques for quality results, now I have been taught how to prepare a traditional French marquetry packet, there is simply no going back. In traditional sawn marquetry the veneers require support against potential damage from the saw blade, be it cut with a marquetry donkey or piercing saw. The veneers are sandwiched in a packet to create a solid block of material, this allows for several sheets to be cut simultaneously.
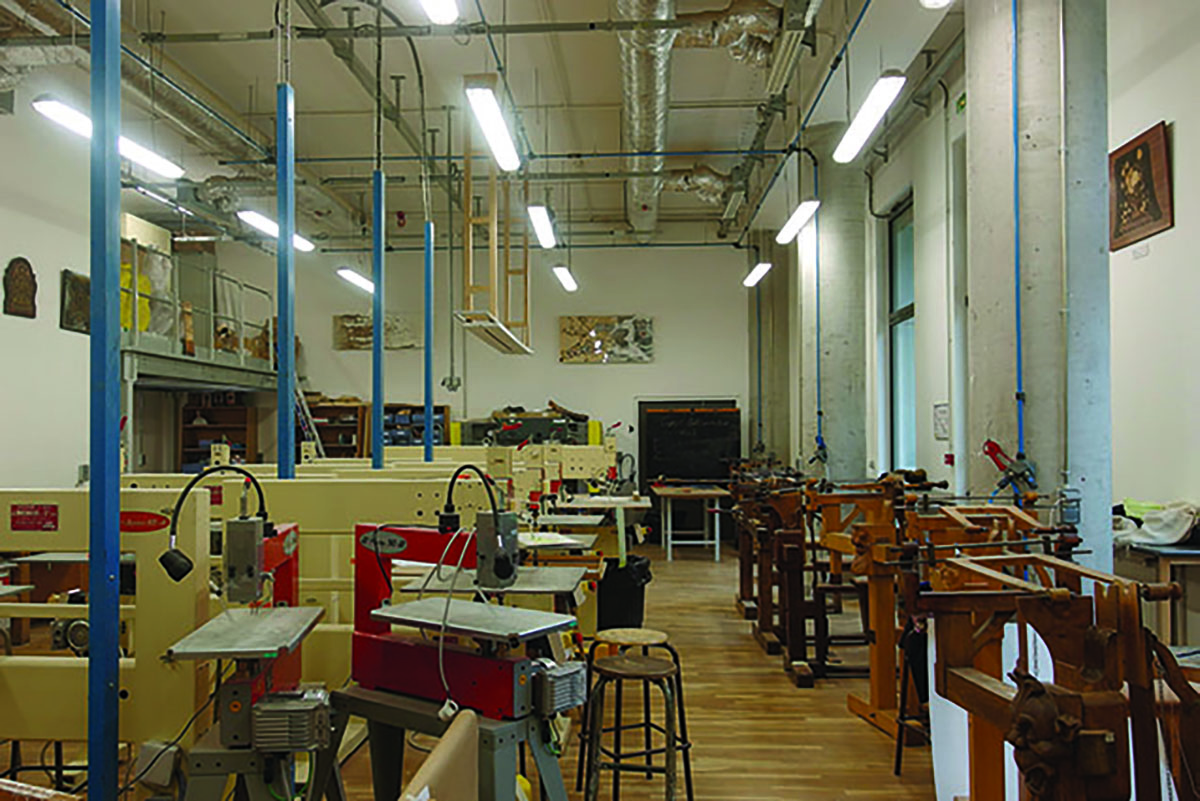
The marquetry workshop at the Ecolé Boulle displays a contrast in contemporary and traditional equipment for cutting packets
Preparing a boulle packet
Traditionally, a boulle packet would consist of metal and tortoiseshell to create a contrast in materials, however, the same technique works for the use of wood veneers. A boulle packet consists of outer waste veneers that have the grain running along the length, with a third waste veneer in between going across the grain for added strength. Just inside the back of the packet is a sheet of papier suiffé. The actual veneers are placed above the centre waste veneer following the same grain direction as the outer veneers. There is no limit to the number of veneers in a packet, but consider how thick it will be for cutting. The veneers are positioned face side up and each sealed with a layer of kraft paper – essentially a large sheet of veneer tape. The entire packet is secured with masking tape and pinned in each corner. It is always a good idea to make a note of the grain direction and the veneer species on the outside of the packet.
 Order
Order
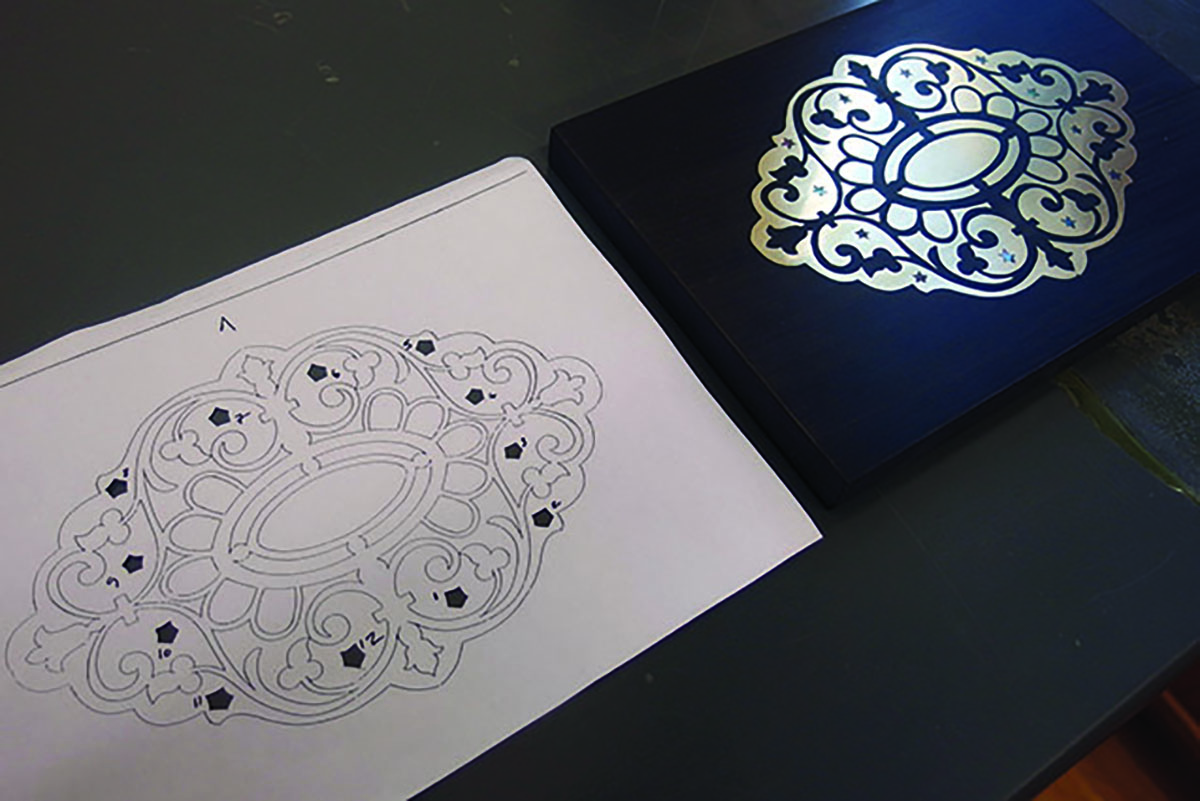
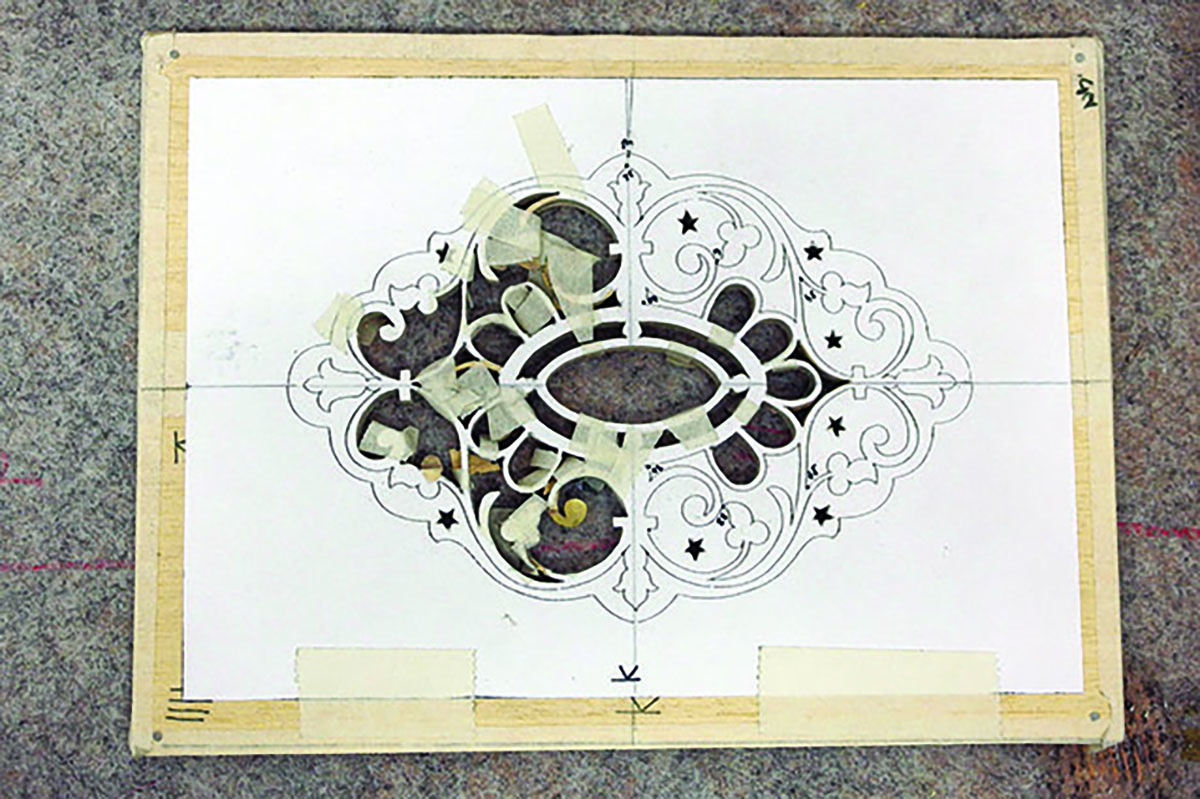
On every packet number up each element of the motif to make reassembly easier. Keep a master copy of the motif for reference. To secure the motif to the packet, adhere with spray mount.
Even after the pieces have been cut…
… make sure you can easily identify the order in which they should be placed
Making papier suiffé
One of the major issues when working with delicate materials and fine blades is friction, this can cause the blade to either snap or catch on the wood fibres. An easy way to prevent this issue is to lubricate the blade. A standard technique to alleviate this is to rub the blade teeth with wax but this can become clumpy at first or wear off after the first few strokes. Within traditional French marquetry, the lubricant is not applied directly onto the blade, but rather incorporated within the packet. Between the back veneer and the inner scrap veneer is placed a layer of papier suiffé. Papier suiffé is essentially several sheets of newspaper rubbed with animal fat, creating slightly greasy paper that wipes over the blade as you cut. The animal fat used is standard fat available from your local butcher – i.e. pig – softened in a bain-marie so that it may be applied easily and in a very thin layer.

The fat still in solid form
Working with metal
Traditional metals used in boulle work would be brass, pewter and copper. When compiling the order of packet materials, the sturdiest material should be underneath therefore metal goes below veneer.
The metal is placed face side up. To help with adhesion at a later stage, the back of the metal needs to be ‘toothed’. This is achieved by rubbing a coarse abrasive across the surface in a circular motion. Tape around the edges of the metal separately before taping up the entire packet.
As the cutting of the packet progresses, it can help to temporarily secure any fragile sections with tape
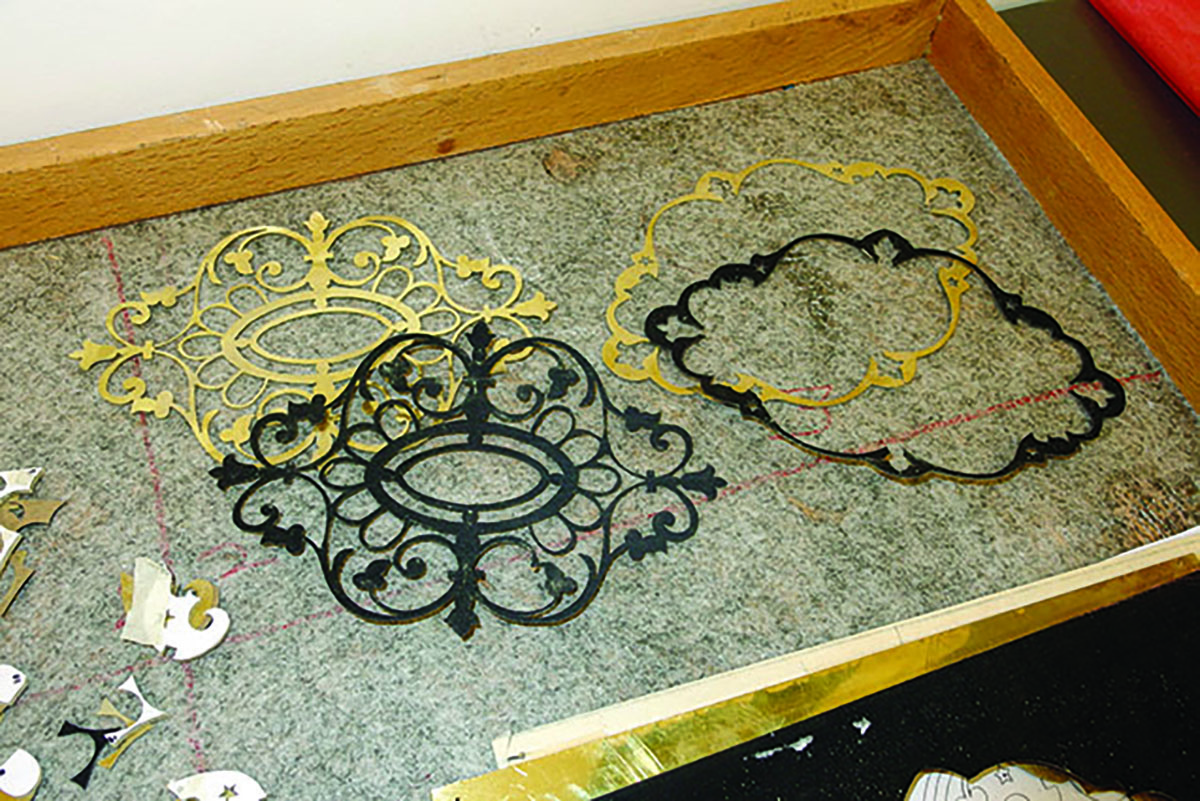
When the packet is disassembled, it reveals identical motifs on different materials
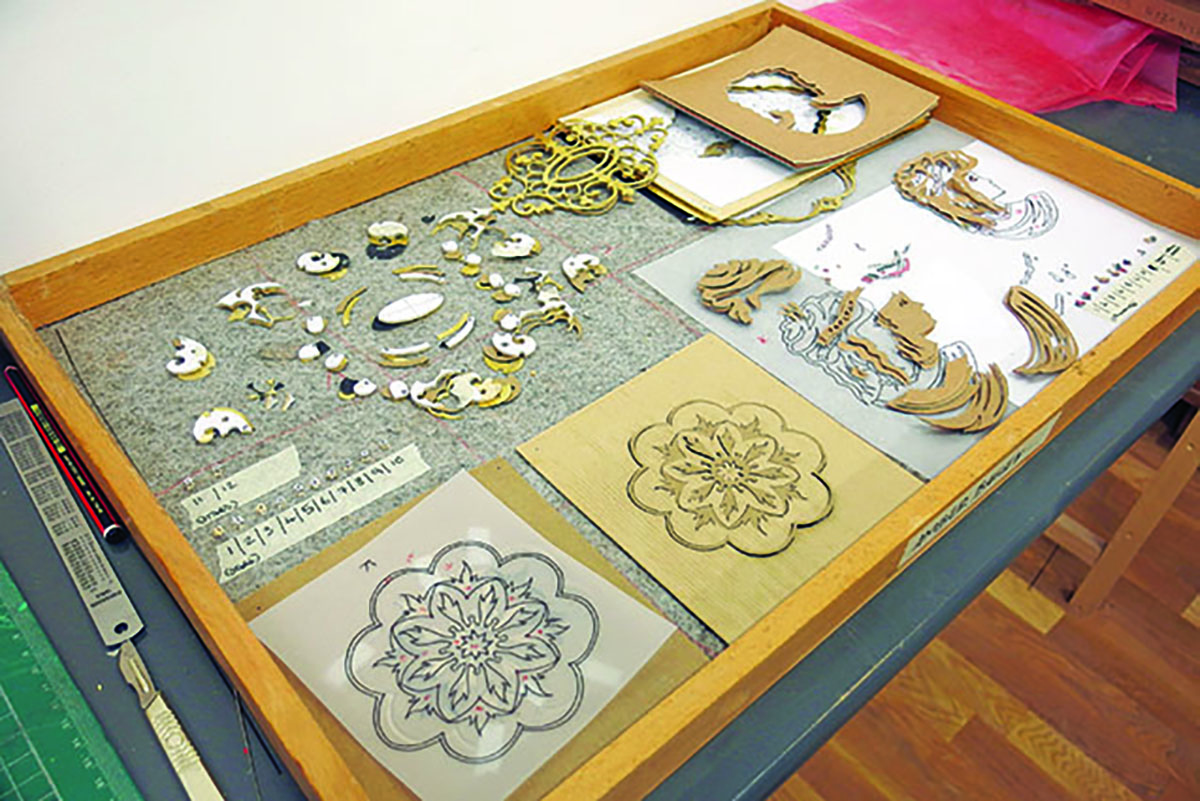
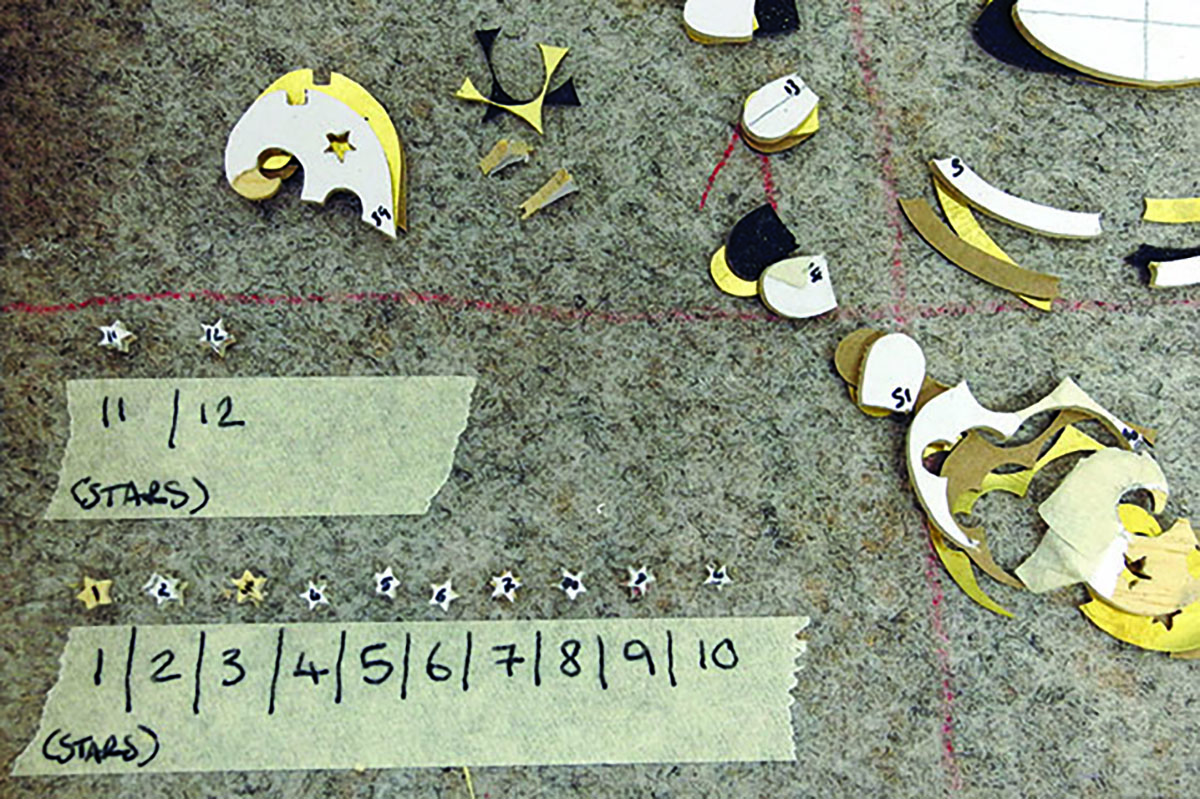
Element by element
Element by element marquetry is a technique that involves cutting out the marquetry pieces separately rather than all in one go. This means you are producing a single design and will require numerous packets to be made for all the different veneer species. The making of an element-by-element packet involves the same processes as for a boulle marquetry packet except using a single veneer rather than several. The motif segments are spray mounted to the top of the packet but positioned in a numbered order starting in the top right-hand corner moving across to the left then down in a series of rows.The packet is cut starting in the top right-hand corner and as a general rule pieces are cut either in a clockwise rotation or so that the most fragile lines in an element are sawn first.

Apart from the individual motif segments, the rest of the packet can be treated as waste. It is down to personal preference whether to drill blade access holes for each segment or cut directly into the packet
Preparing a MOP packet
The surface area when working with mother-of-pearl (MOP) tends to be quite small so needs to be supported by a larger packet for ease of holding. Unlike the making of a standard packet, the MOP is glued on top rather than within the veneers. With the non-uniformity of MOP, having a full view of the material allows for decisive motif positioning. The packet is built up of the two outer veneers with papier suiffé placed in between, all of which is pinned and taped as per usual. The MOP is glued on top of the packet with fish glue, plain paper layered underneath. More than one piece of pearl can be piled on top of one another. The glue needs to be left to dry for 12–24 hours.
It may seem wasteful to create a large packet for cutting mother-of-pearl, however, the larger the waste material, the easier and safer it is to manipulate
")

