Veneer Boxes
Peter Sefton and his students use burr walnut veneer to make boxes
Peter Sefton and his students use burr walnut veneer to make boxes
Veneer is very much the domain of the furniture maker and here at the Furniture School we have just been using some very ornate burr walnut (Juglans regia) during a short box making course. I selected a couple of packs of burr oak (Quercus robur) and walnut burr butt (also known as root burr) to be used for the lid of the box. I laid them out for the students so that they could choose which veneer they thought best suited the pigskin suede we would be using to line the interior of the box.
We collectively opted for the walnut, which was stunning and worked very well for the size of the box we were making, with very little wastage. Each student was given two consecutive leaves that would be cut in half to produce the outside of the lid and the internal counterbalance veneer.
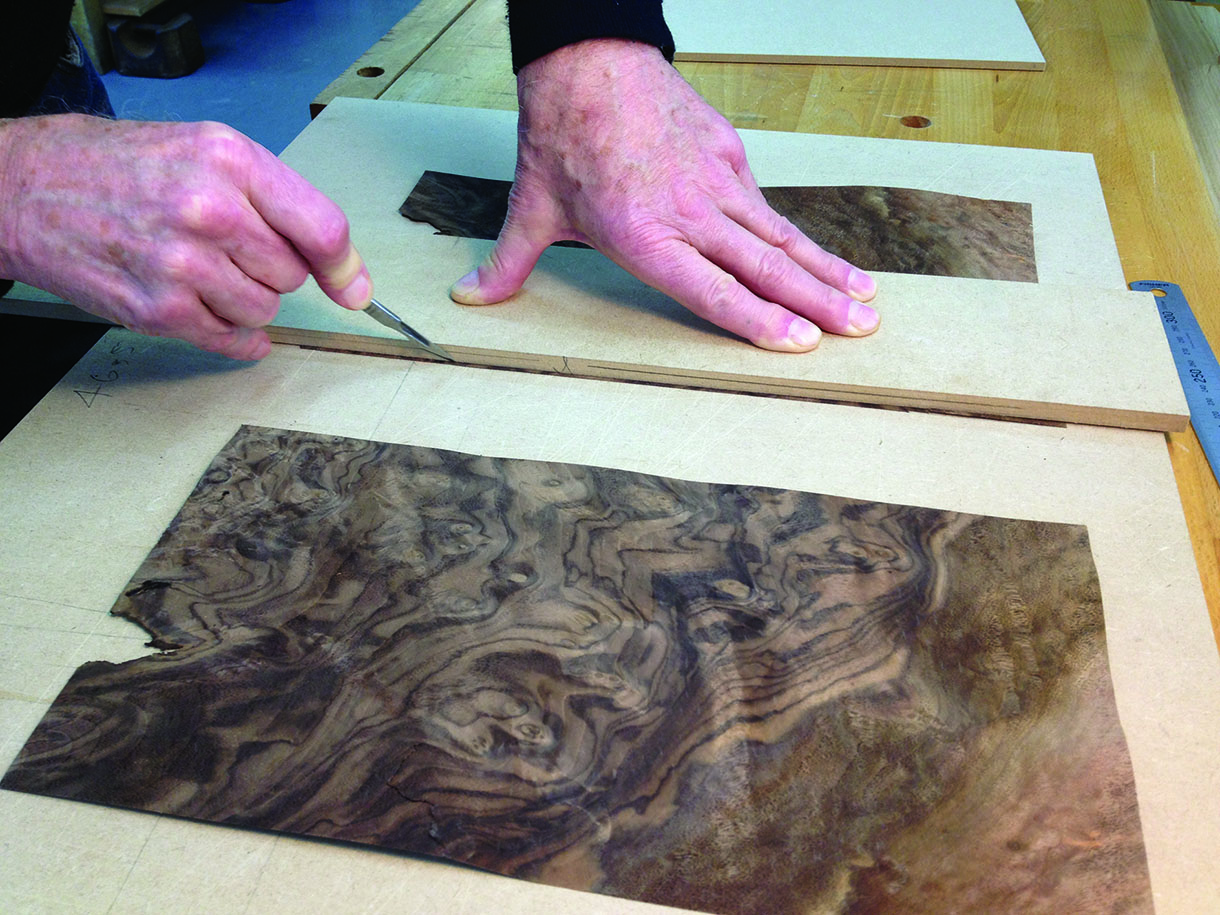
I cut a piece of white card to the full size of the lid and folded it in half – by laying the card on the veneer we could use the window method to see how the veneer would look once on the box. We also book-matched the veneers and the best way to see how the veneer would look when the two leaves were jointed, was to use a mirror sat on edge on the proposed central joint line, so that you could see the reflection of the veneer. It is amazing to see the different grain effects that can be produced by moving the mirror into different locations on the veneer.
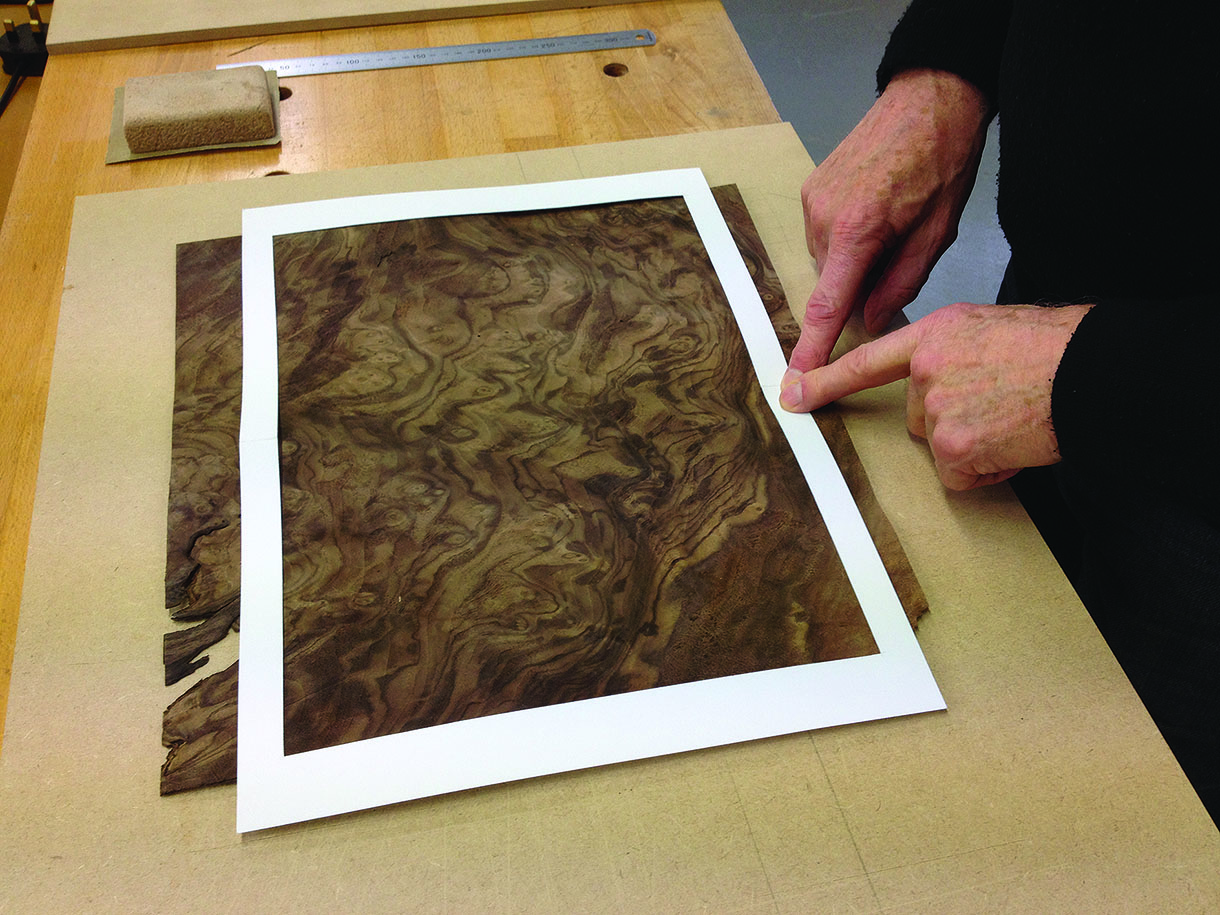
The window method was used to check how the veneer would look on the box
Once the best repeat pattern had been found, the veneer was cut and jointed together. If the veneer cut cleanly it was jointed straight from the knife; otherwise we used a veneer shooting board with a No. 7 plane or a long sanding block.
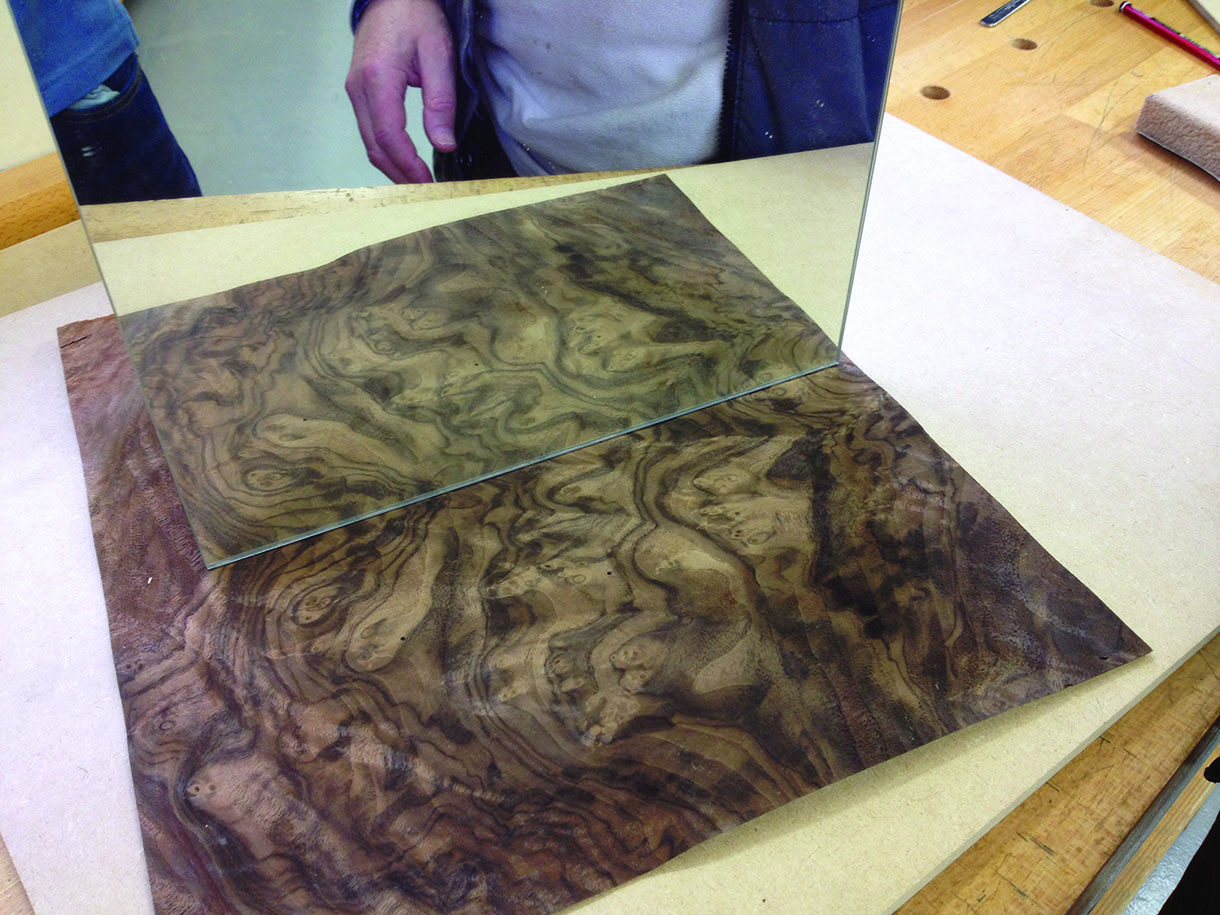
Holding up a mirror is a great way to check different grain effects
The veneer was taped together with veneer tape to hold the joints while they were pressed in either my sturdy Platen veneer press, or by using a vacuum bag. We used urea formaldehyde glue and added some brown umber earth pigment within the mix to fill any very small pinholes within the veneer.
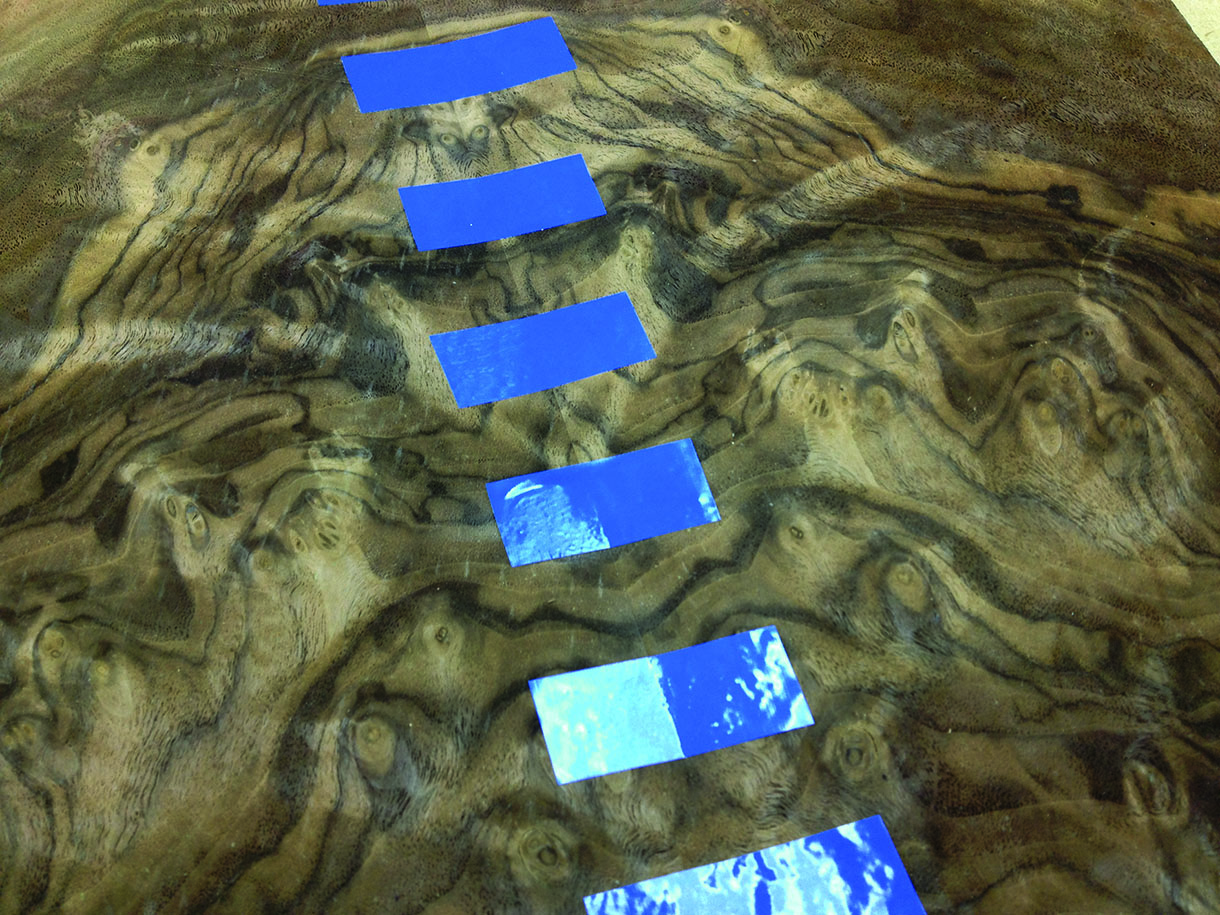
The joints were held with veneer tape
The veneer was cut and jointed together
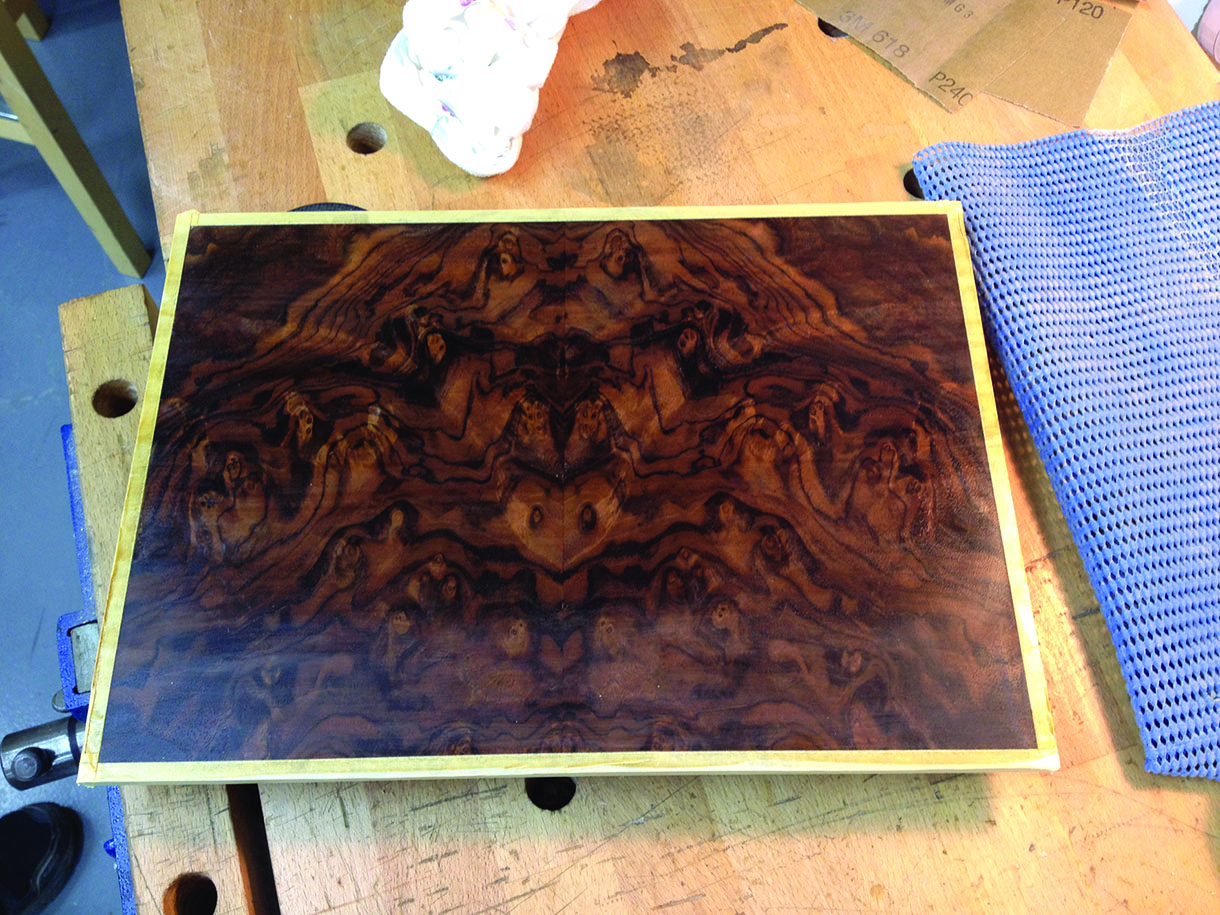
Once the veneer had been laid on the MDF substrate, the board was cut to size and fitted to the box’s rebated top. It was then removed and masked up around the edges where it would later be glued in place. The internal side was sanded, polished and waxed, and it’s only at this point that the full beauty of the natural veneer can be appreciated.


