Garden Planter
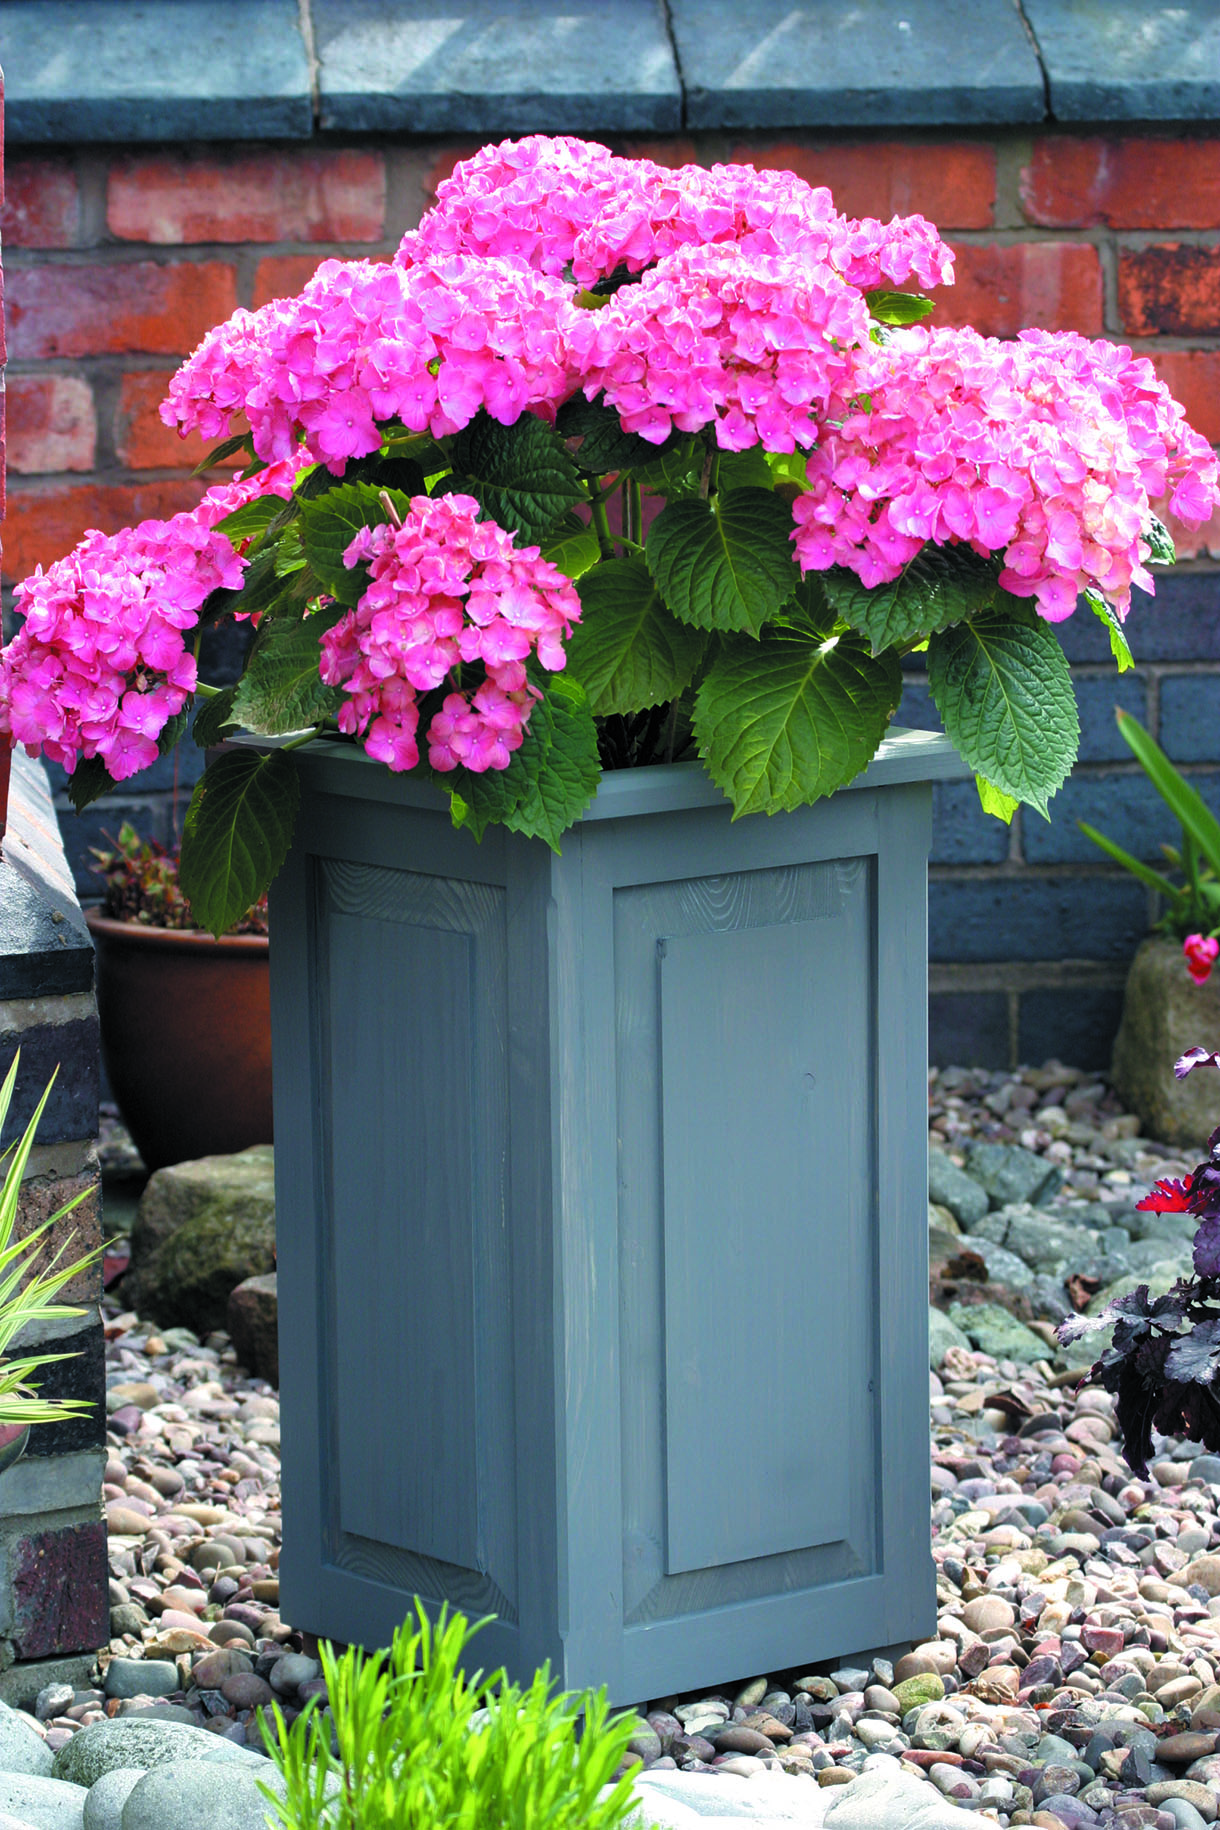
Alan Holtham’s planter has plenty of garden style – and it won’t break the bank
One of the hazards of being a professional woodworker is that you are continually at the mercy of friends and family who don’t appreciate how much time, effort and materials are involved in even the simplest of jobs. I have come to dread the phrase, ‘But it would be dead easy for you to knock one up’, as roughly translated this really means, ‘Make it for us on the cheap’! No one ever considers the material cost that is assumed to be carried by someone else’s job. Yes, it might only take you a few hours to ‘knock up’, but it has taken you 25 years of hard graft to learn how to do it this quickly, as well as a considerable tool and machinery investment, probably amounting to several thousand pounds. But sometimes it is hard to say no and the request for this modern-style planter was one of those jobs that just might lead to more work – but in most cases doesn’t – so once again I had to smile sweetly and say ‘no problem’.The only answer was to use scrap timber to keep material costs down to a minimum. This is always a good chance to use up some of those offcuts that seem to accumulate under the bench, and which you keep saving for a job ‘one day’.
Preparation
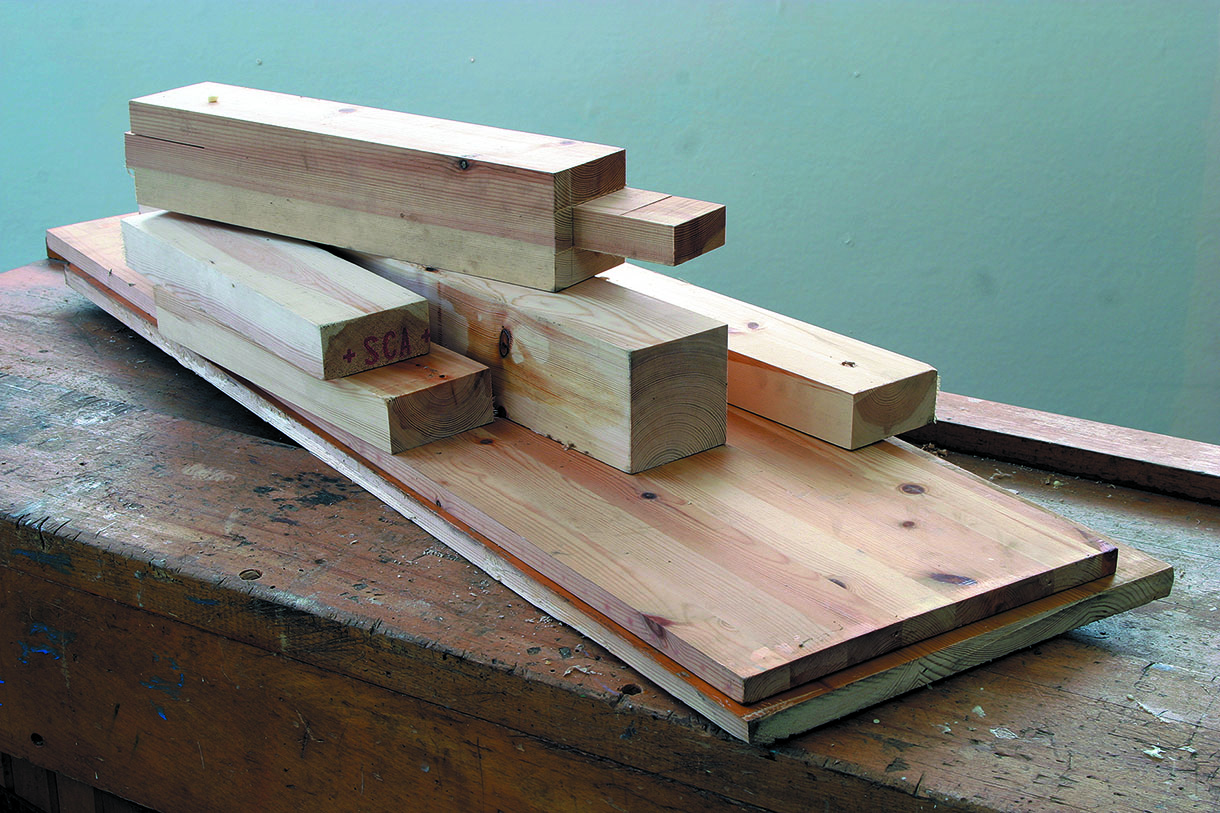
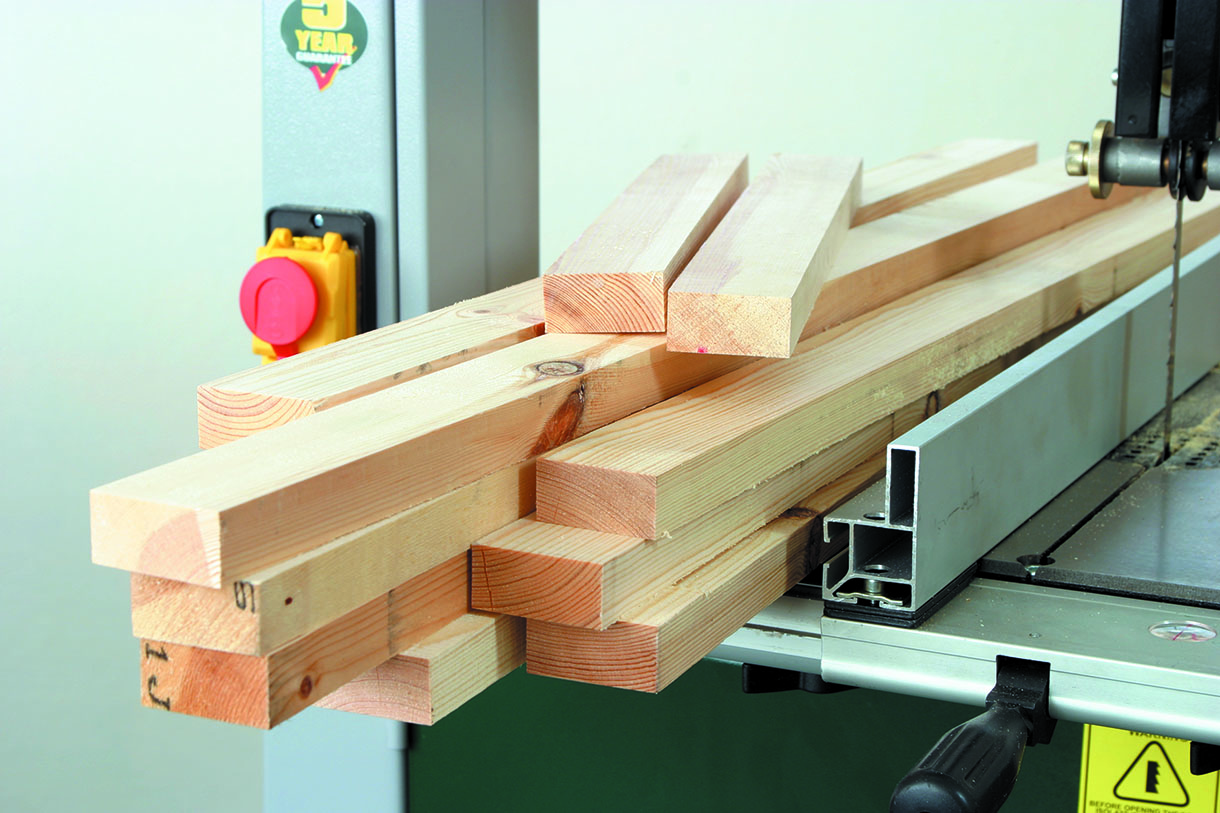
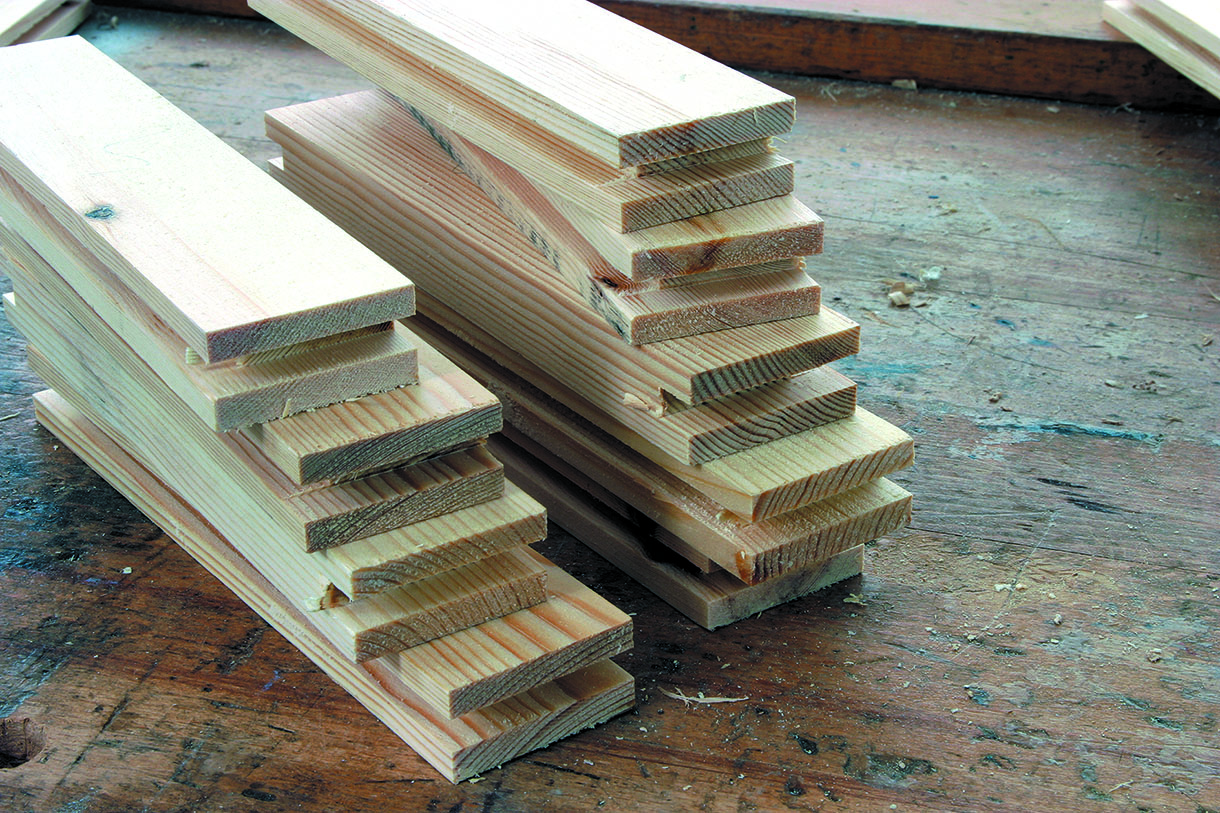
1. I managed to find a selection of leftover bits of softwood and two old shelves, which although superficially very tatty would be magically transformed after a few minutes’ work with the bandsaw and planer
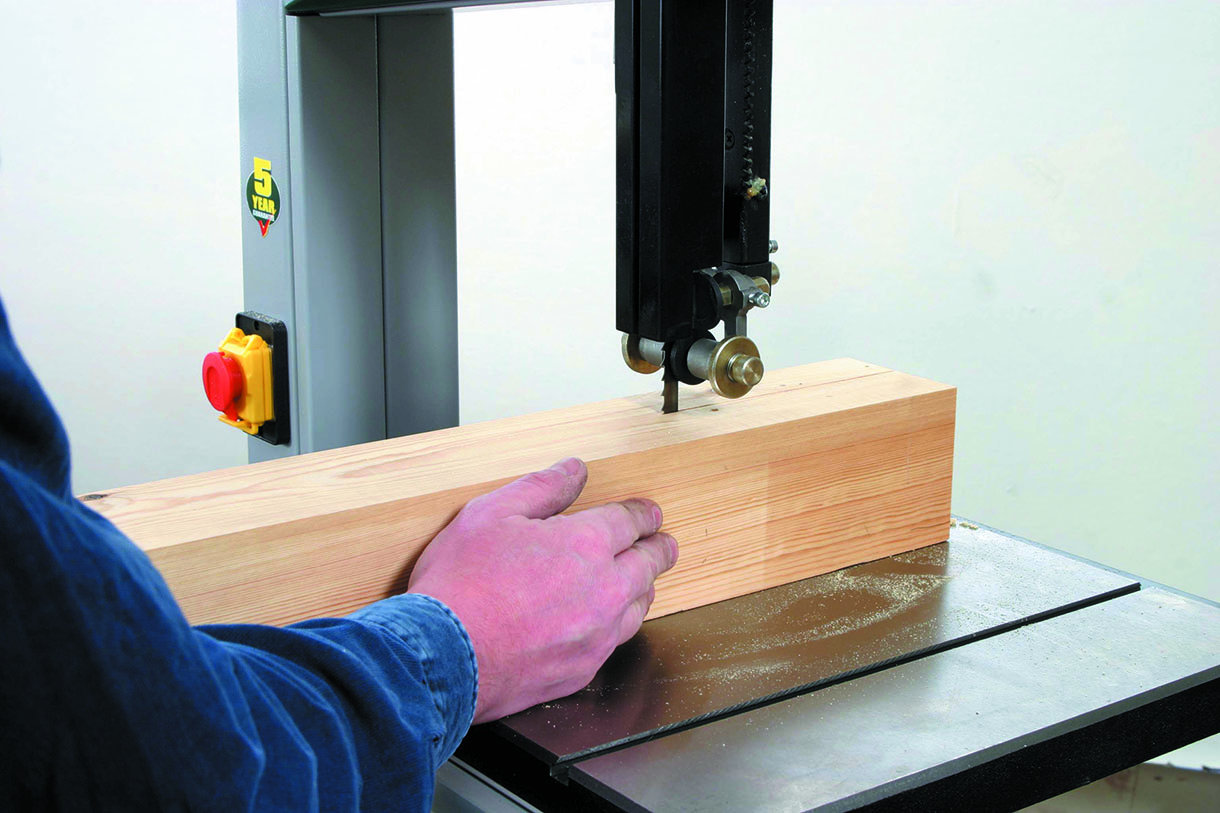
2. With a decent-quality 6tpi blade in the bandsaw you can quickly slice up all the odd-sized pieces into the standard dimensions you require
Handy Hint
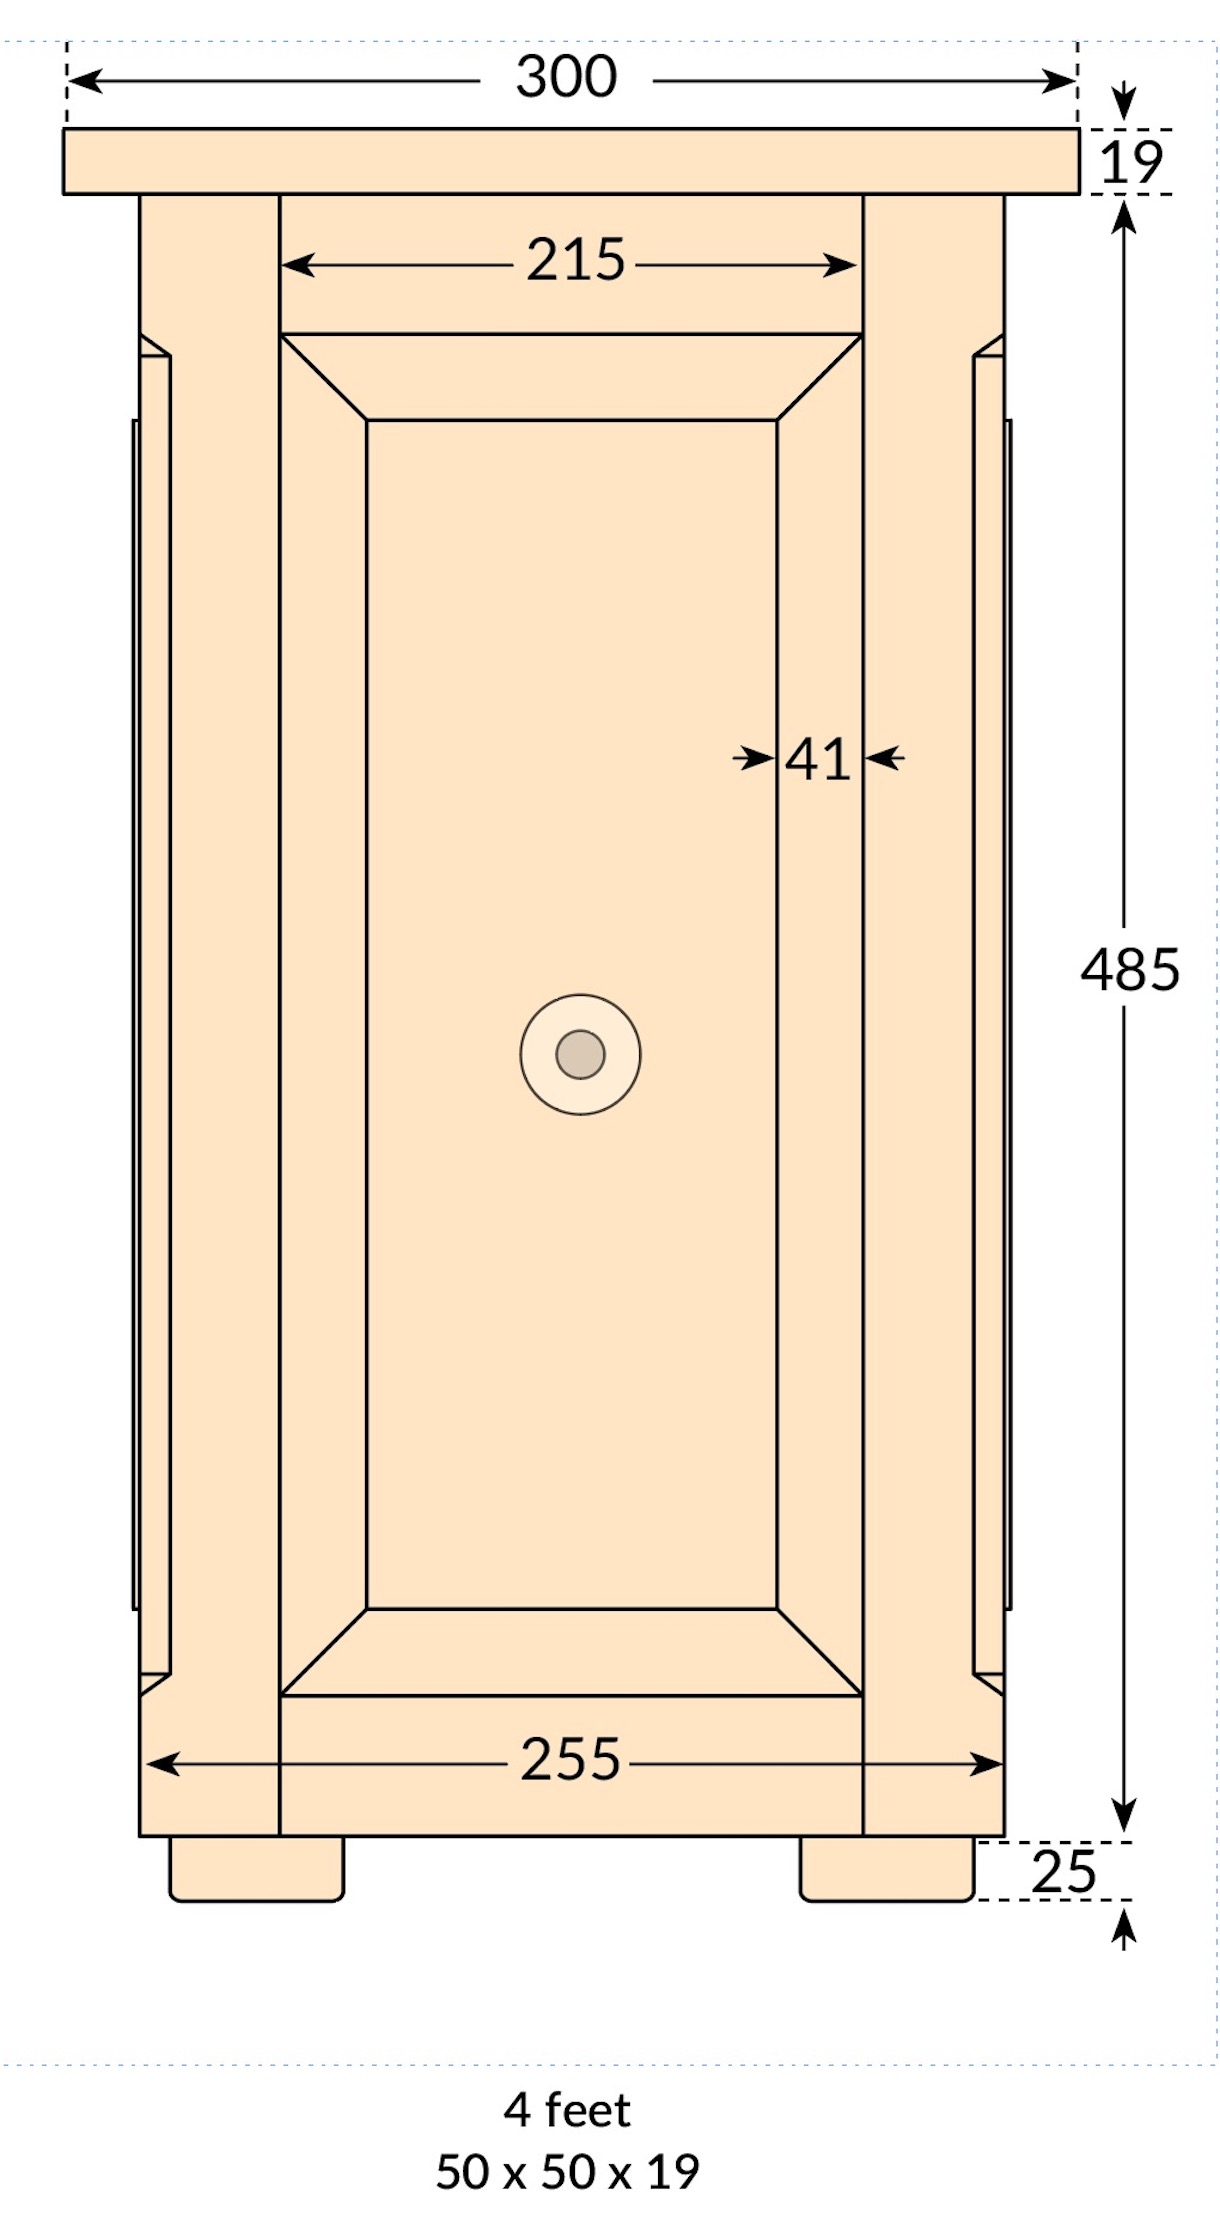
This planter is one size, but there is no reason why you cannot resize it. Two shorter versions next to this one or even a taller version would make a good triangular planter display. Never place a planter on grass or soft ground as wet rot will surely follow. If you want a planter on the lawn, neatly cut a square of turf out and place a paving slab level with the lawn ‘base’ so you can mow over it if needed.
3. Cut out quite a bit more than you theoretically need, as a few spare pieces are really handy for trial cuts when setting the machines to the critical dimensions required for joint making and panel raising later

4. Softwood often has a lot of large dead knots which will seriously weaken the timber so you need enough spare material to be able to work round these. You will never be able to cut out all the knots but try to avoid the largest of them
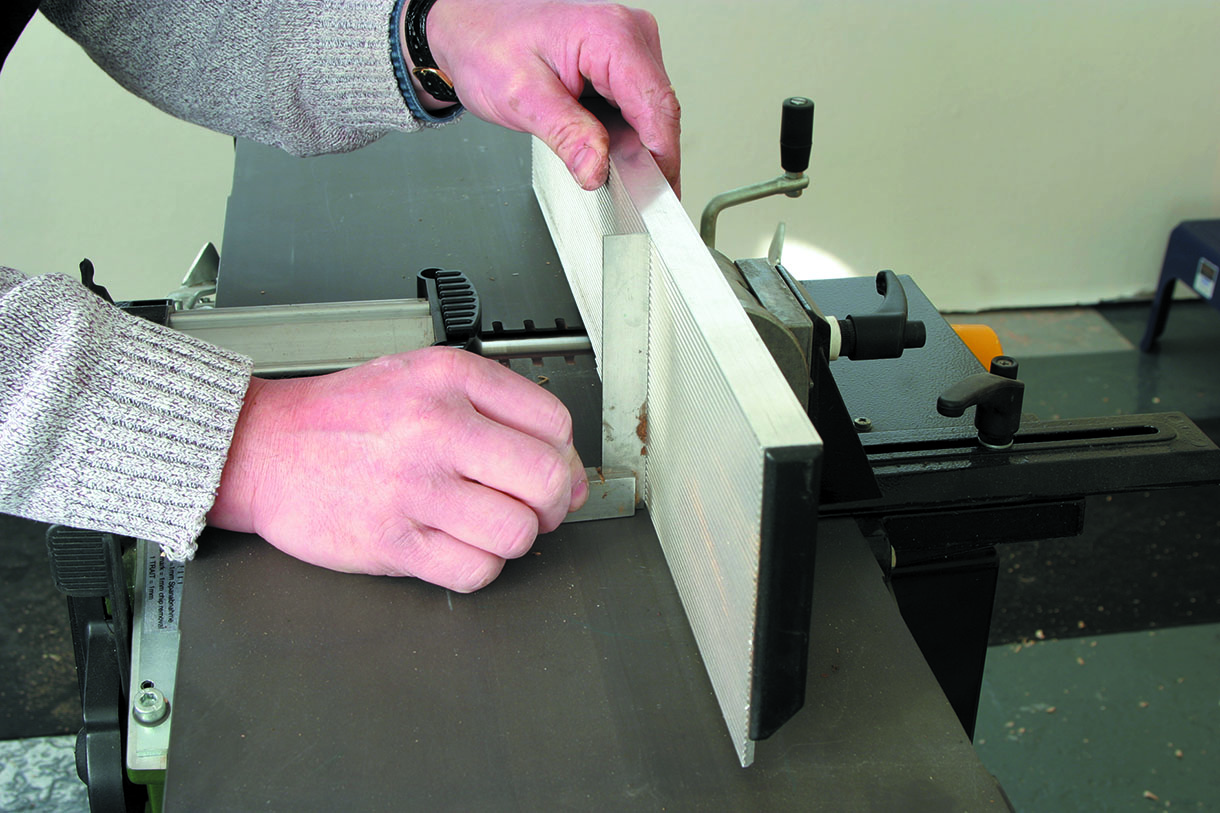
5. For accurate joint making it is vital that the timber is prepared true, so spend a little time making sure that your planer fence is set perfectly square. Just because it was right last time you used it doesn’t necessarily mean that it is square now, so do check it before each job

6. Once you have prepared the face side and edge on each piece, pass it through the thicknesser to get it all fully dimensioned. To minimise the amount of finishing work later, check the grain direction on each piece before passing it through the thicknesser
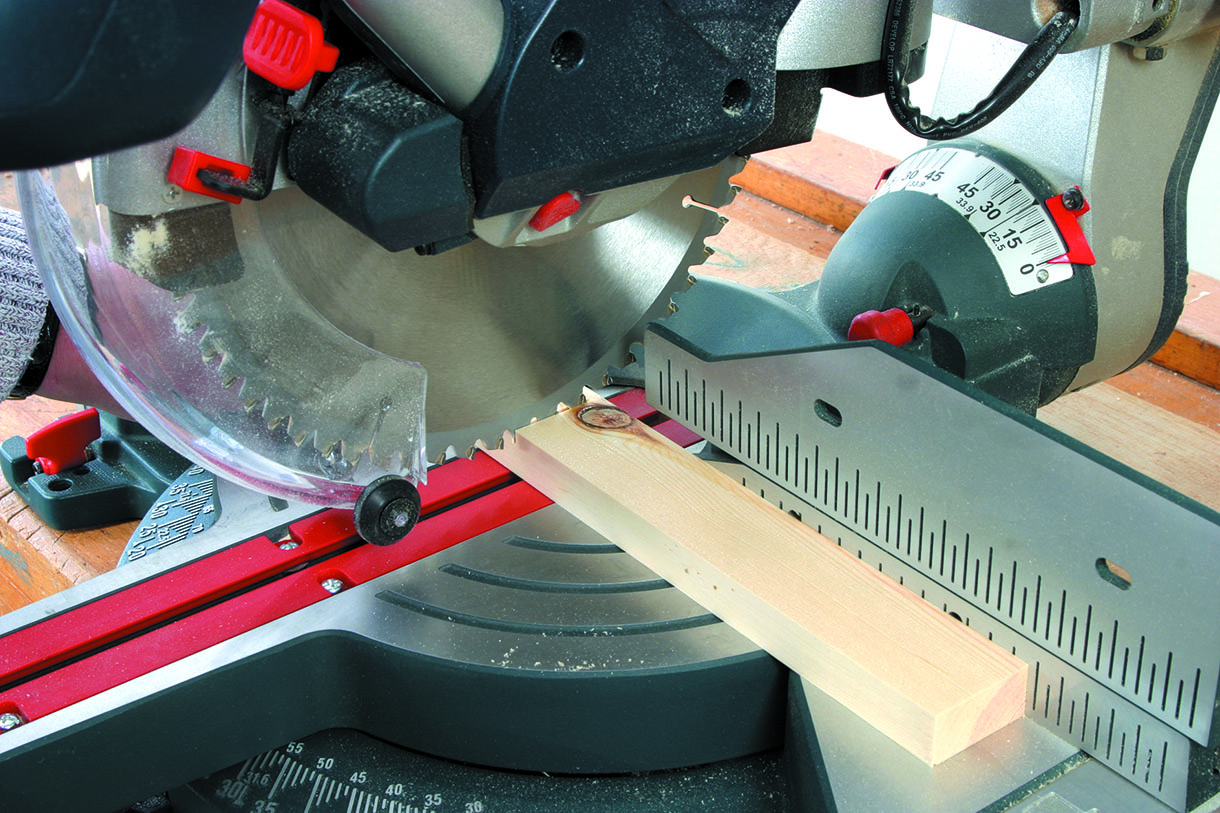
7. Use a chopsaw with a fine-tooth blade to cut everything to length, cutting out as many knots as possible. Because you are working with offcut material, which is by definition usually short in length, there is inevitably a lot more waste, but as the original material was effectively free anyway this doesn’t really matter
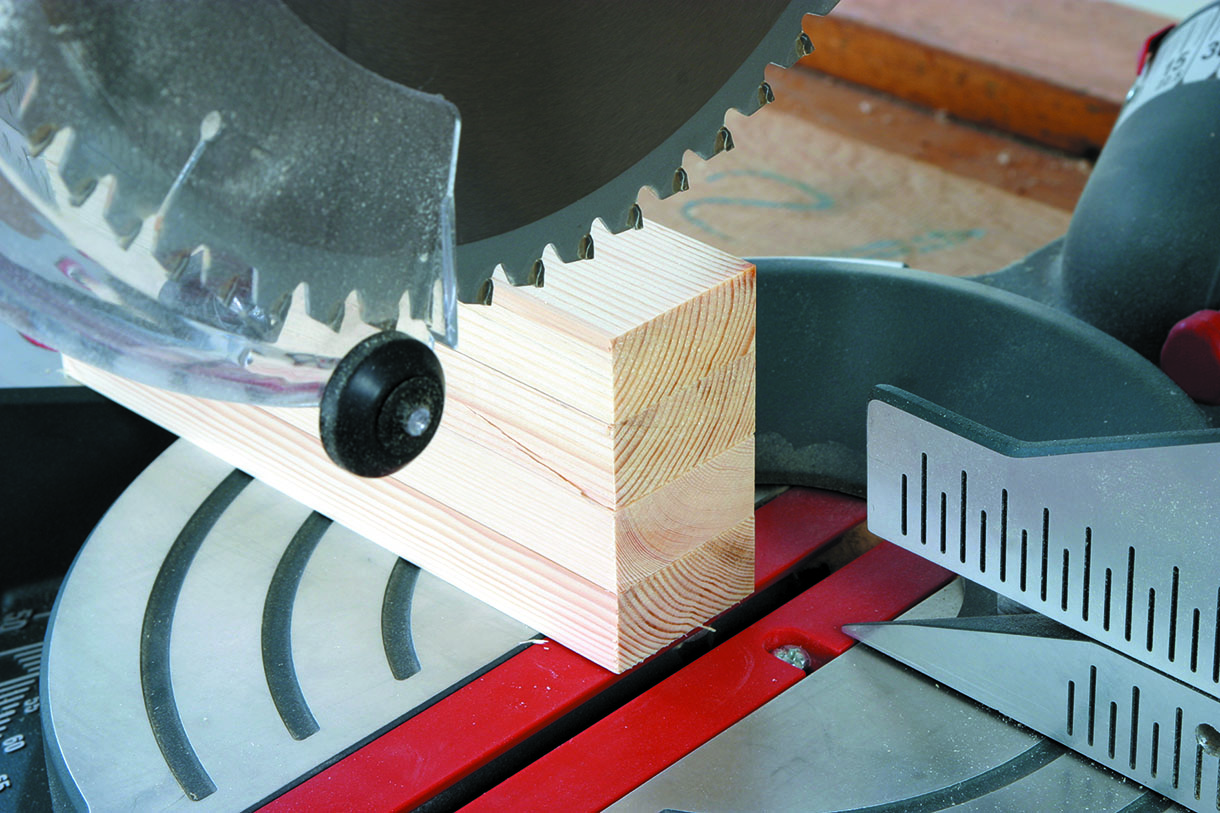
8. The best way to ensure consistency of size for matching components is to cut them all together. You don’t stand a chance of getting the joints to fit properly if the components vary in length, even by a very small amount
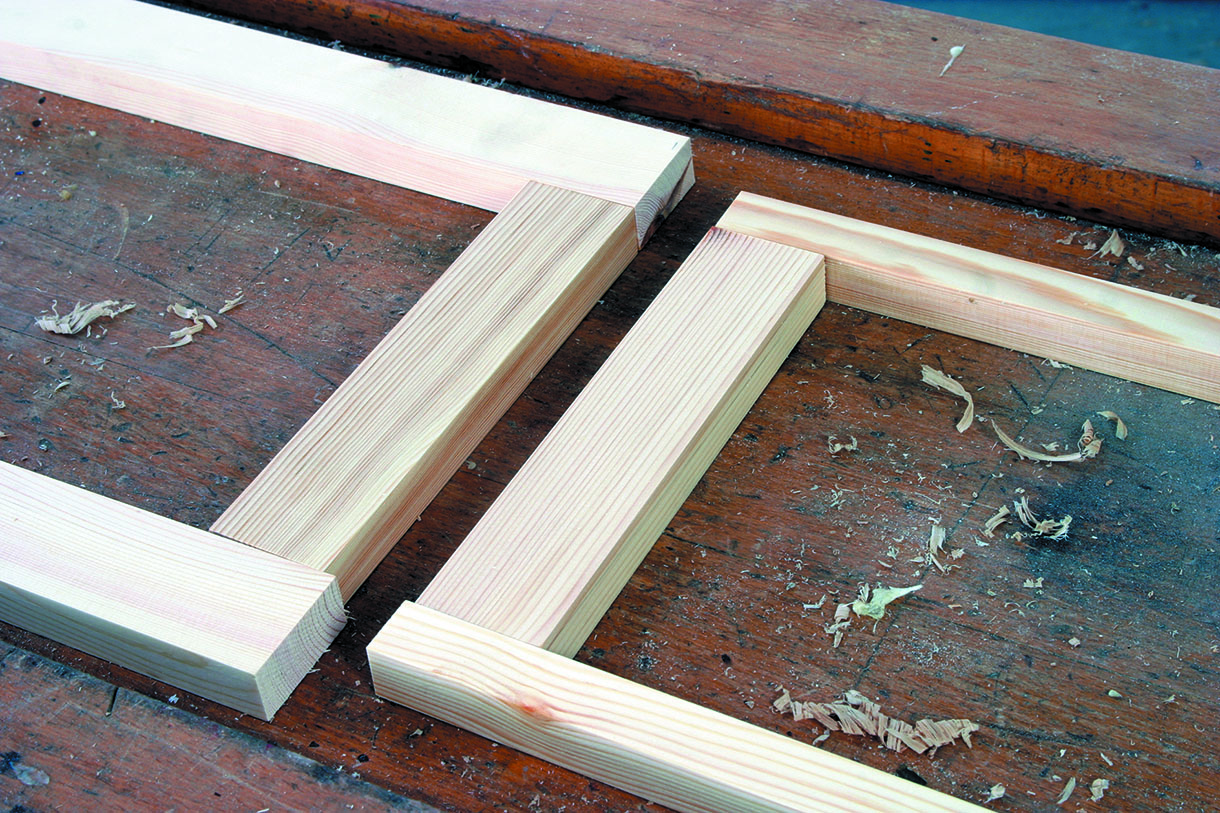
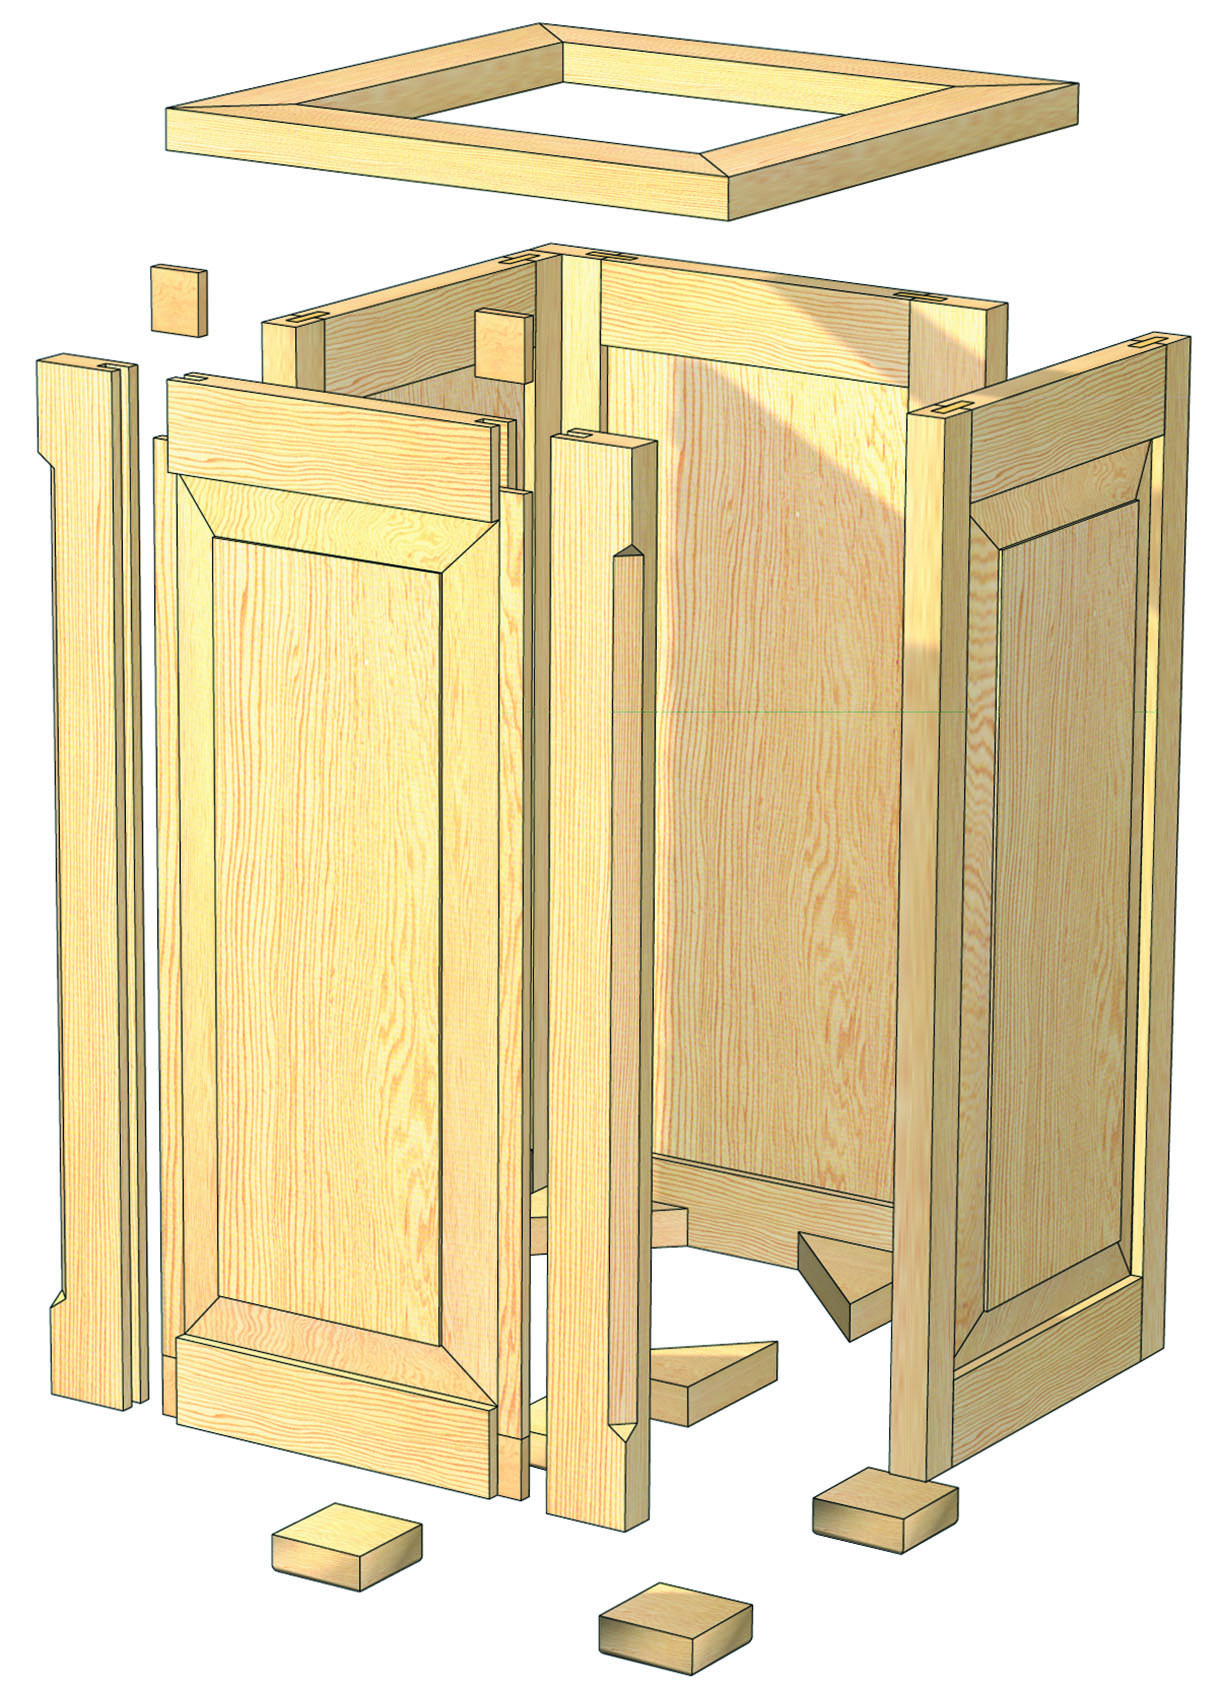
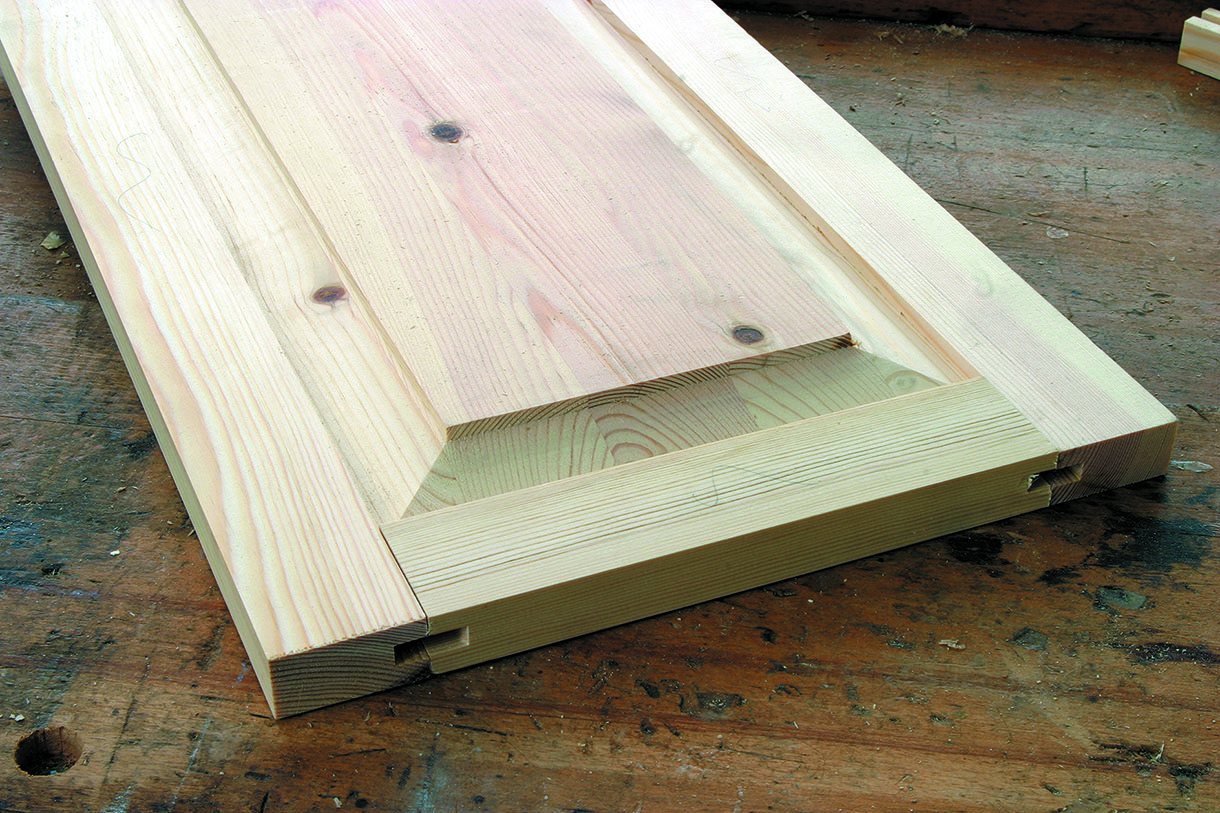
9. Lay out each frame to check the overall dimensions. Notice that the uprights for two of the frames are reduced in width, so that when they are joined together at right angles the finished dimensions on each frame will match
Routing grooves
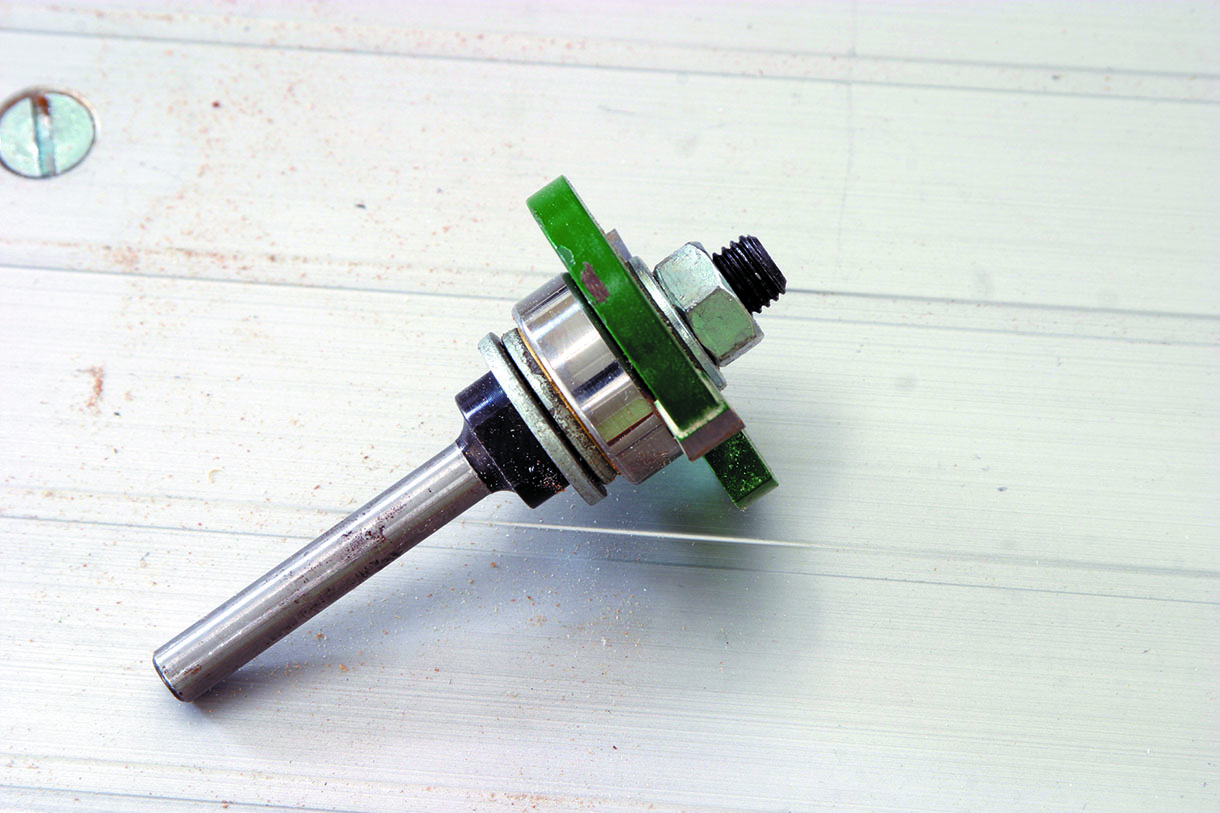
10. The central panel is set into a groove in the frame and the same groove also forms the joint for the frame. One of the best ways of grooving is by using a dedicated grooving cutter mounted on an arbor in the router. Although the width of a groove is fixed you can vary the depth by altering the diameter of the bearing
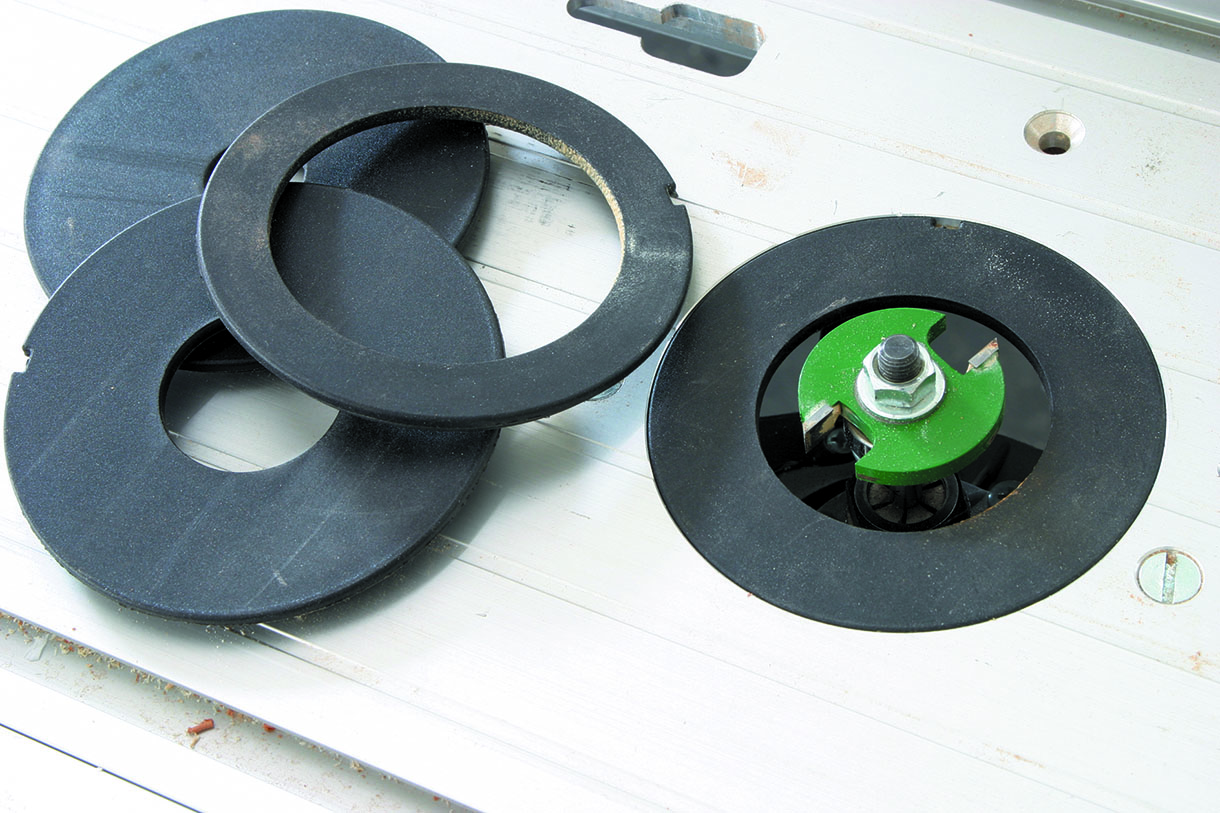
11. Although this arrangement can be used freehand it is much more convenient to use it with a router table, but select a table insert that will provide maximum support while remaining clear of the cutter
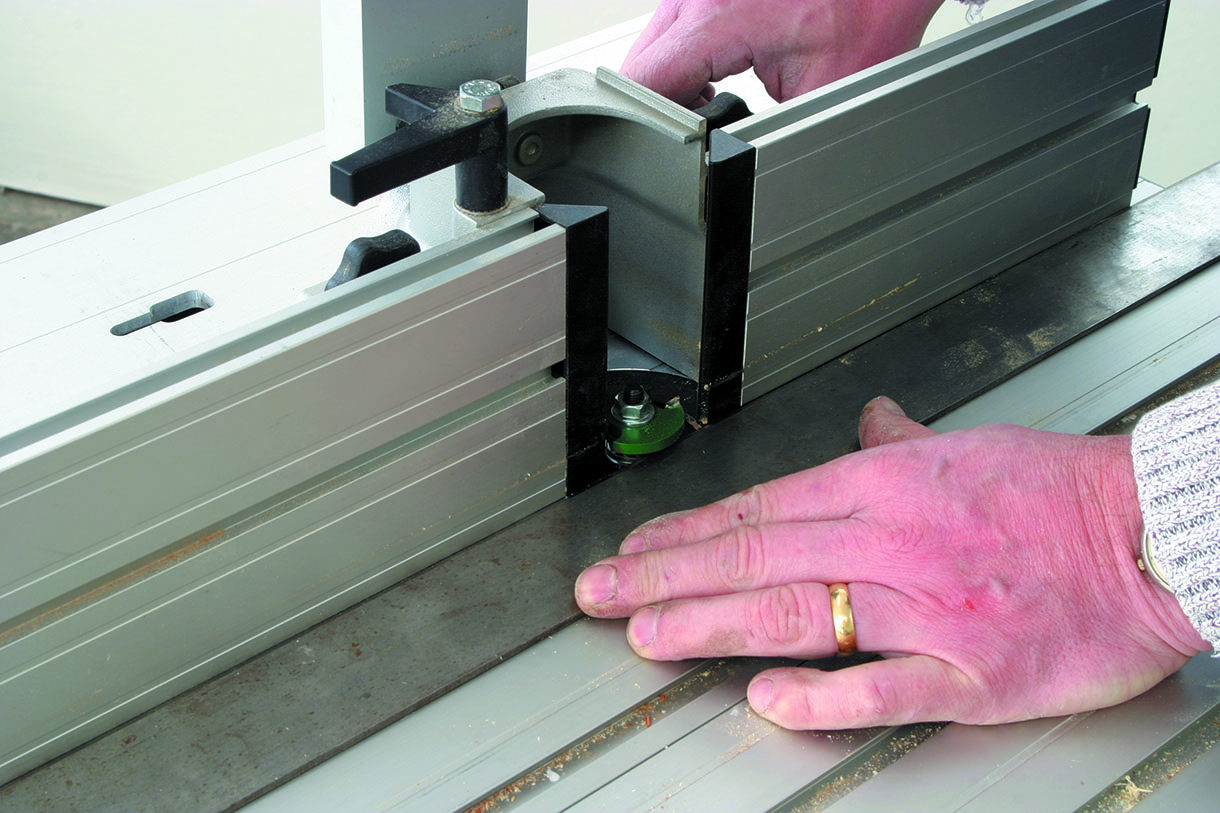
12. Bring the router table fences in as close as possible to the cutter, again to provide maximum support, and make sure they are locked up tight. Use a straightedge to level them through with the bearing on the cutter
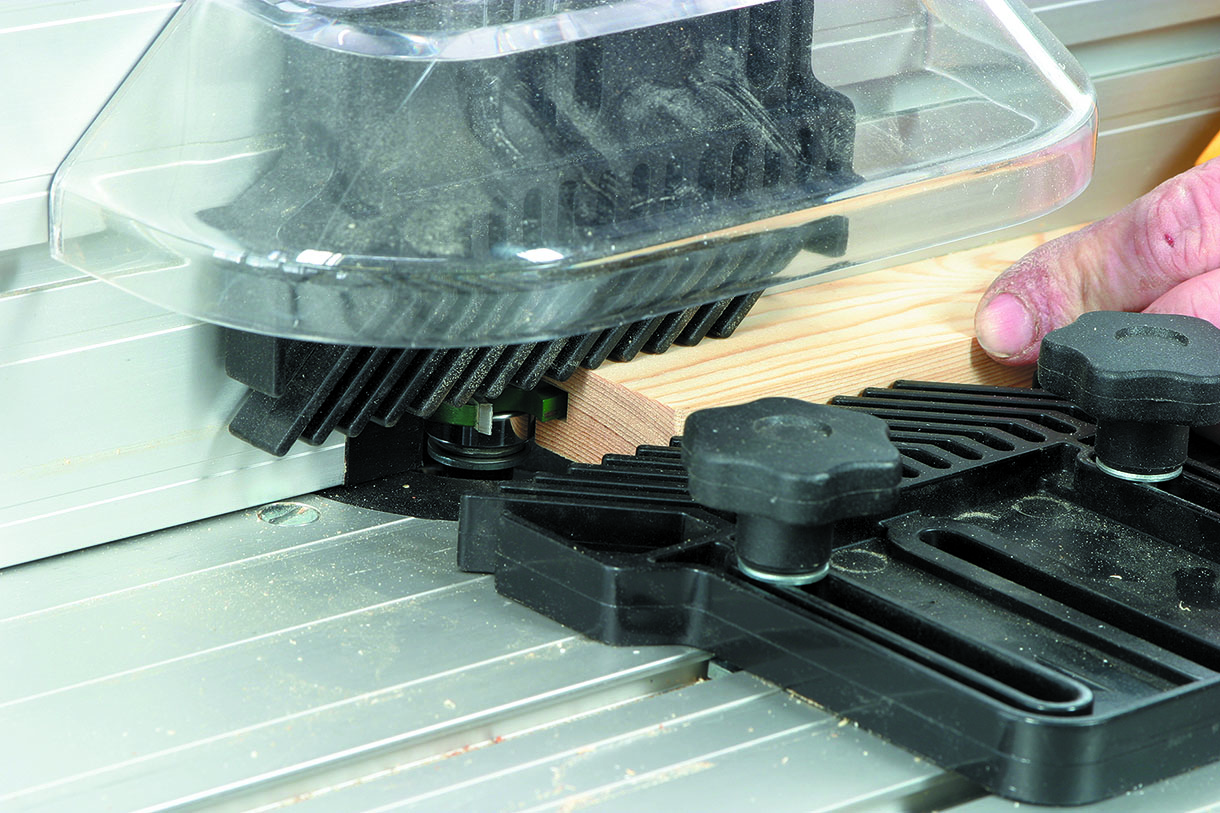
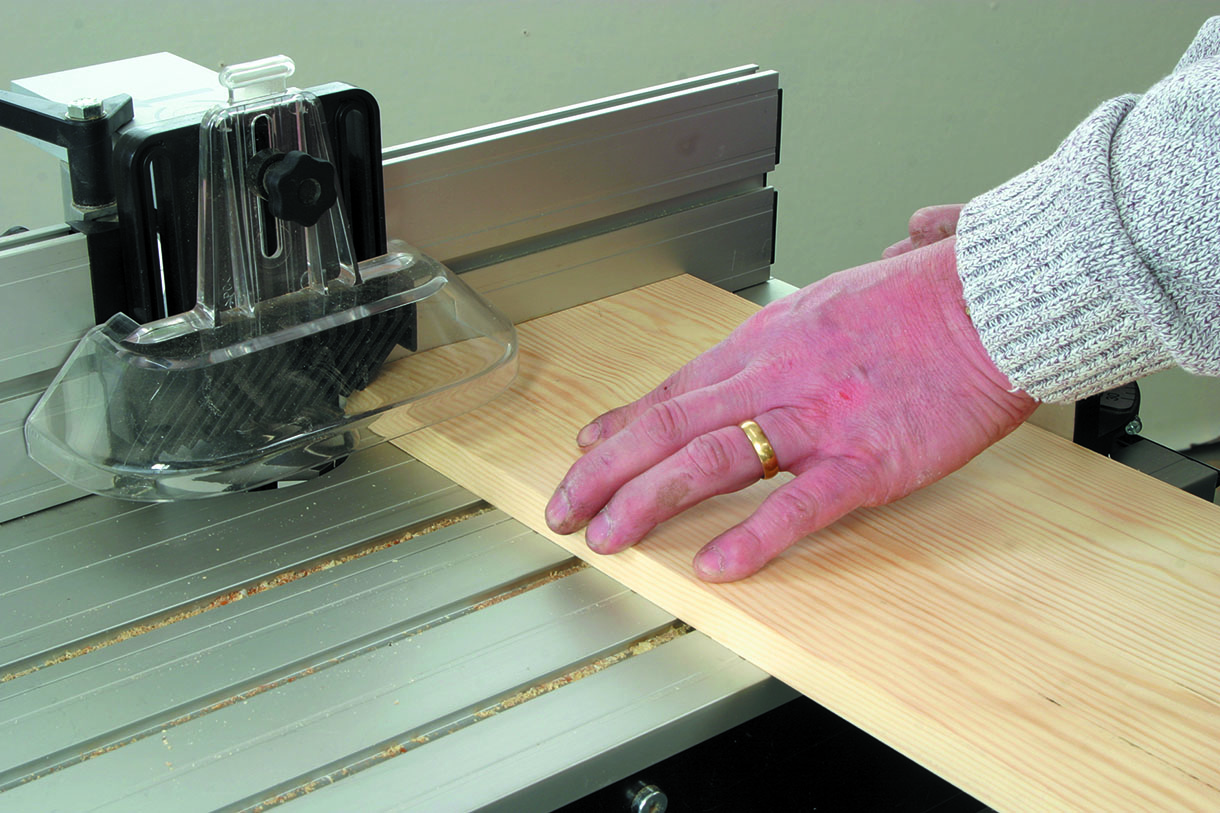
13. For safety, set up some form of hold-down mechanism to keep the work pressed against both the table and the fence. I find a simple featherboard arrangement is often the most effective way, as seen here
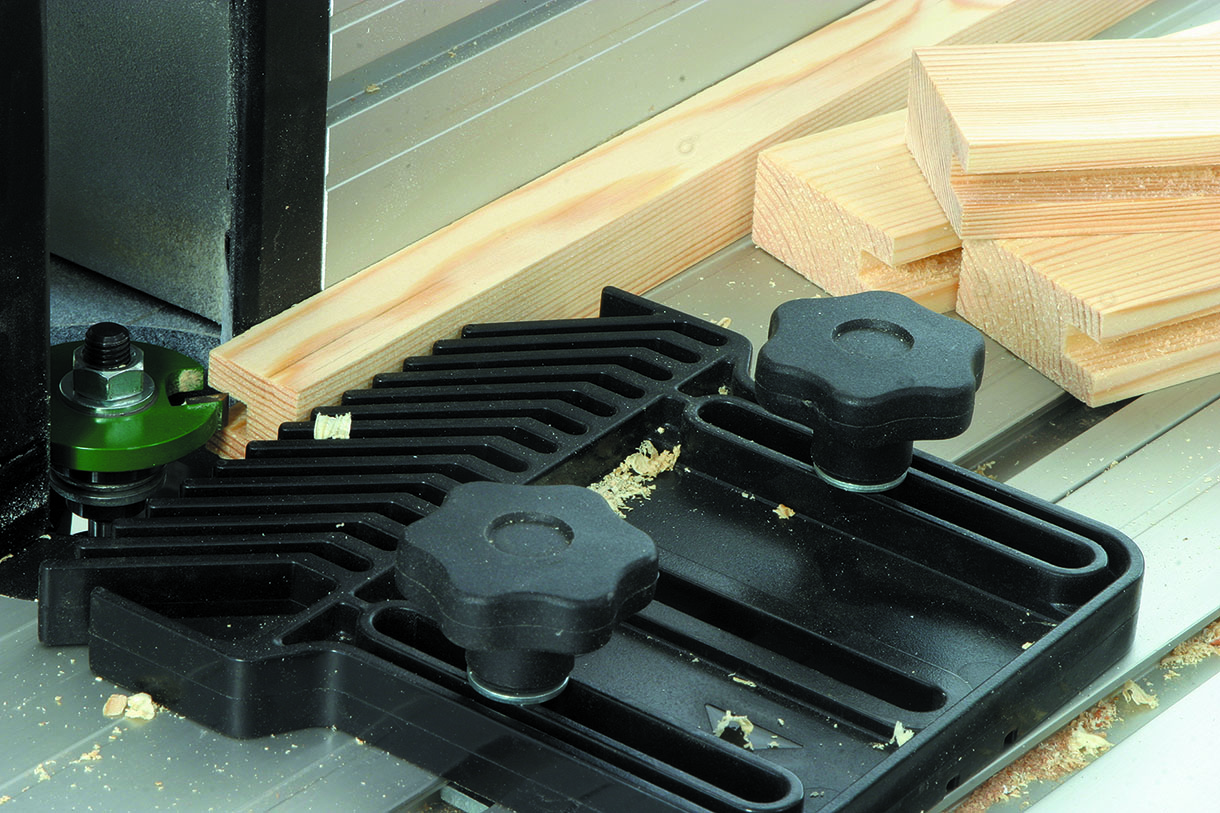
14. This business of holding firm against the fence is particularly important with the narrower frame components which are prone to chattering unless they are supported properly.
Making panels
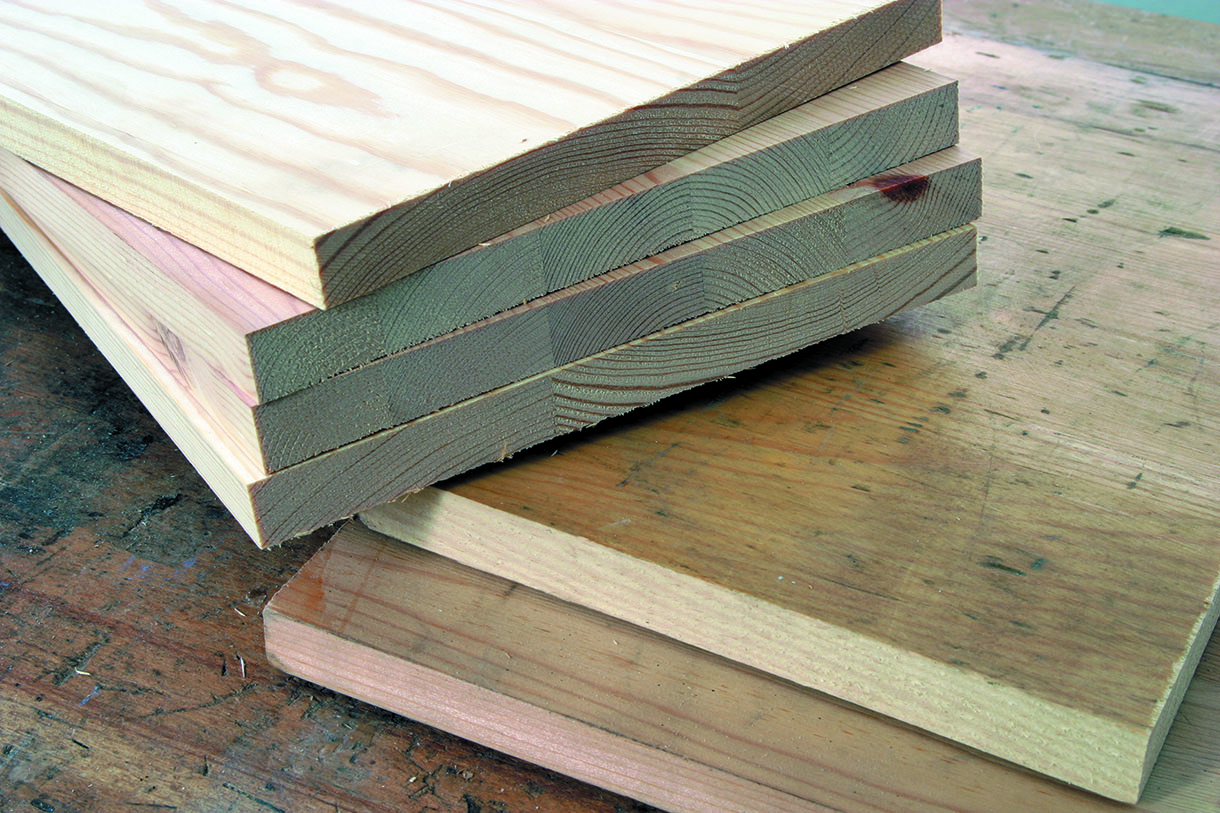
15. The panels themselves are cut from the old shelves and run through the thicknesser to clean up any surface marks – it is amazing what lies within even the scruffiest-looking piece
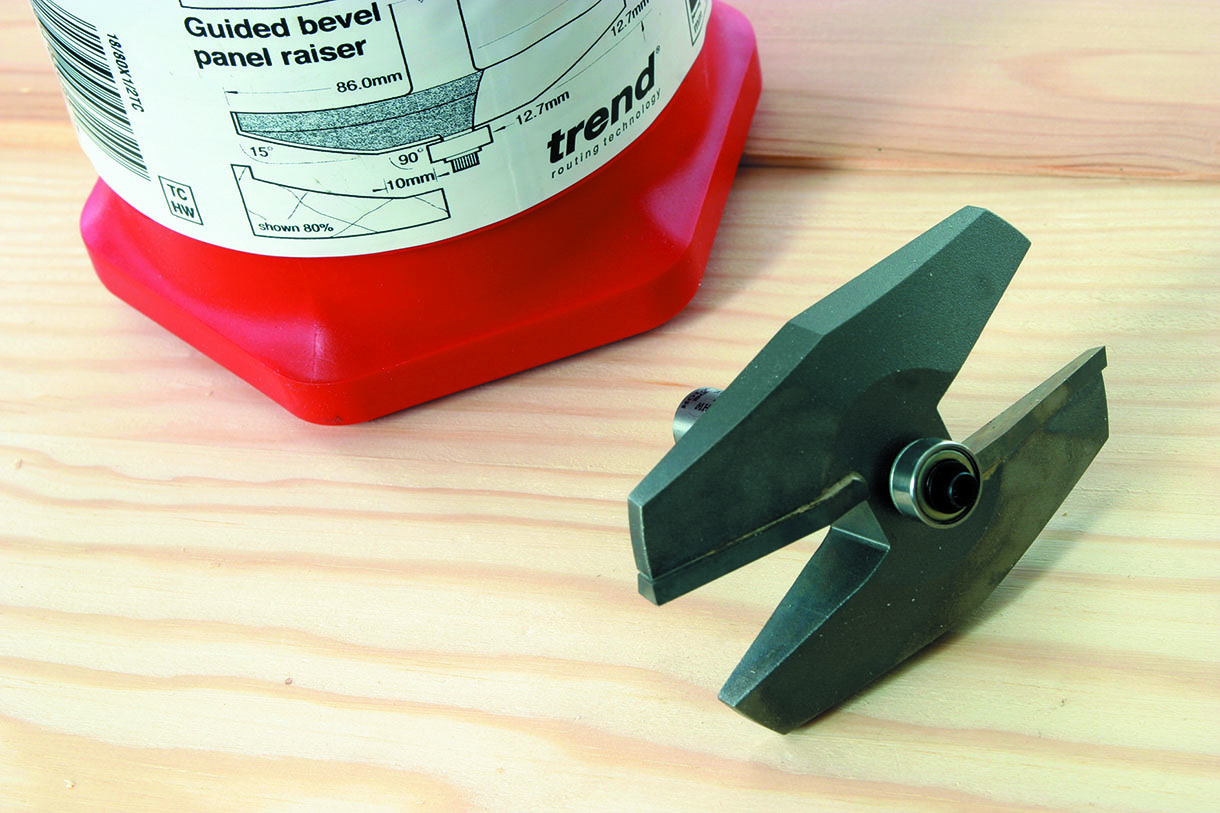
16. The raised profile of the panel can be created in several ways, but once again the router provides the most efficient method. While dedicated cutters are initially quite expensive, if you use them carefully and look after them they should last for years. I opted for a plain angled shape to be more in keeping with the contemporary look I was after
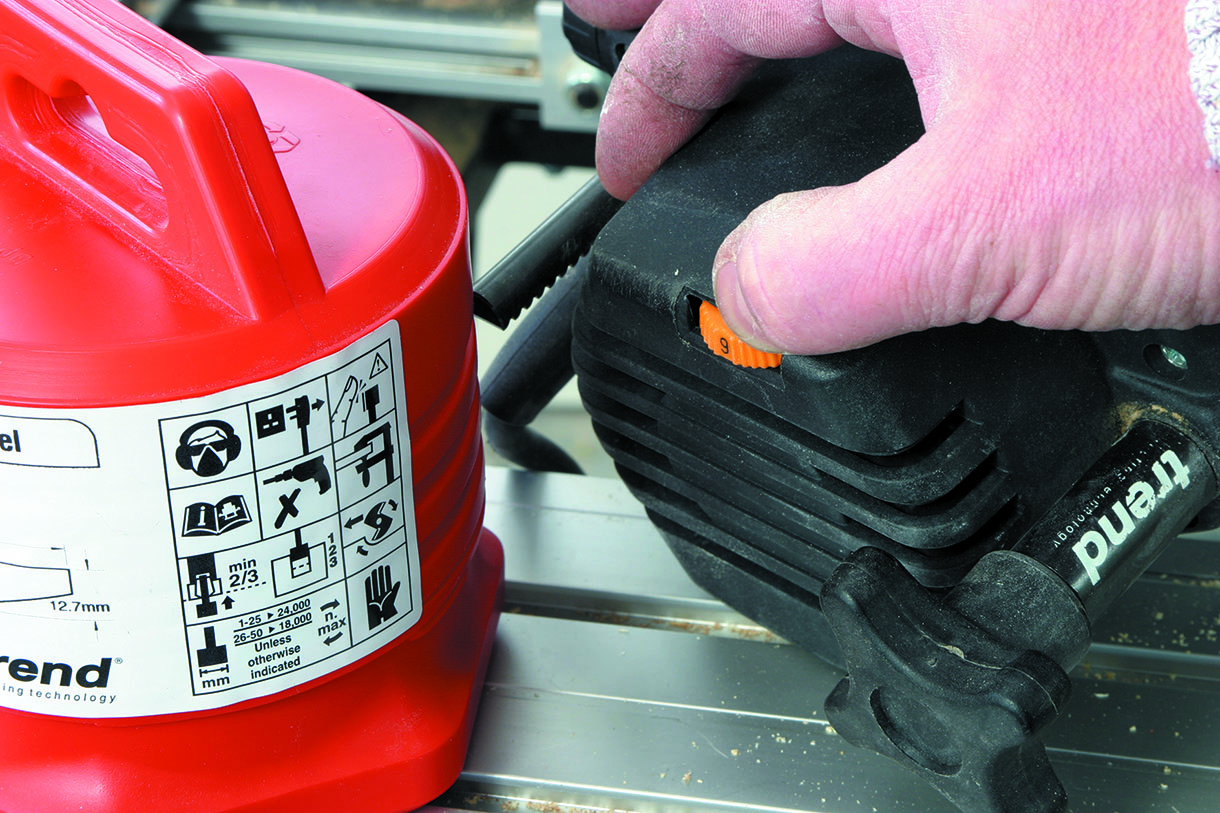
17. It is very important with these large-diameter cutters that you check carefully on the packaging for the maximum recommended speed and make sure that your router is set to this before you start. Working at high revs risks damaging the cutter, the router, the work or yourself, so take care
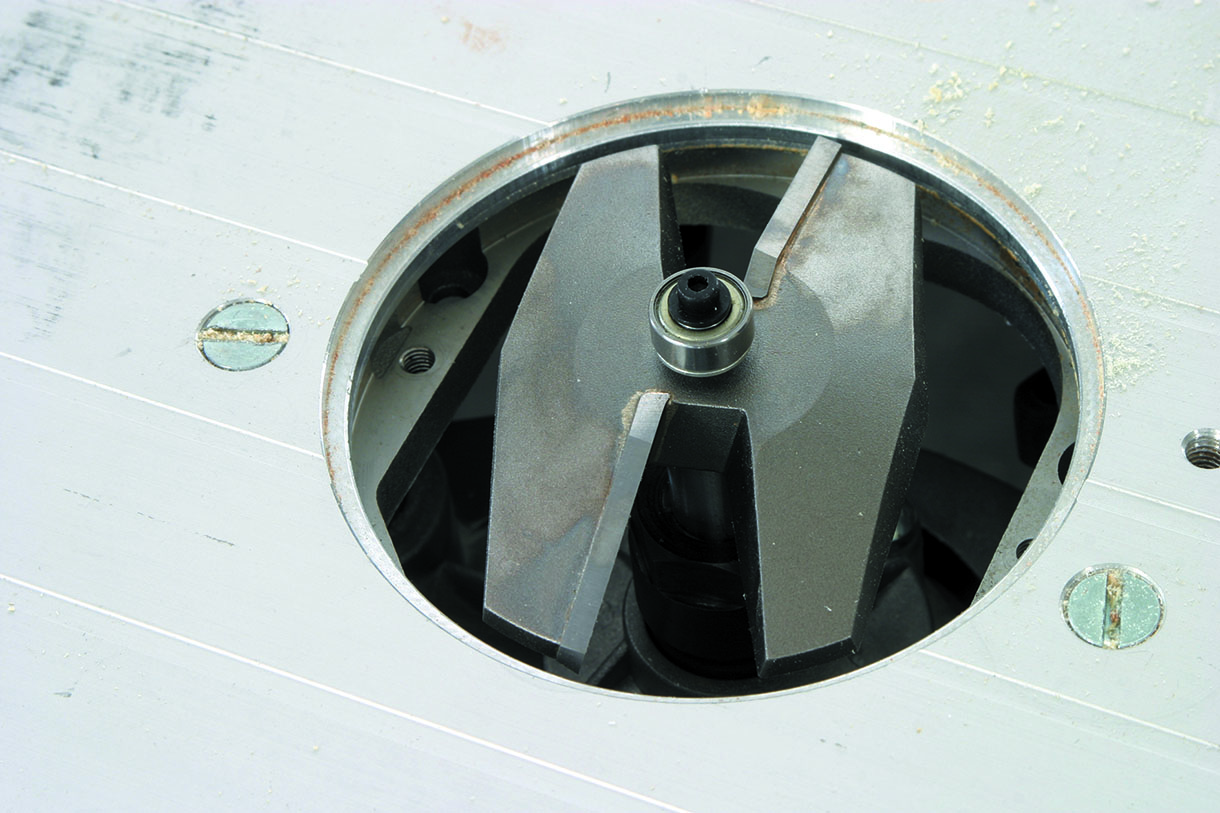
18. Big cutters should never be used freehand, only ever in the router table, but do check to make sure there is enough clearance in the table aperture. If not, you can often still use the cutters by making up a false tabletop from MDF and cutting a larger aperture in this
19. Start profiling the panel, making the end-grain cuts first. It is not good practice to try and achieve the finished profile in one pass, so take several to reach the required depth
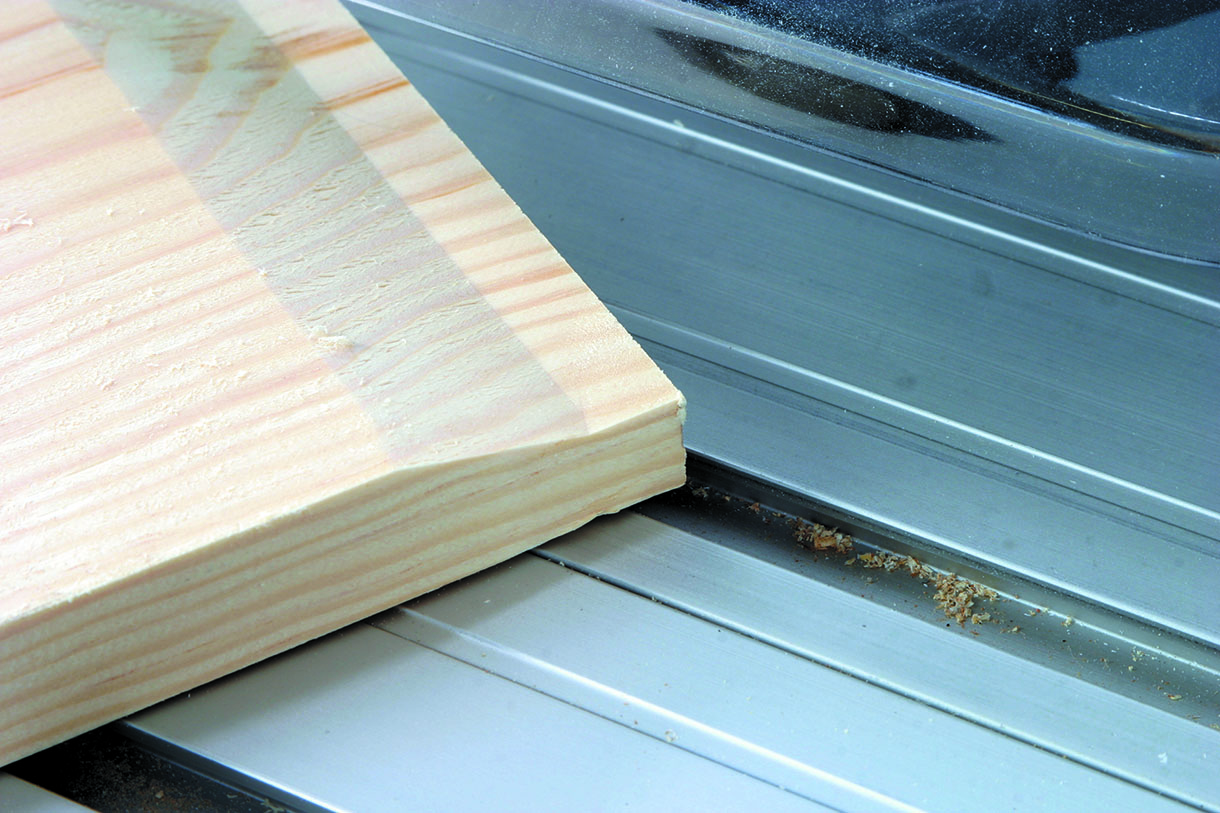
20. The end-grain cuts usually result in some breakout…
21. … but this is all removed by the cut down the length of the grain
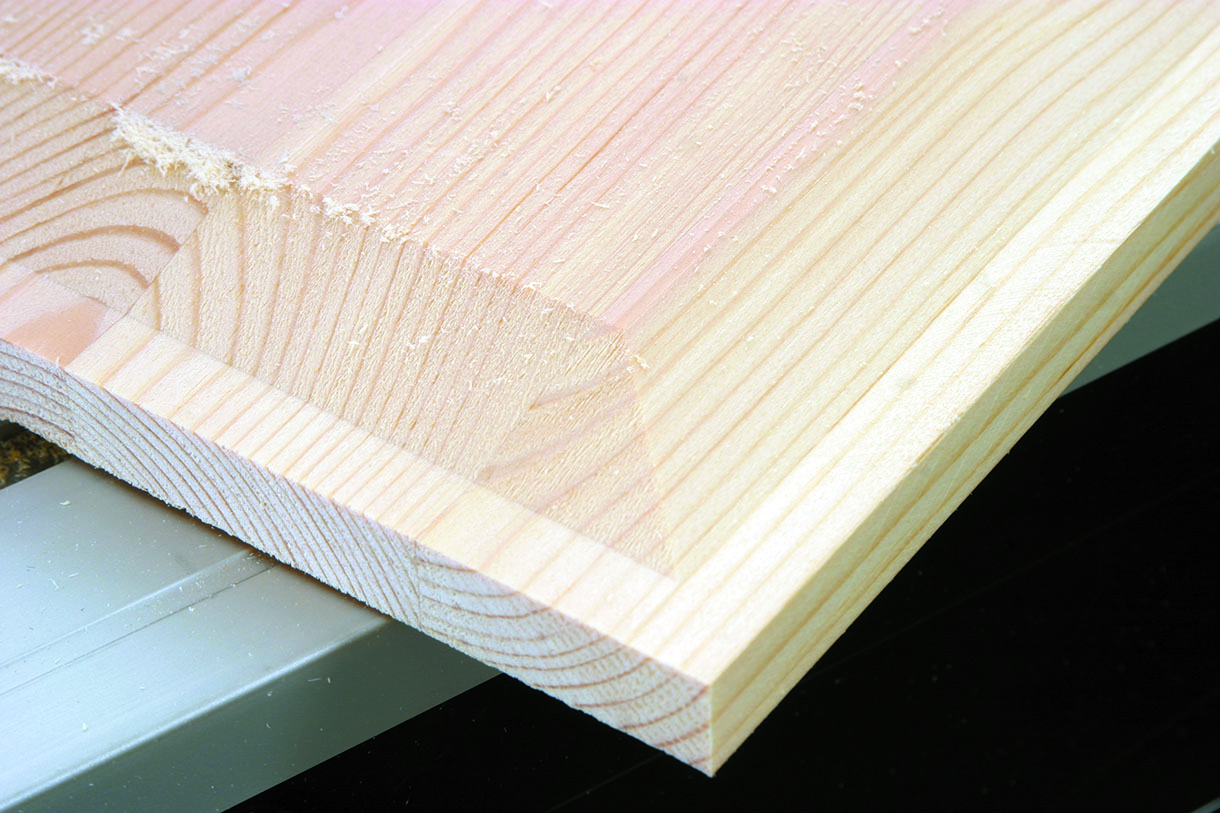
22. Repeat the procedure several times, progressively increasing the depth of cut until the flat section
is a nice sliding fit in the frame grooves. If you find that the cutter is burning, particularly on the end grain, try reducing the speed of rotation and/or hone it lightly with a diamond file to restore a sharp cutting edge
23. When you are forming the groove in the cross-rail components of the frames remember to groove across the end as well, as this is used to form the joint. I actually forgot and had to reset the grooving cutter – another half hour wasted for a moment’s inattention!
Panel assembly
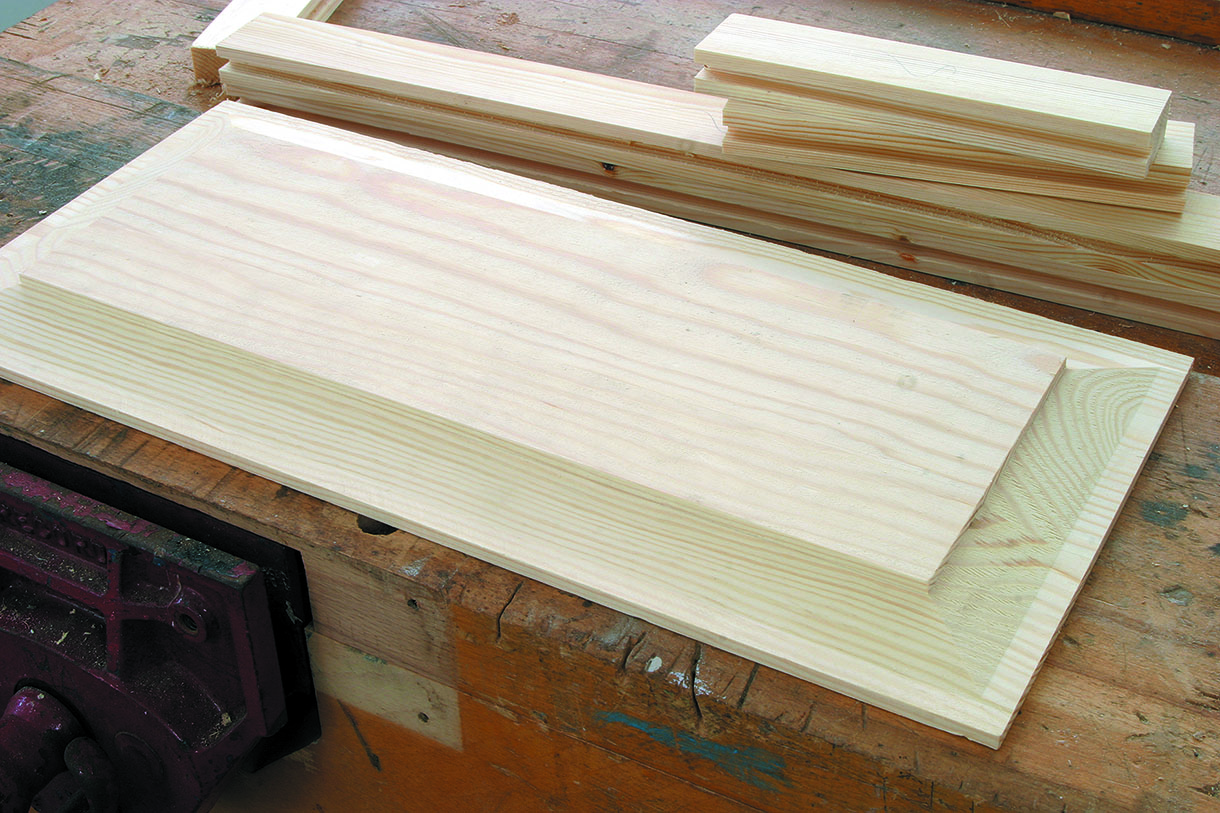
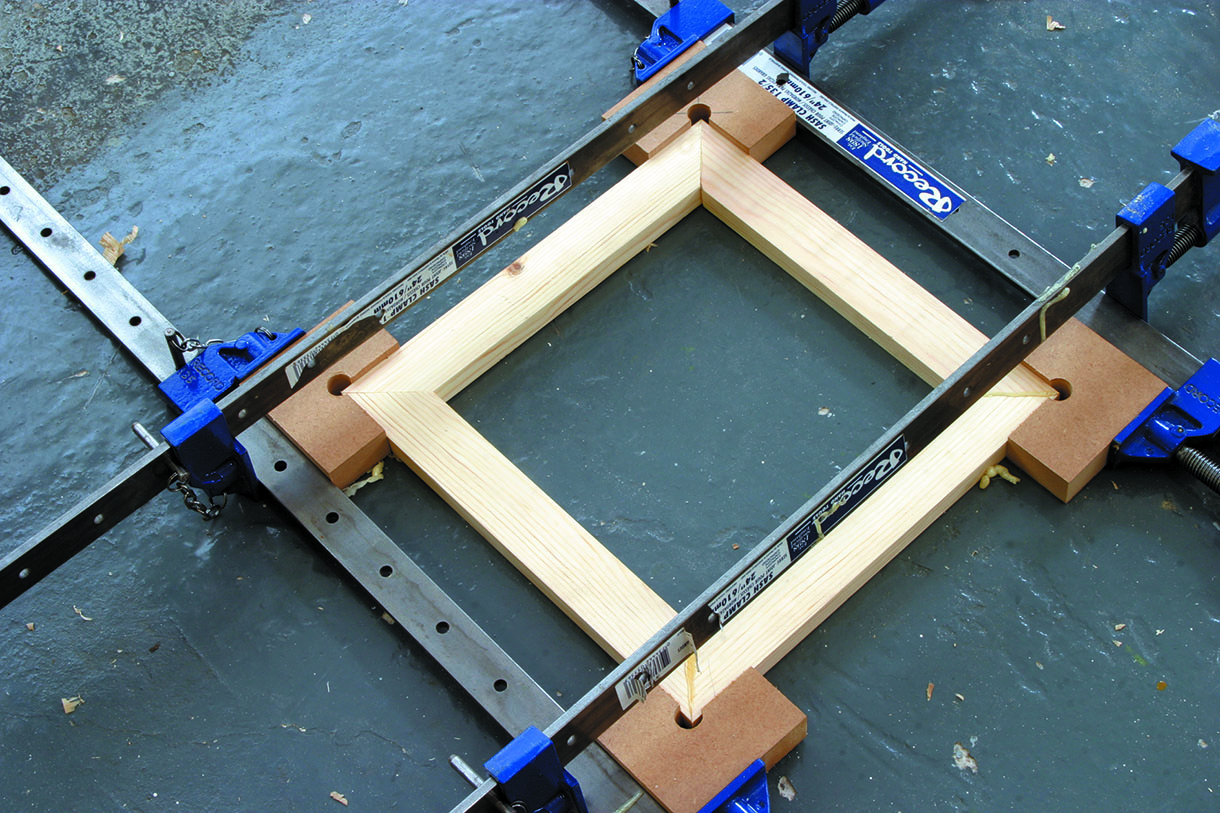
24. Try a dry assembly of the panel to make sure the frame will pull together without any gaps
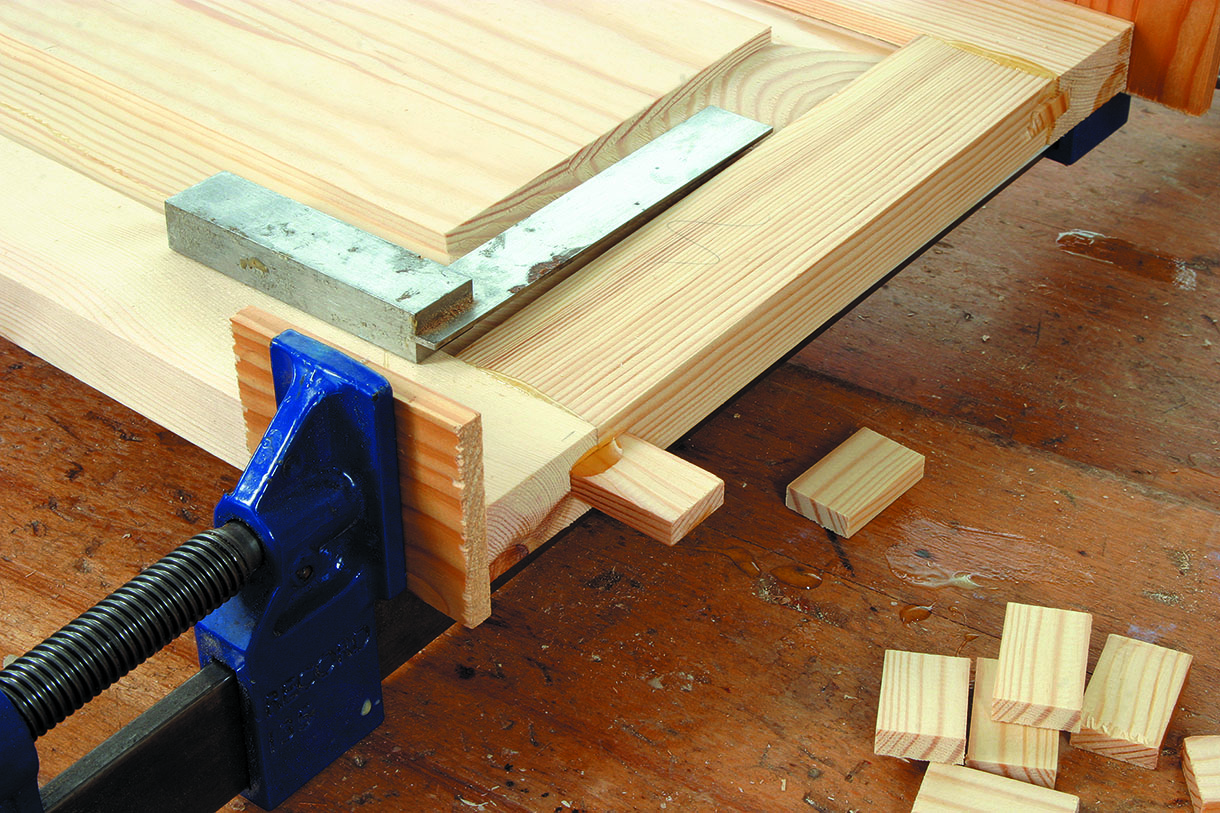
25. If it is all okay, apply some glue to the end of each cross rail and clamp it all up around the panel. Do not apply any glue to the panel itself as this needs to be free to move with changing weather conditions. Any attempt to fix the panel permanently in place will almost certainly result in it subsequently cracking. Cut some small tongues to fit into the grooves to complete the joint, and tap these in place
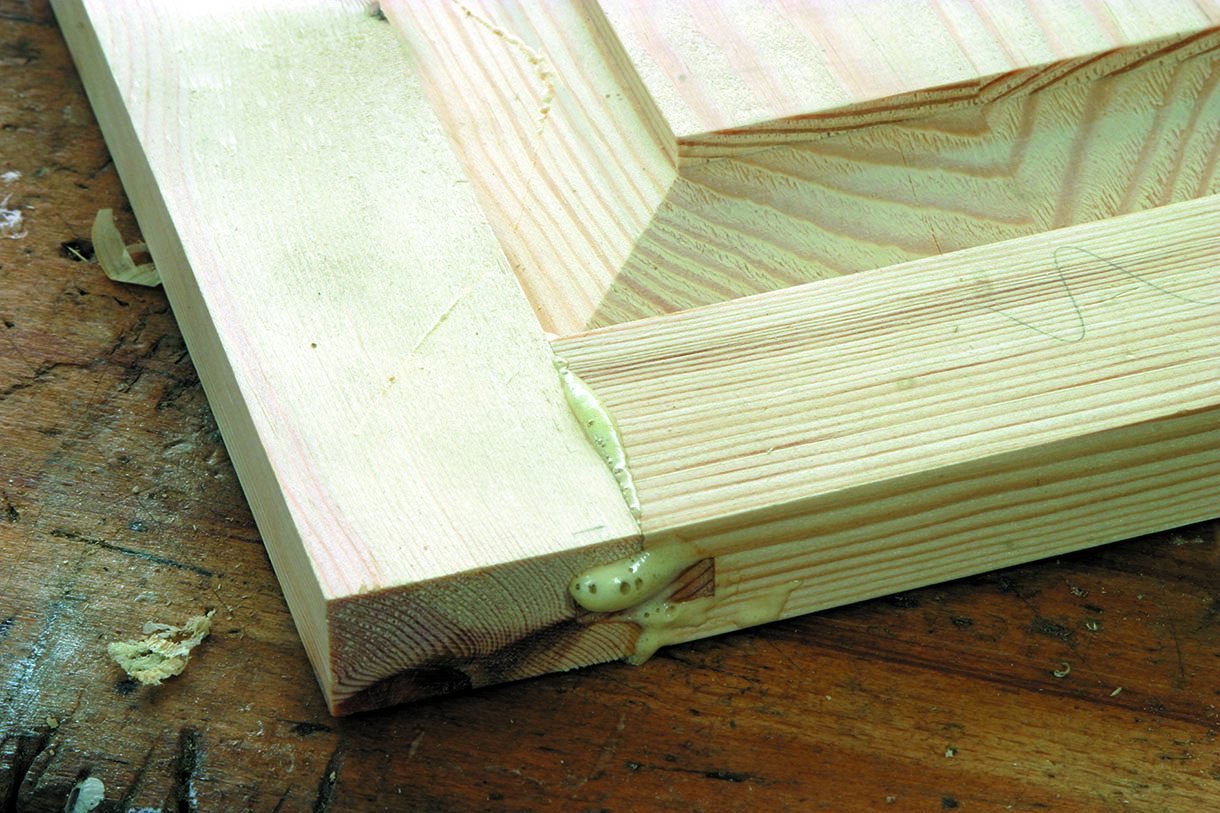
26. The foaming polyurethane type of glue provides a completely weatherproof bond and also expands to fill in any small gaps. It dries in about half an hour but if you leave it several hours the excess foaming can be cut away cleanly with a sharp chisel. With this glue there are none of the staining problems normally encountered with PVA
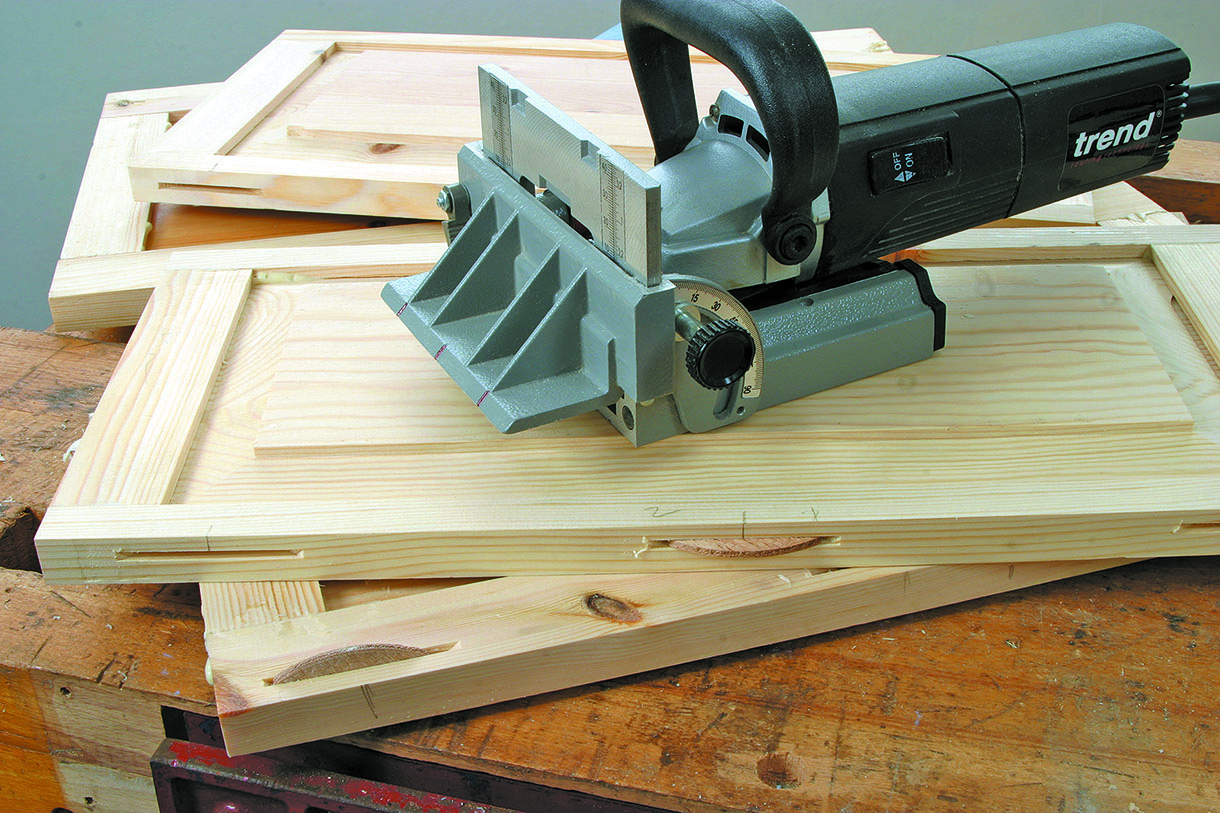
27. The four completed panels are biscuit jointed together to form the planter box; I used three biscuits per side to maintain the alignment
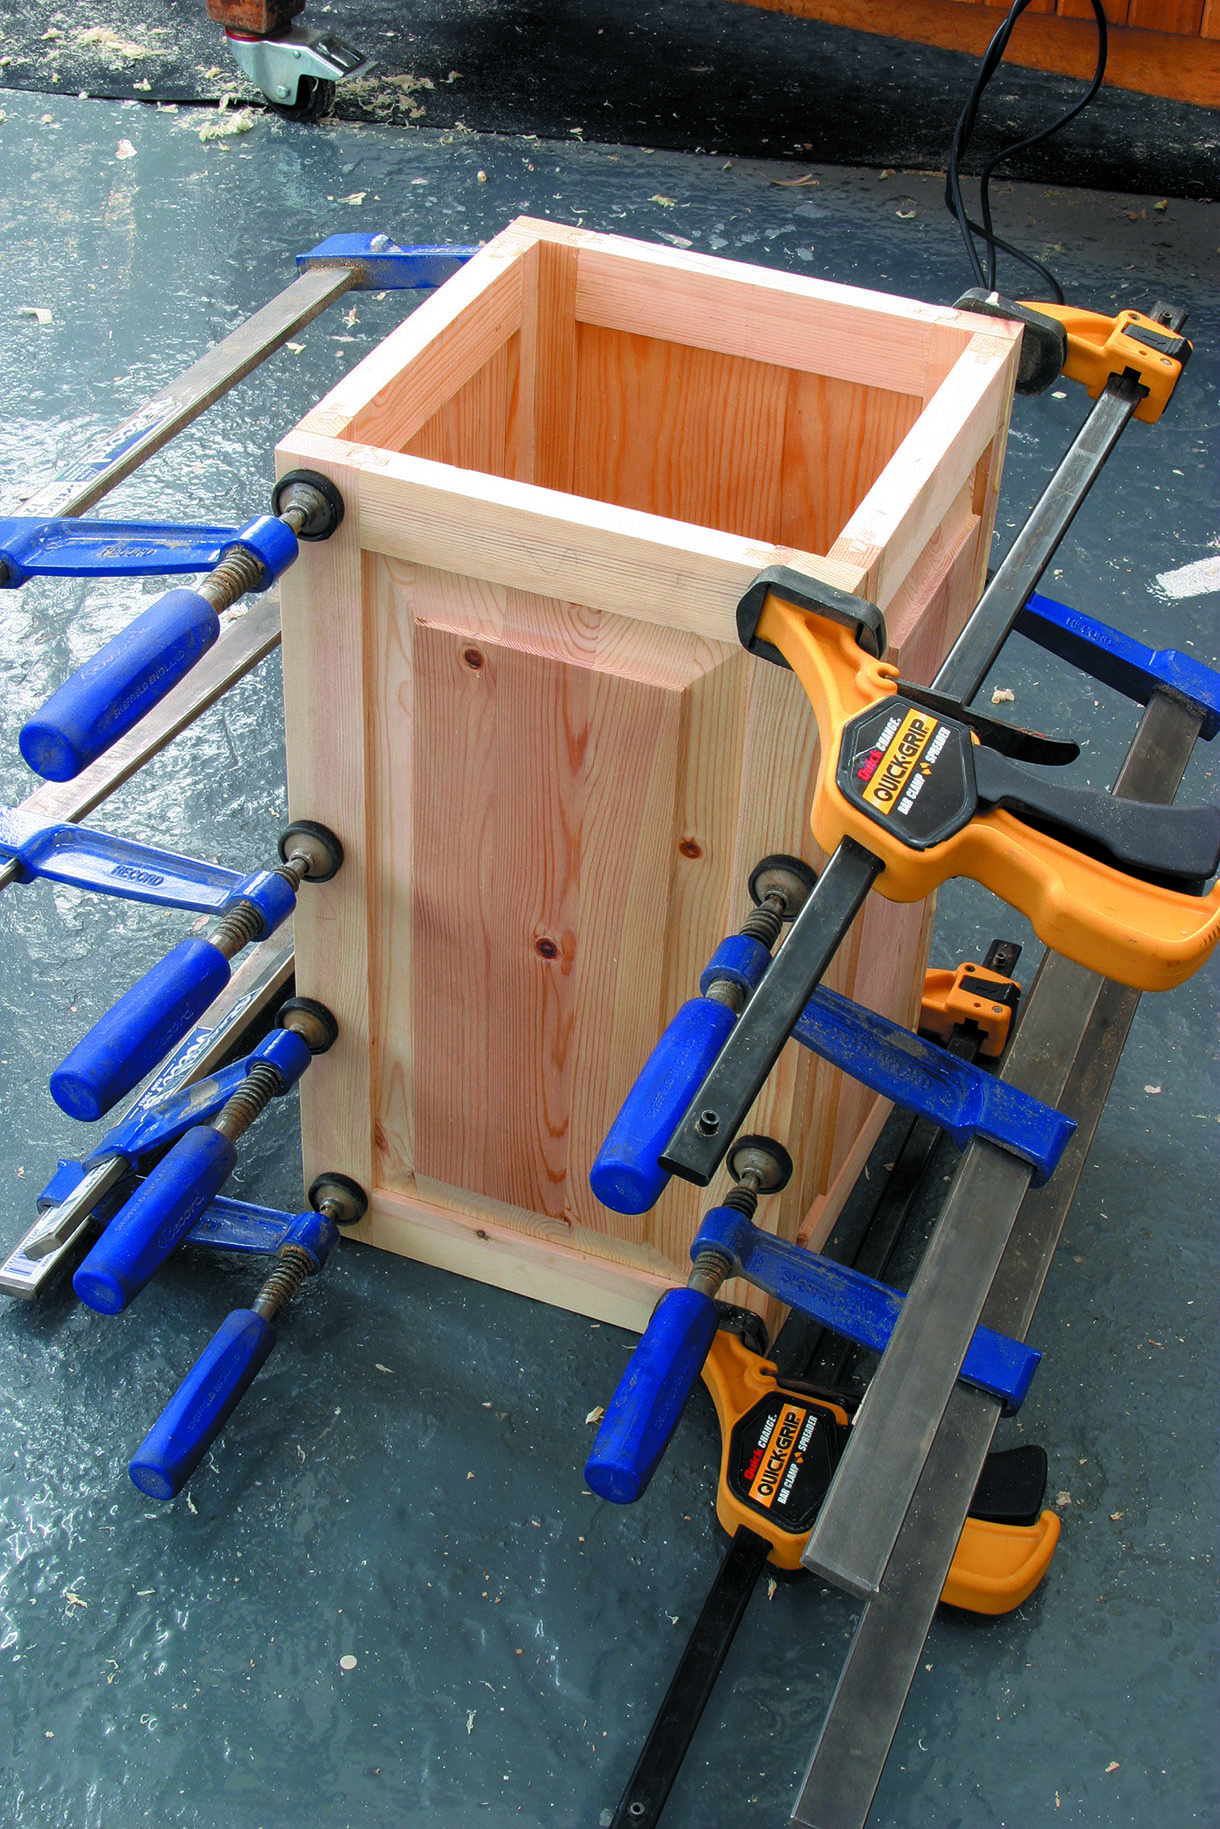
28. For the final assembly you will need plenty of clamps, but keep checking that the box is remaining square as it is so easy to pull it out of alignment with a carelessly applied clamp
Braces, feet, corners and top
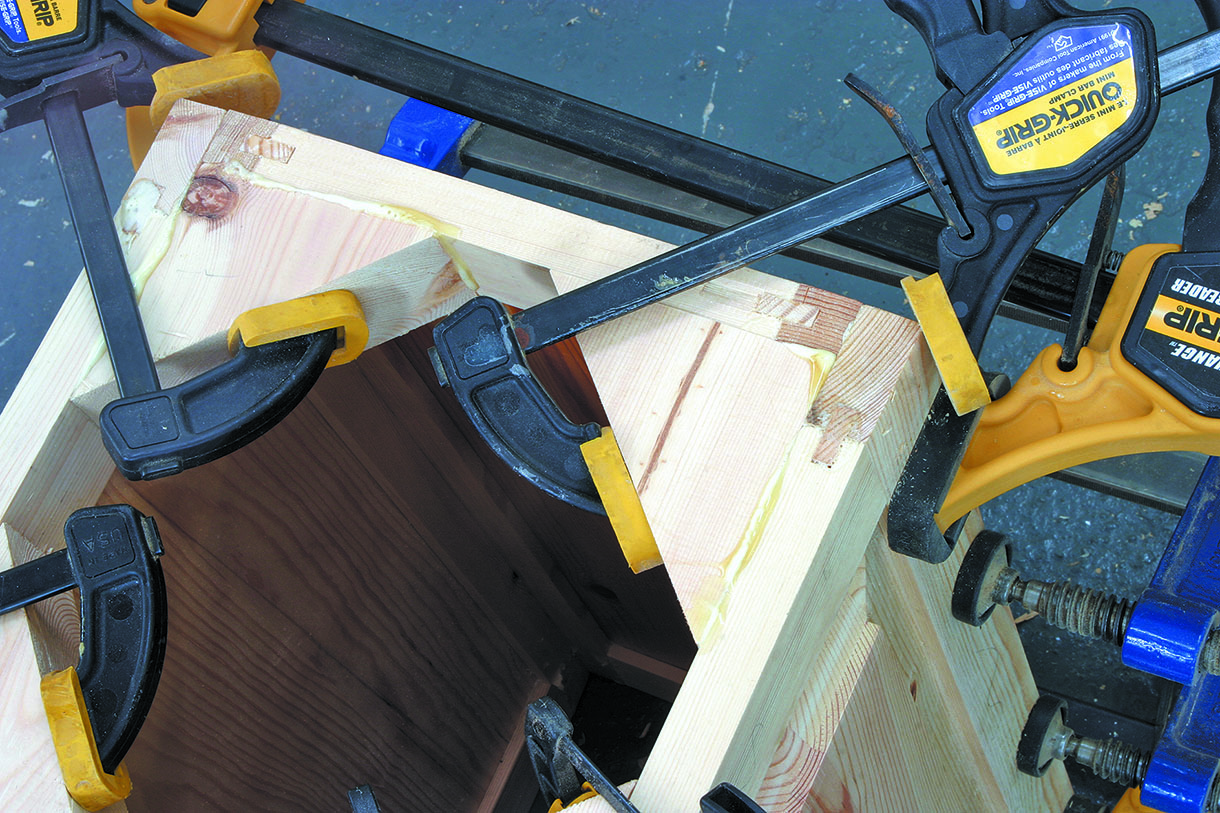
29. Corner braces are glued into the bottom of the planter to add strength and to provide a seating for the loose base

30. To prevent the base from rotting it is best to raise it slightly off the ground on feet, and for this purpose. I used some small squares of oak which is far more weather resistant than pine
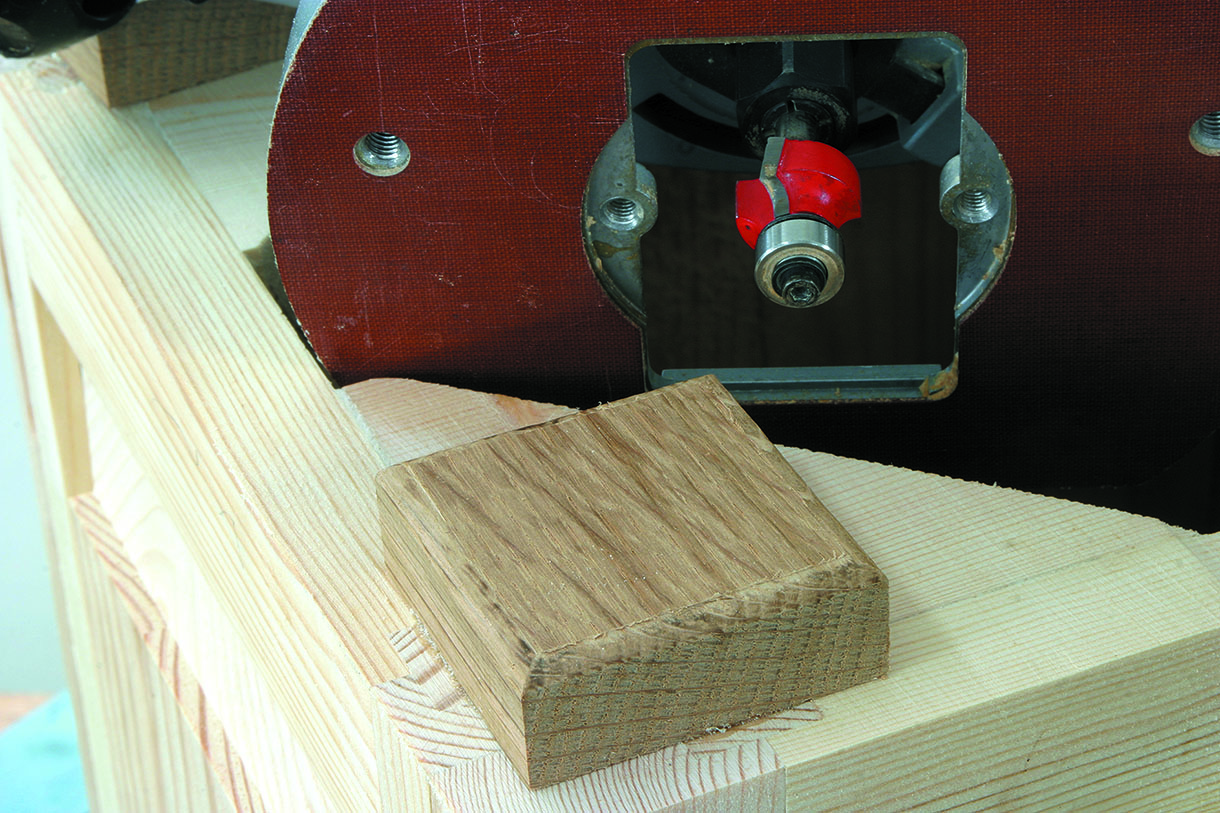
31. These are simply glued in place and then routed with a tiny radius to form a neat, unobtrusive foot
32. The four corners of the planter box are chamfered with the router, finishing the chamfer in line with the cross rails
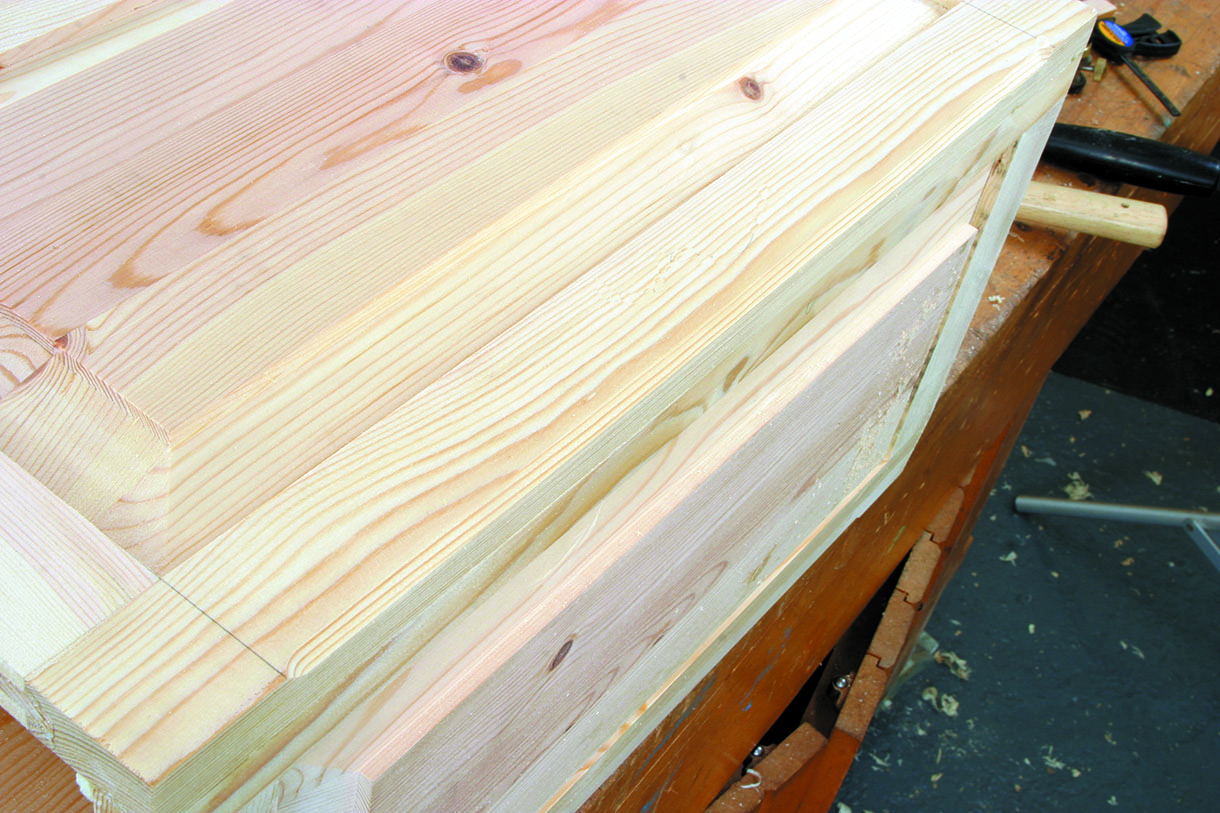
33. The top of the planter is covered with an overhanging frame made from the same-sized material
as that used for the panel framework
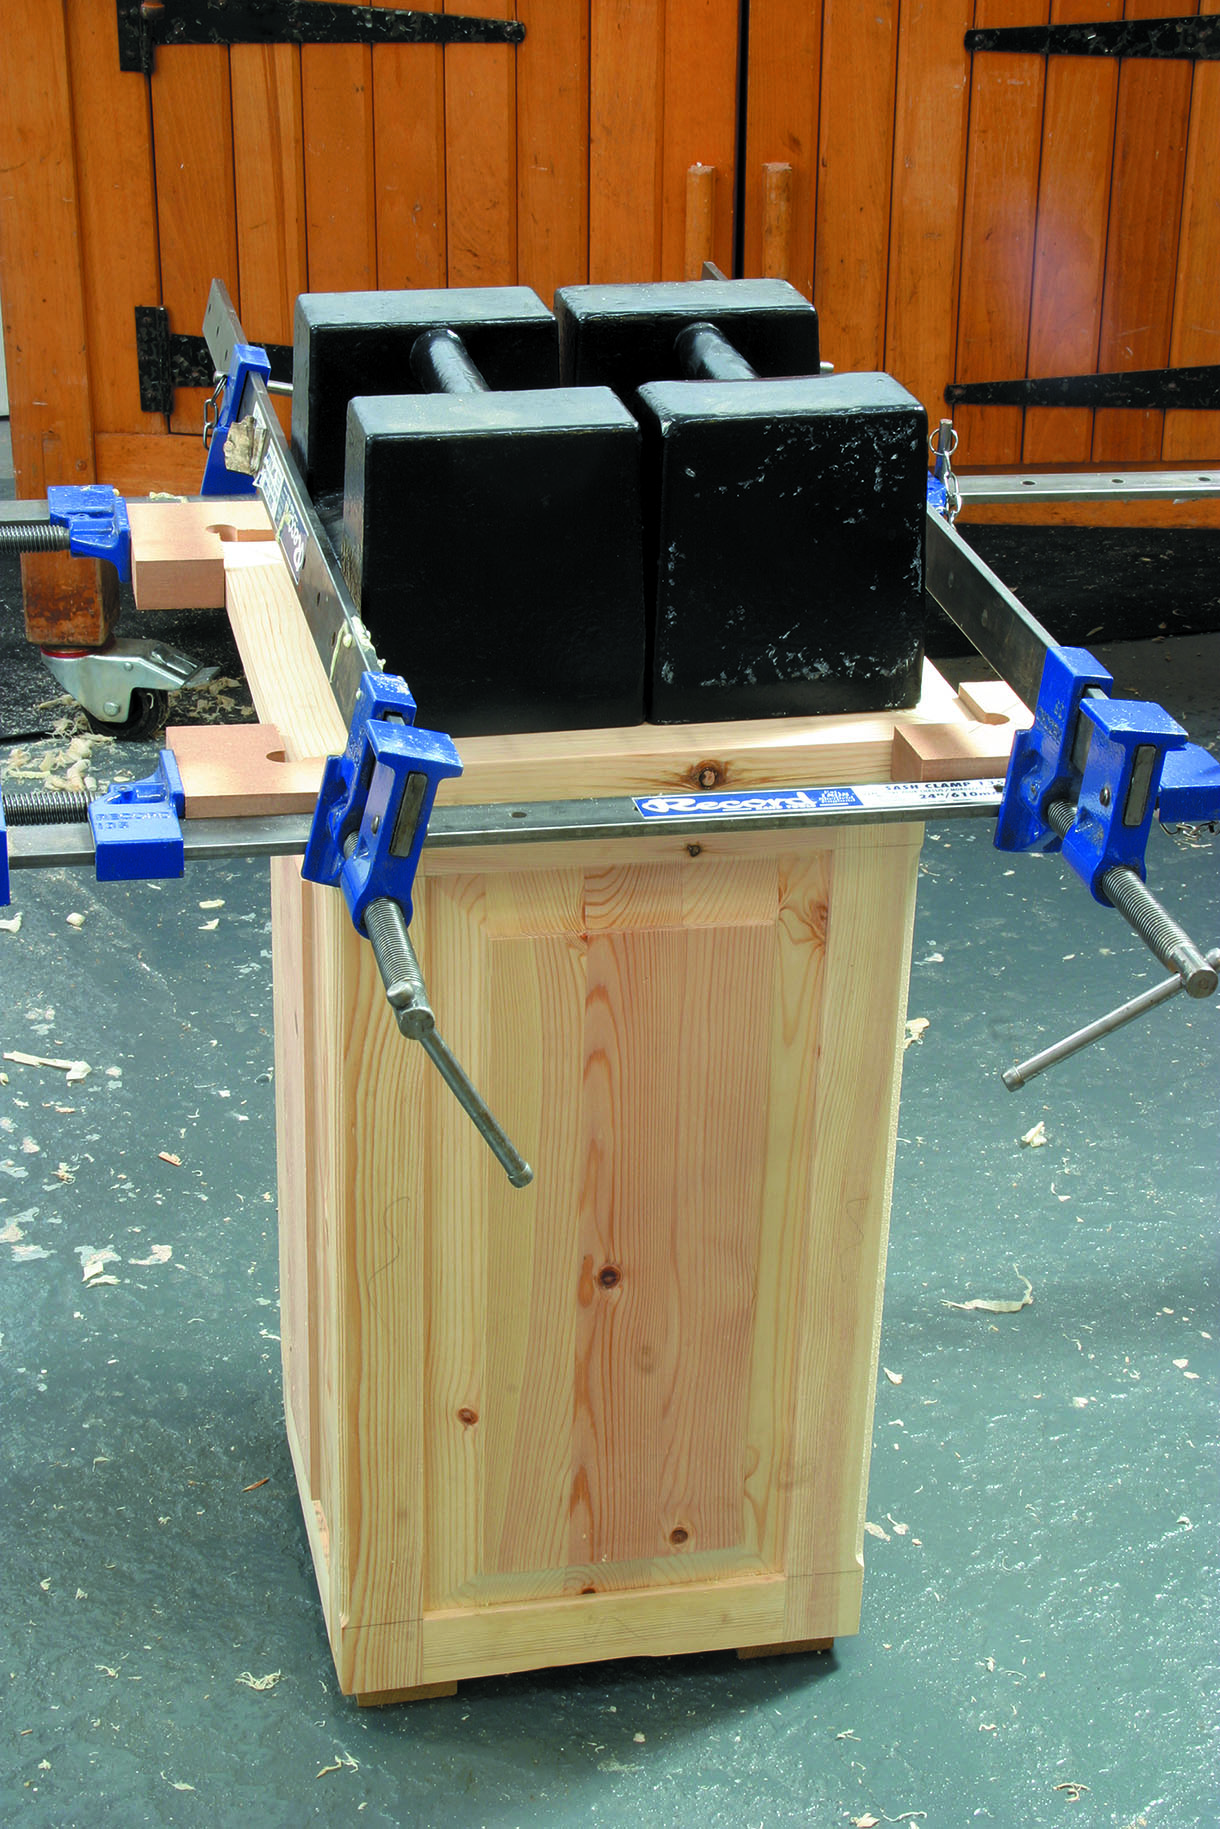
34. The corners are biscuited together and the whole assembly is just glued in place, using weights to hold it in position while the glue cures
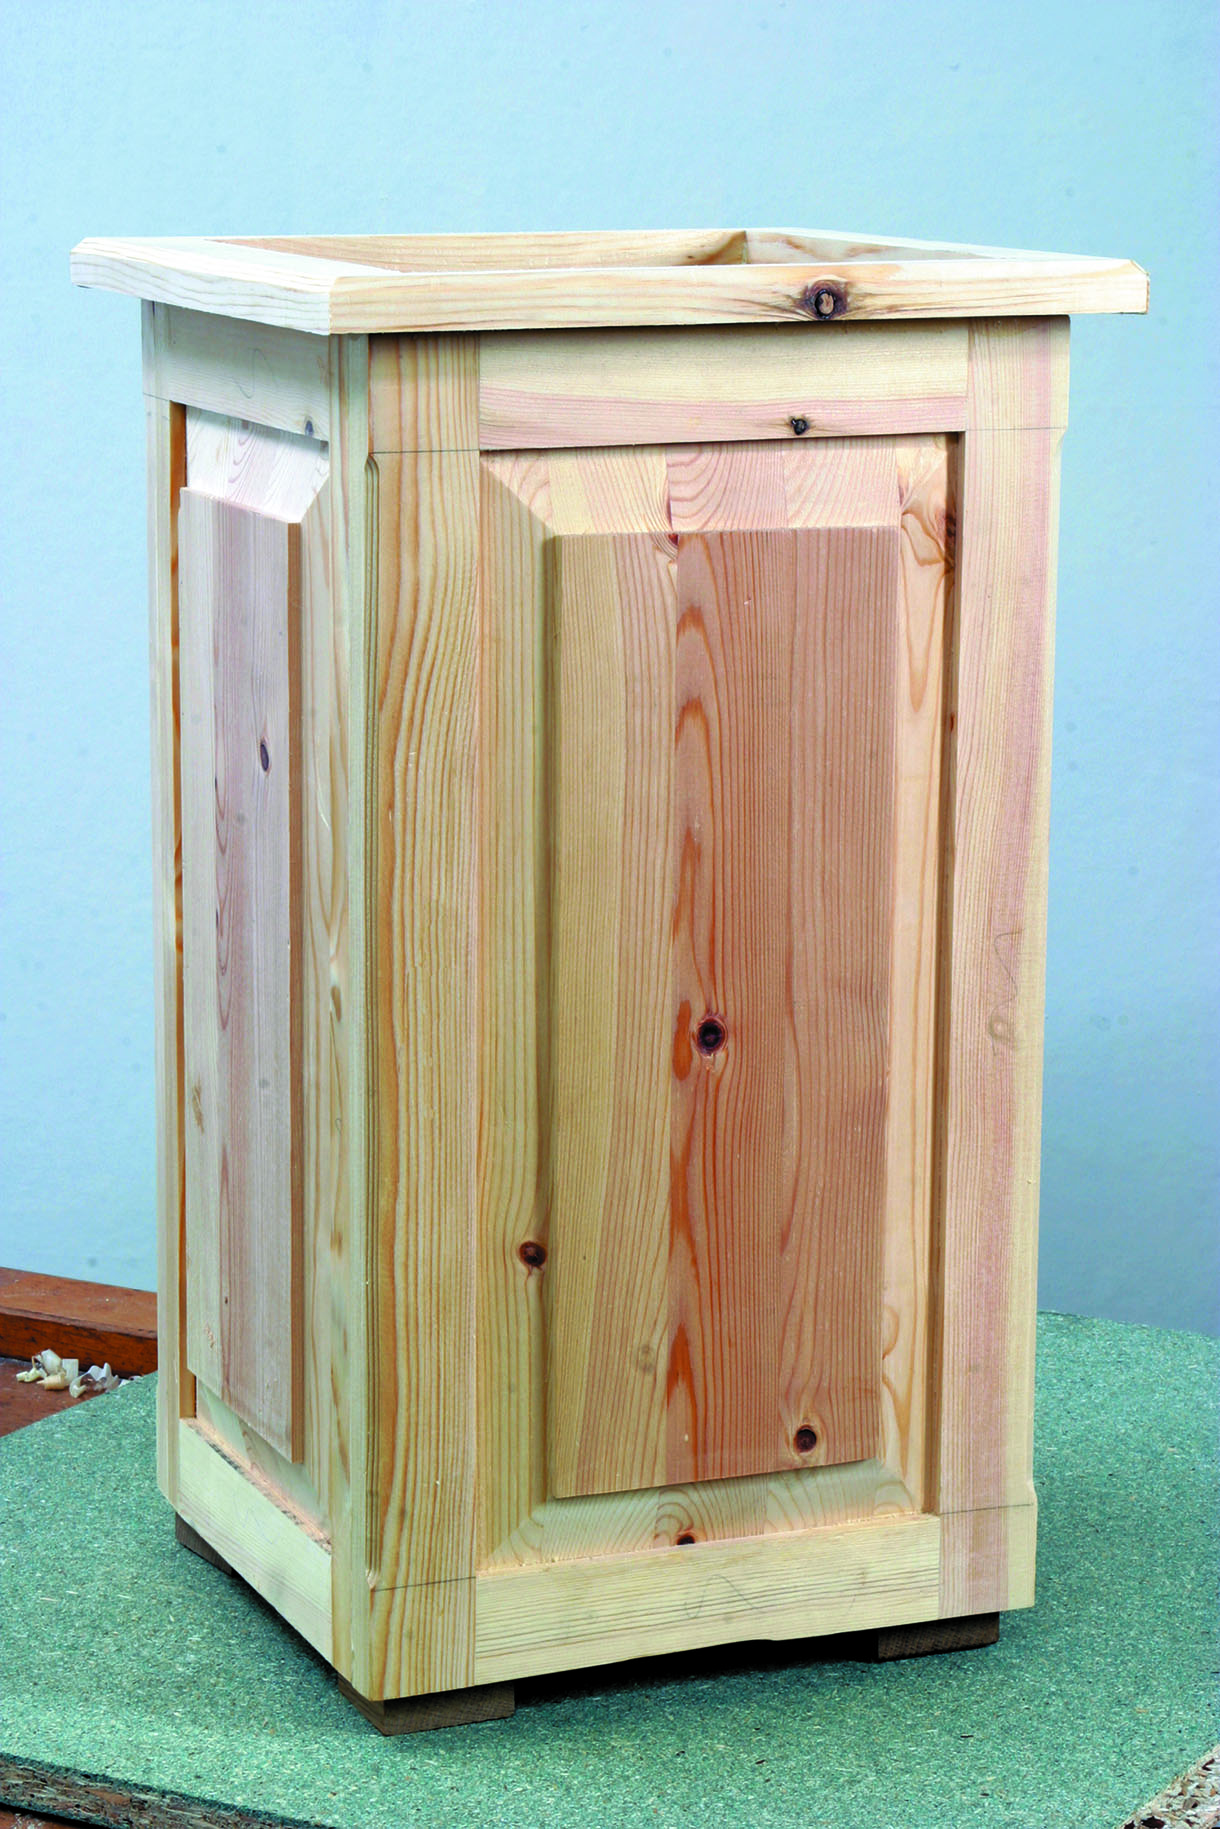
35. Once everything is set, any excess glue can be cleaned off with a sharp chisel and the planter can be sanded thoroughly ready for finishing
Finishing touches
Choose plants that will ‘bush’ and create an interesting form as they develop. Evergreens (such as box) last all year round, but for a summer display pick a variety with plenty of flowering potential. In the summer months make sure you water the plants regularly as dictated by species.
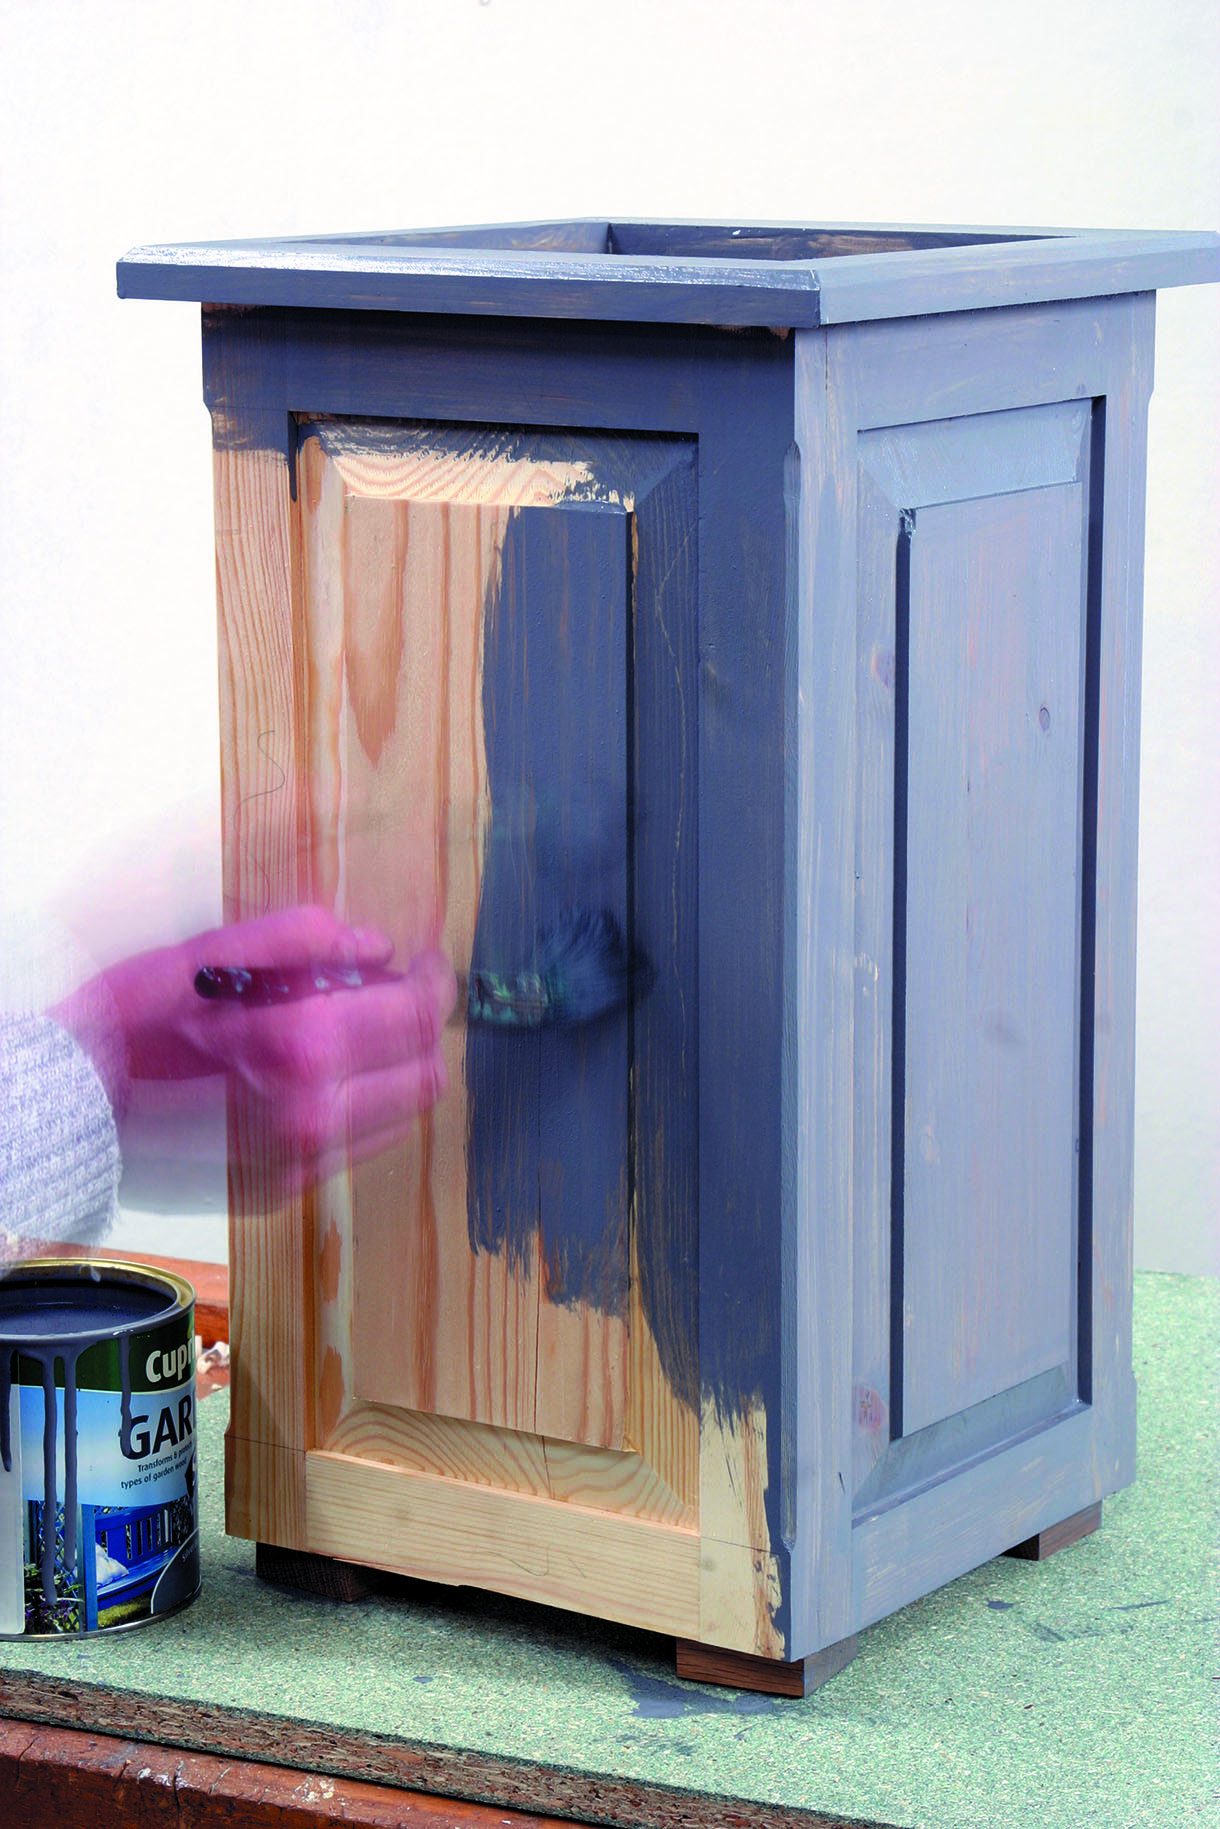
36. There are dozens of different decorative clear and coloured finishes available for outdoor use.
I used a silver-coloured waterproof stain, applying two coats with a brush…
37. … to give a cool, contemporary result


