Square Deal
Anne Briggs Bohnett emphasises the importance of using truly square stock and offers a few tips on using a shooting board to achieve perfectly tight joints
My Paul Sellers’ shooting board
As a fairly young woodworker in terms of training and experience, a crucial part of my journey learning this craft has been the practice of eliminating as many variables as possible. This way, when things don’t turn out the way I expect or want, I can narrow down where I went wrong, adjust my techniques or approach accordingly and have greater success with my next attempt. Many of my biggest problems early on resulted from using pre-dimensioned stock that wasn’t actually square. My dovetails wouldn’t mate properly, my assembled carcasses were never quite square, my mitres were never perfect. I would fiddle with the joints and check and double-check my joinery, but could never quite pinpoint where I was going wrong. That was until two years ago when, following the advice of a fellow handtool woodworker, I built my first shooting board. That simple afternoon-long project revolutionised my handtool woodworking. After sawing to my line, I was able to clean up my square and mitred cuts with the shooting board.
I could use it as a planing stop for thin stock, shoot small long-grain stock square, and adjust the dimensions of my stock by length by a few thousands of an inch – a single shaving – at a time. More experienced woodworkers have been preaching about the importance of using a shooting board in handtool workshops for some time now, so I won’t be so bold as to presume I have anything new or earth-shattering to say on the subject. I will, however, echo their wise words about the importance of using square stock and encourage you to make or buy your own shooting board as it has great potential to aid your efficiency and accuracy as a handtool woodworker. And the more you use it, the more you’ll wonder how you ever got along without one. Shooting boards perform three basic functions: shooting long grain, squaring end grain and truing mitres. Aaron Moore of Walke Moore Tools wrote a fantastic piece on his long-grain shooting board in F&C – issue 222 – and I urge you to check it out. Paul Sellers also has a wonderful video series about his take on a shooting-board design which squares end grain and trues mitres all in one jig. For my part, using two scrap pieces of plywood, some 1x1in stock and a few power tools I was able to construct a simple shooting board in under 20 minutes. It may not be as pretty, or work quite as slick as some of the fancy designs out there, but it does the job just as well.
Many tools, same job
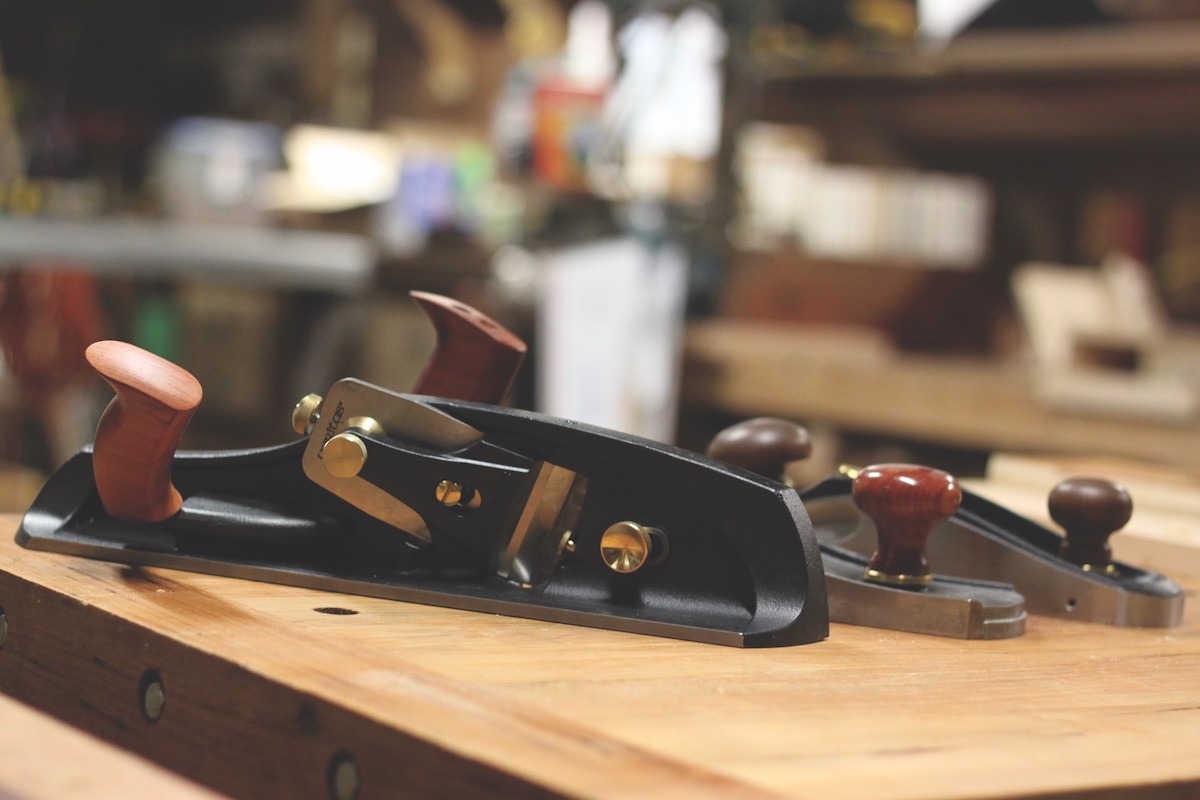
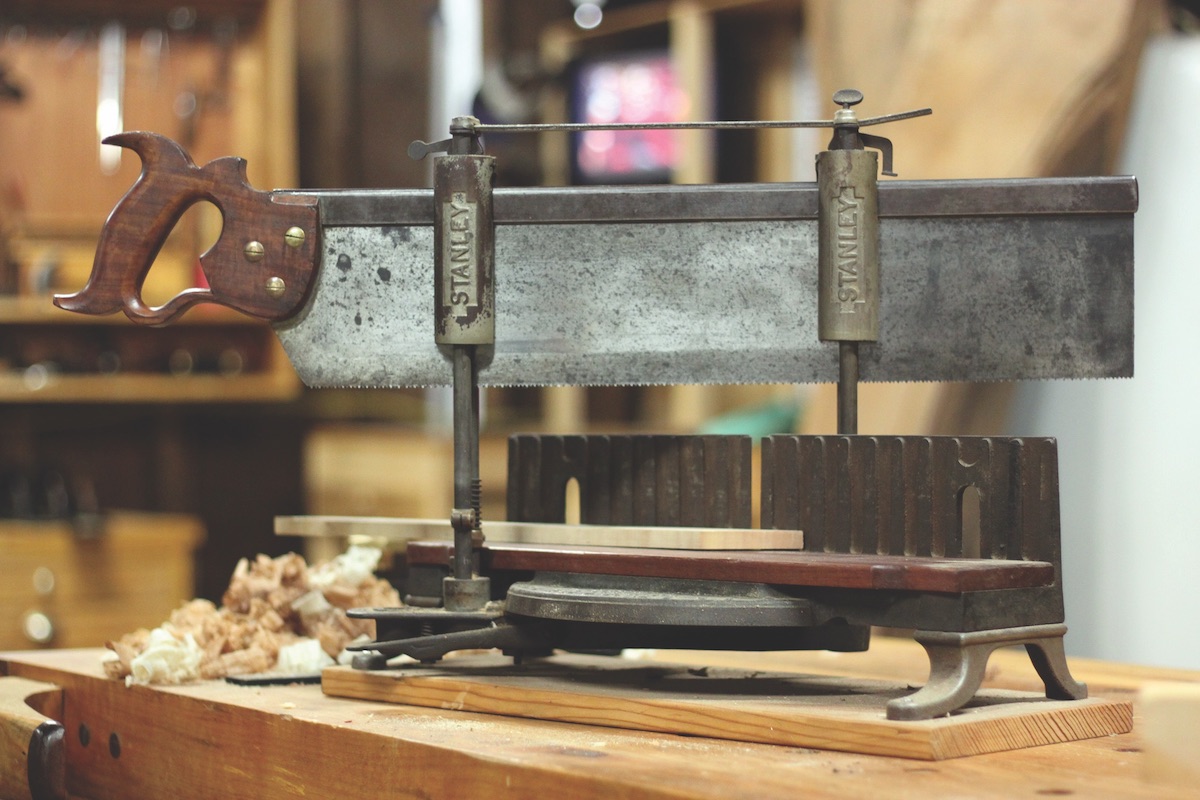
Modern tool-makers have gone above and beyond to tweak old designs as well as create new planes to make the job of shooting edges more comfortable, more precise and more efficient. There are also some fancy shooting boards on the market to accompany them. If your budget can run to a Vogt shooting board and a Lie-Nielsen or Veritas shooting plane to accompany it, by all means, go ahead, you won’t be disappointed. Quality modern shooting planes boast of thick blades that don’t chatter and hold an edge for a great length of time and a mouth that can be easily closed to produce whispy thin shavings. Vintage planes can be restored and well tuned with a touch of skill and understanding about how they are ‘supposed to work’, but they are awkward to use on their sides in conjunction with a shooting board. High-end manufactured shooting boards boast of tracks that planes can ride within, minimising error and effort. They are also adjustable, so if the board goes out of true, the shooting board can be tuned instead of thrown away. They are made of materials that minimise wear and a one-time purchase will offer a lifetime of use. Most designs for shop-made shooting boards, on the other hand, produce a disposable product. When the board goes out of true or wears out, it must be re-made, which means less time for building furniture. The truth of the matter is, though, that a well-tuned vintage plane and shop-made shooting board will give you square ends and true mitres just like those of their fancier cousins. I own the Veritas mitre plane, which was created to be multi-functioning and excellent at shooting mitres, and I have used it extensively. The removable handle on the side makes it comfortable to use with a shooting board. The side handle on the Veritas can be removed and it can also be used as a smoothing plane. I like this versatility and I can vouch that it does both jobs well. I would have liked, however, to have seen the plane developed with square, rather than rounded, sides like the now-out-of-production Lie-Nielsen mitre plane so that I could have added a track to my shooting board. With workshop time at a premium and orders adding up, efficiency has become increasingly important to me. I would rather have two planes, one set up to smooth and the other to shoot, than have to reconfigure a single plane several times during a single project. It was for this reason that I recently purchased the Veritas shooting plane. In a similar vein to the Veritas mitre plane with the removable side handle, several companies now offer ‘hot dog’ attachments to make using regular bench planes on their side more comfortable. Once again, however, you will not regret having a single plane set up for shooting rather than having a ‘Jack of all trades’ approach to your plane arsenal. ‘Bevel-up’, also called ‘low-angle’ planes, provide an optimal angle of attack for end grain. Vintage low-angle planes do exist – the most popular being the Stanley No. 60½, but they are increasingly hard to come by.
A Lie-Nielsen 60½ or Veritas low-angle Jack work well when set up with the ‘hot dog’ attachment, but the blade for a shooting plane must be ground and honed perfectly square, whereas a true Jack plane would have a cambered blade. So two blades rather than two planes would also be an option, but you would always be opening and closing the mouth to perform the two tasks. At the end of the day, though, the answer to the question of the best plane to use with your shooting board is always going to be easy: your sharpest one. New or old plane, shop made or fabricated shooting board, the best advice I can give is to keep the pair in a convenient-to-use location and to choose a dedicated plane with a square-ground, freshly honed blade and a nice tight mouth.
Modern planes
The 20-minute shooting board
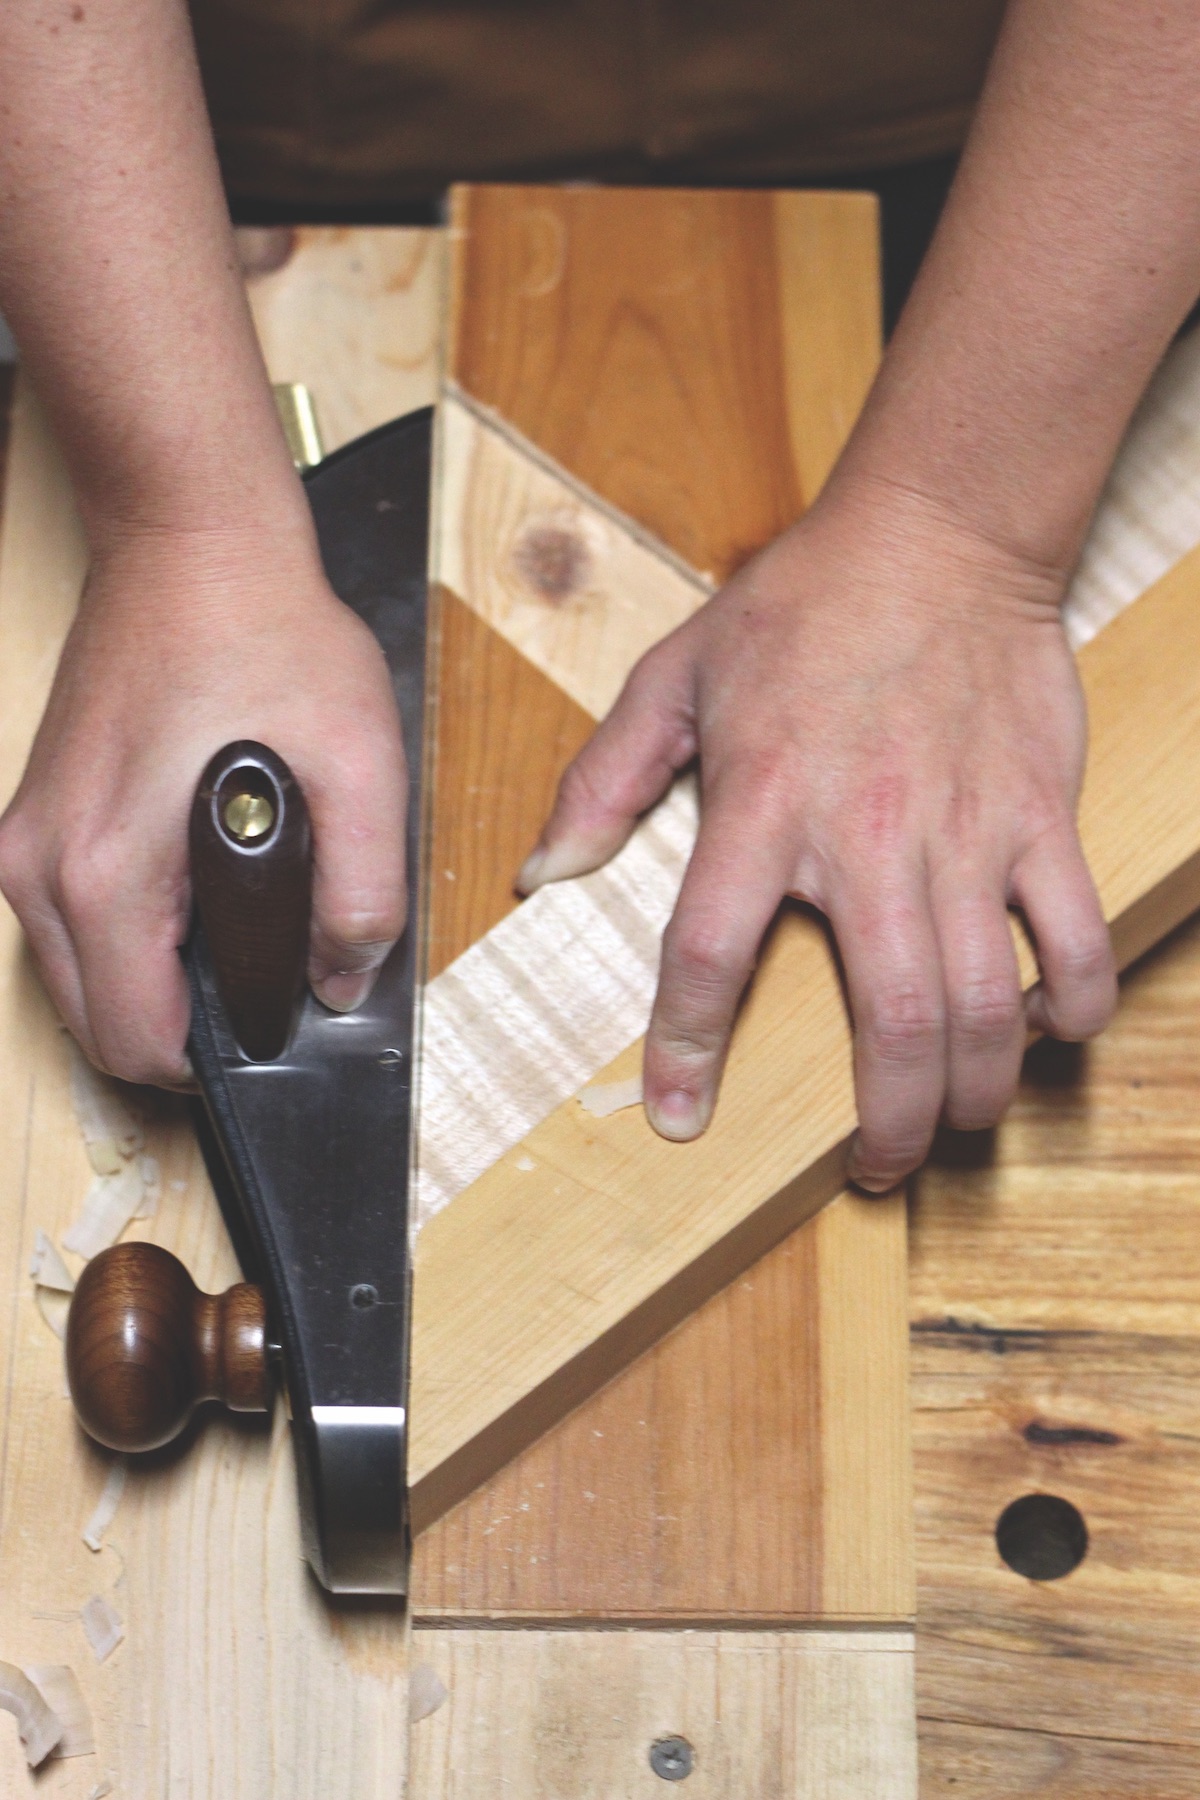
Use a scrap of ¼in and another ¾in cabinet-grade plywood and a scrap of 1x1in square stock – see Fig 1 – to build your own 20-minute shooting board. Dimensions are arbitrary and based wholly on your needs or the scraps to hand. If you want your board to double as a long-grain board for longer stock, use larger pieces. The ¼in plywood will be glued to the ¾in plywood to create a shelf that will offset the mouth of the plane that would otherwise prevent the plane from cutting the whole width of your stock. Once the glue between the two pieces of plywood has dried, the planing stop can be fixed at a perfect 90º angle to the edge of the ¼in ply – see Fig 2. Accuracy is key here, or your shooting board will be worthless. Leave about 4mm of your square stock jutting out into the plane track. Add a bench stop to the bottom of the shooting board and you are ready to create perfectly square, beautifully polished 90º edges on all your stock. Chamfer the back edge of the excess material you left in the plane track to reduce blowout, then use your plane to remove the excess stock as if you were shooting an imaginary board. When the plane stops cutting, your new shooting board is ready for use – see Fig 3. Wax the path your plane will follow to decrease resistance in use. Experiment with hand positions on the plane that allow you to push your plane most comfortably along the edge guide of the shooting board with enough force to push it through the cut but not so much that your plane goes flying across the room! Also take care, especially if you are using a traditional bevel-down handplane, that your hand position doesn’t disturb the lateral settings of your plane.
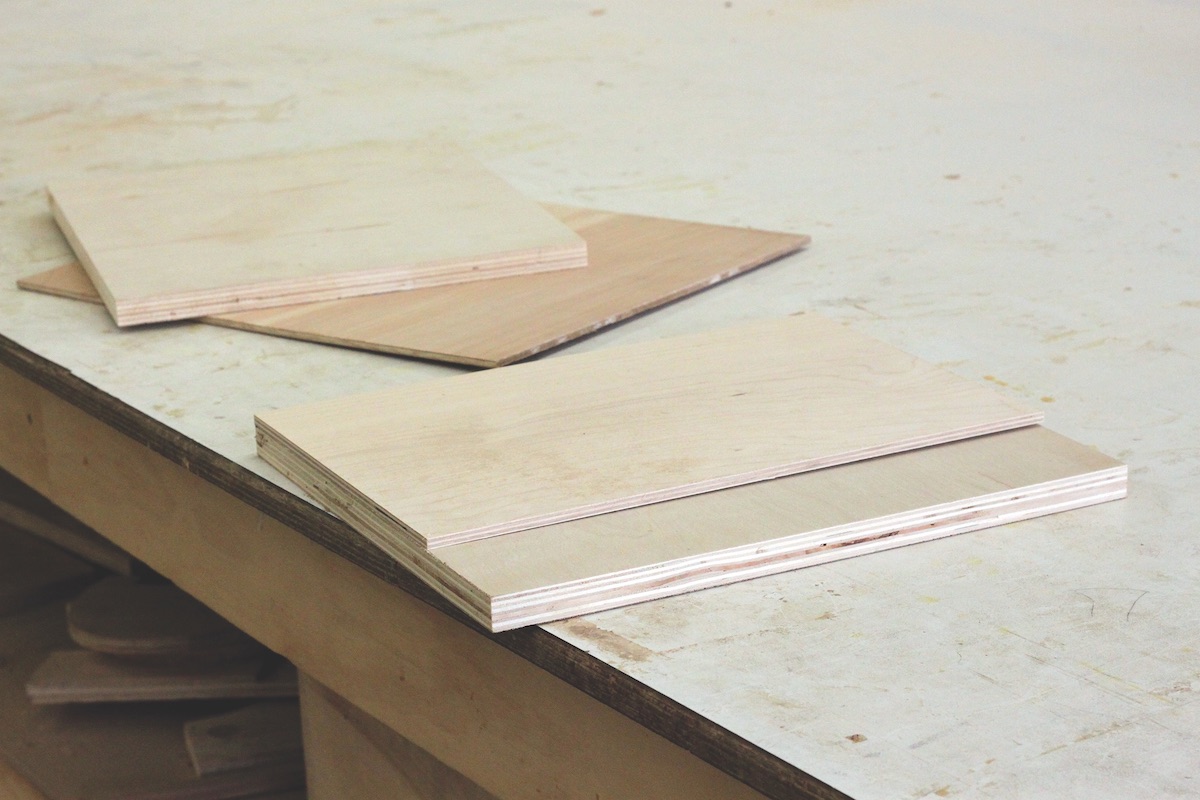
Fig 1
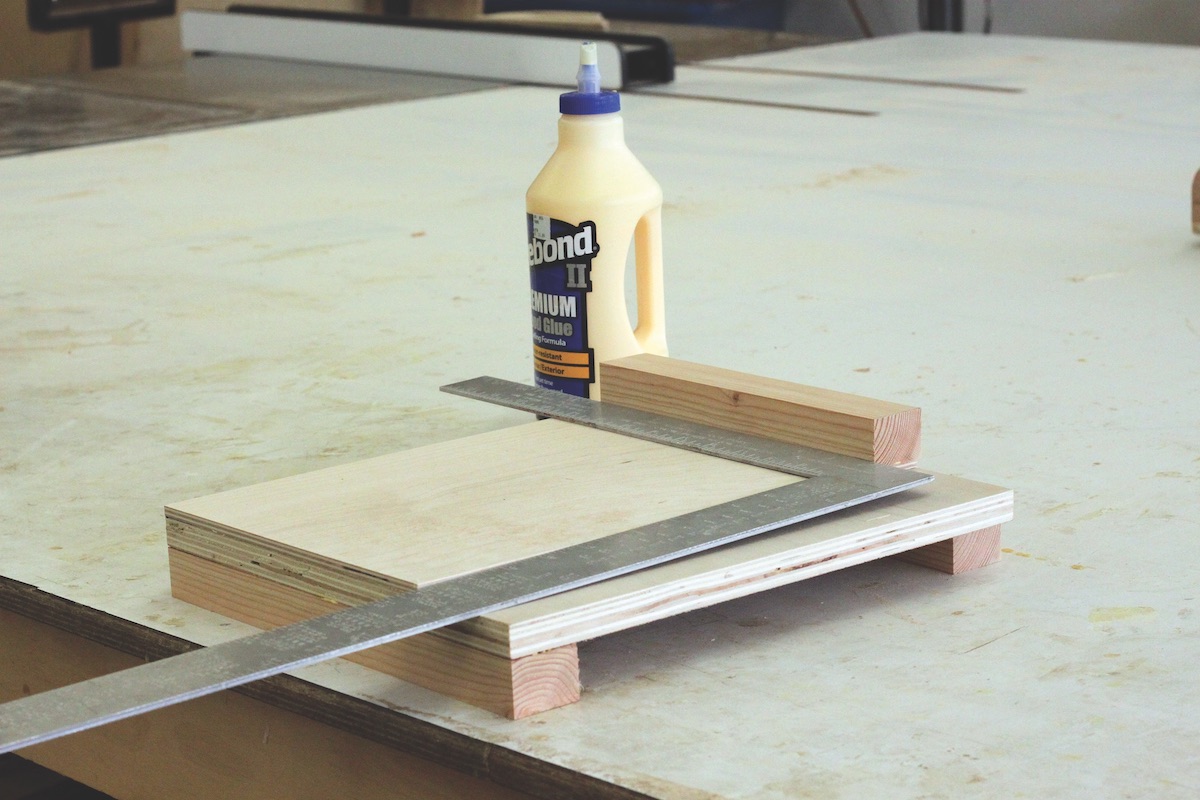
Fig 2
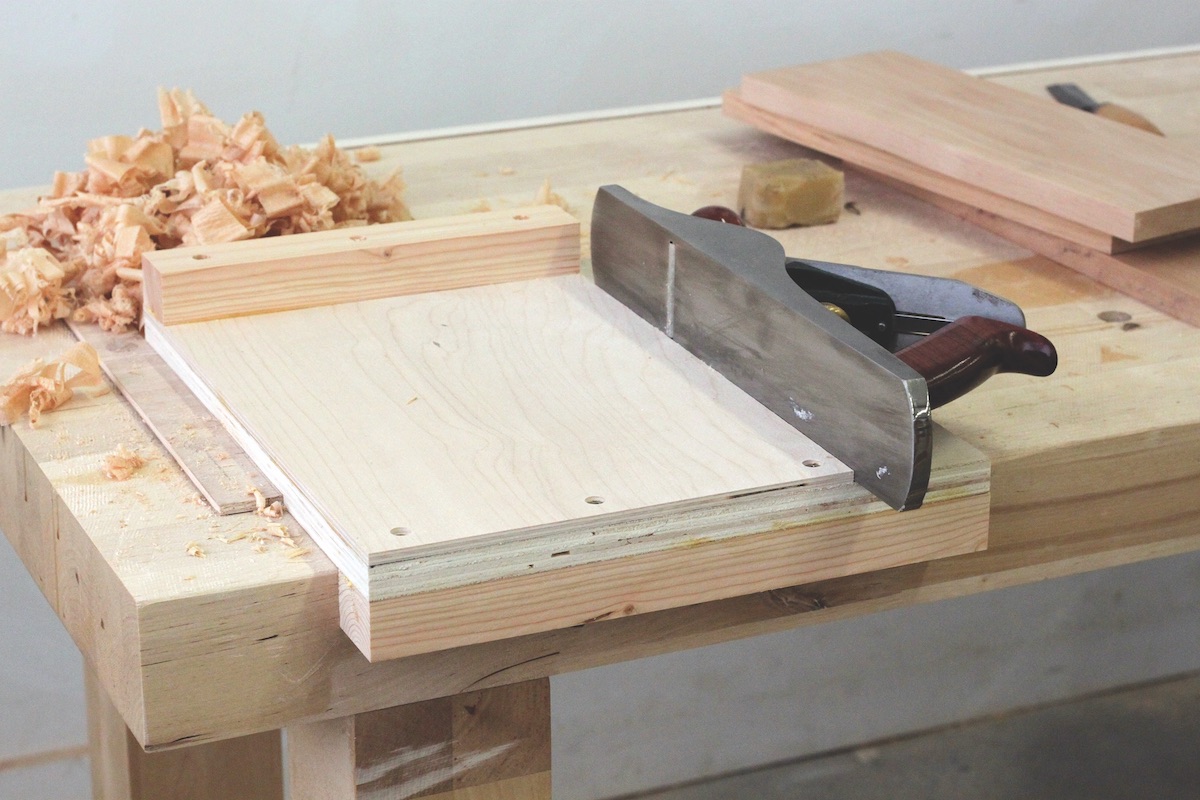
Fig 3
Perfect mitre trick
Once you have your shooting board and plane set up and tuned well, it should cut clean perfect square and mitred edges. The end grain shavings should come off the plane in curls, just like the gossamer shavings of a smoothing plane. The end grain surfaces should have a clean, polished appearance. Properly shot mitres don’t even need clamps to create a perfect joint. Simply spread a dab of glue on the two surface areas, rub the glue surfaces together to force out all the air from the joint, align the edges and wait for the glue to dry. Result? Perfect mitres every time.
Start with a mitred cut
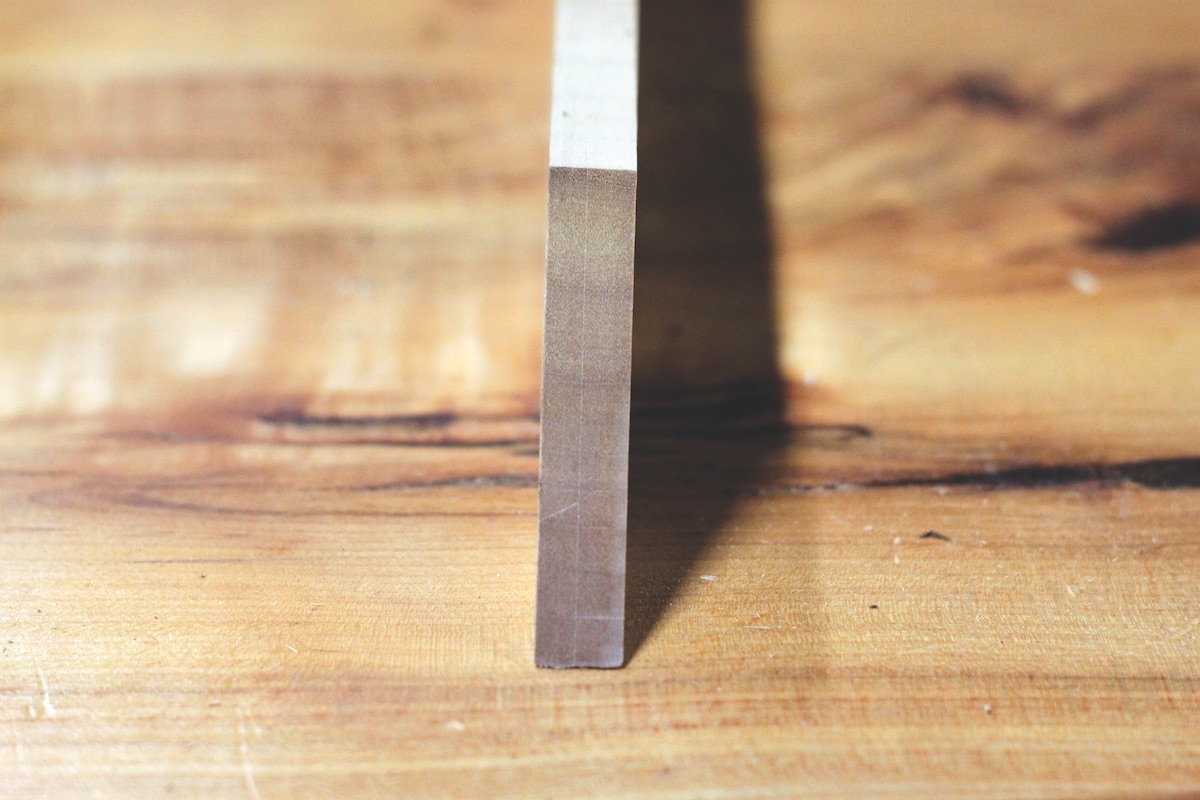
Polished end grain
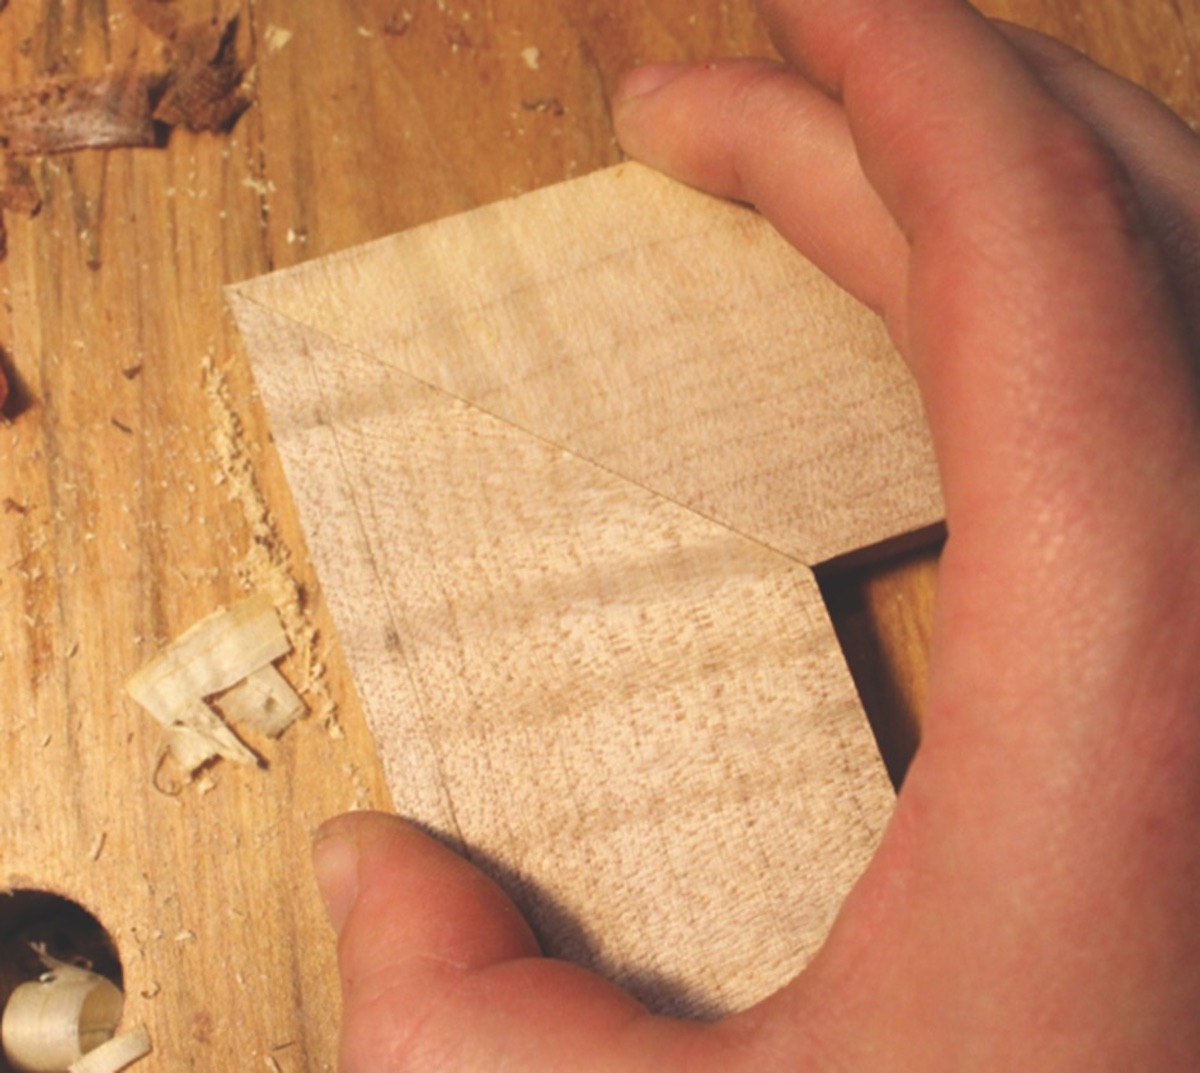
Perfect mitre


